
Right. The handplant looks like the most committing thing in the park, and in one sense it is, because there is no half-hearted version of it. You either go upside down or you do not.
Here is the short answer. You ride at a steep wall with real speed, and as you near the top of the transition you send your legs up and over your body while you reach down and put a hand on the lip. The hand is what stops you rotating. Then you push off the wall, tuck your legs back under you, and drop back in.
Five moves, and none of them is individually difficult. The hard part is being willing to put yourself upside down on purpose, which is exactly what the video opens by saying.
Watch it first
Fall Line is the source here, and their clip is 42 seconds long with commentary running the whole way through it. That last part matters more than it sounds. Most of the old park clips on this site are silent, so you are left reading the rider’s body. This one tells you what he is doing while he does it, which makes it much easier to match a timestamp to a feeling.
It is filmed at night on a floodlit snow quarterpipe, so the wall is lit and you can actually see the line he takes.
The whole thing is worth 42 seconds of your time, but if you want to jump around, the commitment line is at 0:05, speed at 0:12, sending the legs over at 0:15, the reach for the lip at 0:22, staying strong through the arm at 0:26, and pushing back off the wall at 0:28.
Before you go anywhere near this
This is an inverted trick. You are deliberately putting your head below your feet, at speed, next to a hard edge, and the consequences of getting it wrong are different in kind from blowing a rail slide.
Wear a helmet, and learn this with someone who can coach you through it in person. An article and a 42-second clip can tell you what the move is. They cannot watch your run-in and tell you that you are two miles an hour short. If your local slope has coaching or an airbag session, that is the place to start, not a busy quarterpipe on a Saturday.
You also want a few things already sussed before this makes any sense:
- You are comfortable riding a transition and getting air off it. If straight airs in the pipe are still a work in progress, do those first.
- You can drop into a pipe without thinking about it, because the end of a handplant is a drop-in.
- You are happy carrying speed at a wall rather than scrubbing it off at the last second, which is what most people do the first few goes.
Picking your feature
The feature does a lot of the work here, so choose it properly.
The steeper the wall, the better. A steep transition pushes your legs up for you as you come up it, which means you have to generate less of the inversion yourself. It also tends to hurt less when it goes wrong, because you slide back down the wall rather than dropping onto flat snow.
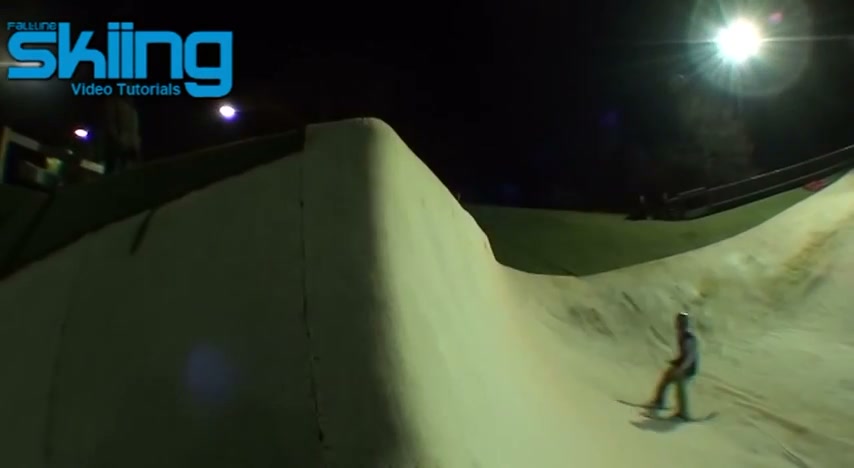
A quarterpipe is the obvious choice. A steep mound of snow or a wall ride will also do it. What you are looking for is something with a defined top edge you can actually reach and press against, because that edge is the thing your hand is going to work off.
The commentary calls that edge the coping, which is a word borrowed from skateboarding. On a snow feature it is just the lip where the wall stops going up.
The five steps
1. Run in with speed
Speed is vital in this trick, and the video says so in its first ten seconds for a reason.
Aim for enough speed that you would normally get a couple of feet of air off the feature. Too slow and you never get high enough for your hand to reach the lip, which means you get halfway to upside down and then come back down in a heap. The most common way this trick goes wrong is not fear of the invert. It is arriving with not quite enough speed and finding out at the worst moment.
2. Commit, and send the legs over
This is the step the whole trick lives or dies on.
As you get to the top of the feature, lean down the hill and reach down with your hand. That reach is what sends your legs up and over your body. You are not trying to kick your legs up. You are putting your hand somewhere low and letting the rest of you rotate around it.
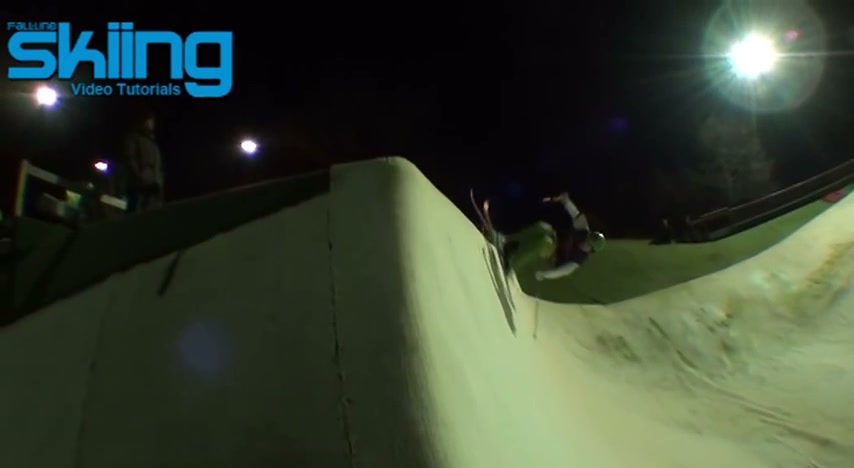
Think of it as falling towards the lip on purpose. If you keep your weight back and try to stay upright, nothing happens, and that is the version most people do on their first few attempts.
3. Plant the hand and stop the spin
As you get to the top of your upward travel, get your hand down onto the wall, as near to the lip as you can.
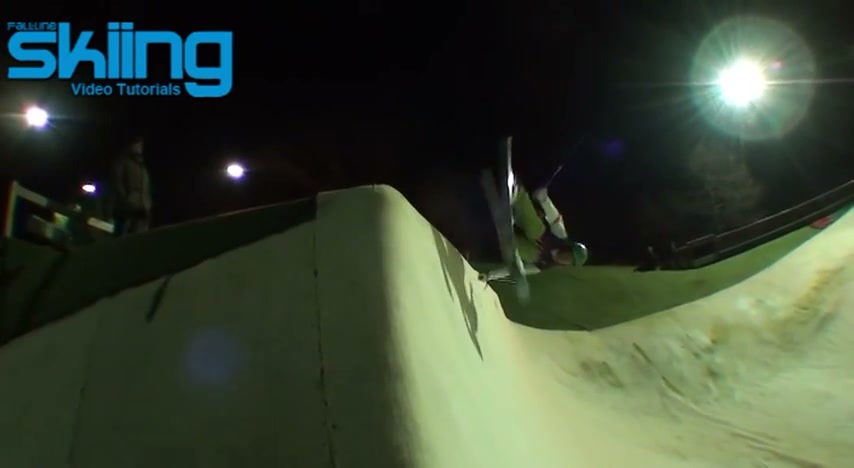
Here is the bit worth understanding, because it explains why the hand is not just decoration. You are already rotating when you reach the top. The hand is what stops that rotation and holds you there for a beat, upside down, before you come back the other way. Without it you would simply keep going round, which is a different trick altogether.
Stay nice and strong through your arm. A soft elbow collapses and you land on your shoulder. The arm is holding your body weight for a moment and it needs to be locked and ready for it.
Do not worry if you do not get it first time. Very few people do.
4. Push off the wall
Once your spin has stopped, push off the wall with that hand and tuck your legs in to bring them back underneath you.
The push is what buys you the room to get your skis clear of the lip on the way back down. Tucking is what gets your feet back under your body in time to land on them.
5. Drop back in and ride away
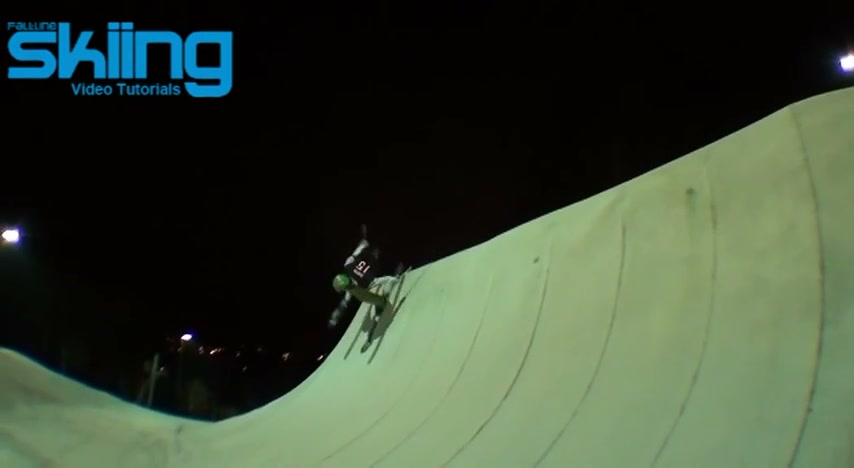
Your skis clear the lip, you drop back into the transition, and you ride out of it.
This is why we said you want dropping in to be automatic already. You are arriving back on the wall facing down it with no time to think, and the muscle memory has to be there.
So why am I not getting upside down?
Nearly always one of two things.
You are too slow. Go back and read step one. Speed is what carries you far enough up the wall for the reach to be possible at all. If you find yourself running in and then quietly scrubbing a bit of speed off as the wall gets close, that is the problem, and it is a very normal instinct.
You are not committing to the reach. You can ride at the wall at exactly the right speed and still do nothing, because at the critical moment you stayed upright instead of reaching down. The commentary opens on commitment before it mentions anything technical, and that is the right order.
There is a third one that is less about technique. If you are hesitating, do not keep sending it at the same wall hoping it clicks. Get someone to watch you, or find a smaller and steeper feature to try it on, or go and do something else and come back to it. Repeatedly half-committing to an inverted trick is how people get hurt.
Where the handplant sits
The video makes a useful comparison at 0:33. A handplant is a very similar move to a flare in the pipe, except that instead of rotating all the way round, you stop yourself with the hand.
That is a helpful way to think about where it goes in your progression. It is not a beginner trick, but it is also not as far up the ladder as it looks from the bottom of the wall, because the hand is doing the difficult part of the rotation for you.
If you have got this, the obvious next rungs are the other inverted tricks. Backflips on skis and 360s in the halfpipe both live in the same territory of going upside down or sideways on a transition with commitment.
Frequently Asked Questions
What is a handplant on skis?
It is an inverted park trick. You ride up a steep wall with speed, send your legs up and over your body, put a hand down on the lip to stop your rotation, then push off the wall and drop back in.
How much speed do you need for a handplant on skis?
Enough that you would normally get a couple of feet of air off the feature. The video calls speed vital at 0:12, and being slightly too slow is the most common reason the trick does not happen.
What kind of feature do you need for a handplant?
A quarterpipe is the easiest, but a steep mound of snow or a wall ride will do. The steeper the wall the better, because a steep transition pushes your legs up for you and you slide back down it rather than dropping onto flat snow.
Why does planting your hand stop you spinning?
Because by the time you reach the top you are already rotating. A strong, locked arm on the lip arrests that rotation and holds you there for a moment, so you can push off and come back down the way you came instead of carrying on round.
Is a handplant the same as a flare?
The video says it is a very similar move (0:33). The difference is that a flare carries the rotation all the way through, and a handplant stops it with the hand.
In short
Speed, then commitment, then a strong arm. The handplant is a show-off trick that rewards being decisive and punishes hedging, which is unusual and quite refreshing.
Go and find a steep wall. Ride at it faster than feels sensible. Reach down rather than staying up.
Ask any questions in the comments below.


