
Good cornering comes down to five things, and only one of them happens in the corner itself. You set the bike up so it sits properly in a turn, you do your braking before you get there, you pick a line that enters wide and lets you carry speed, you stand in a strong central position with your eyes up, and then you practise one corner until it stops feeling scary. Get those in order and turns stop being the bit of the trail you survive.
Why this video is the one to learn from
Most cornering tutorials tell you to look where you want to go and leave it there. That is true, and on its own it fixes almost nobody, because the reason you are cornering badly is usually somewhere else entirely. It might be your tyre pressure. It might be that you are still on the brakes halfway round.
This Global Mountain Bike Network video works backwards from the five things that actually go wrong, which means you can watch it, recognise yourself in one of them, and go and fix that one thing. It also shows the wrong way first, which is far more useful than another clip of someone railing a perfect berm.
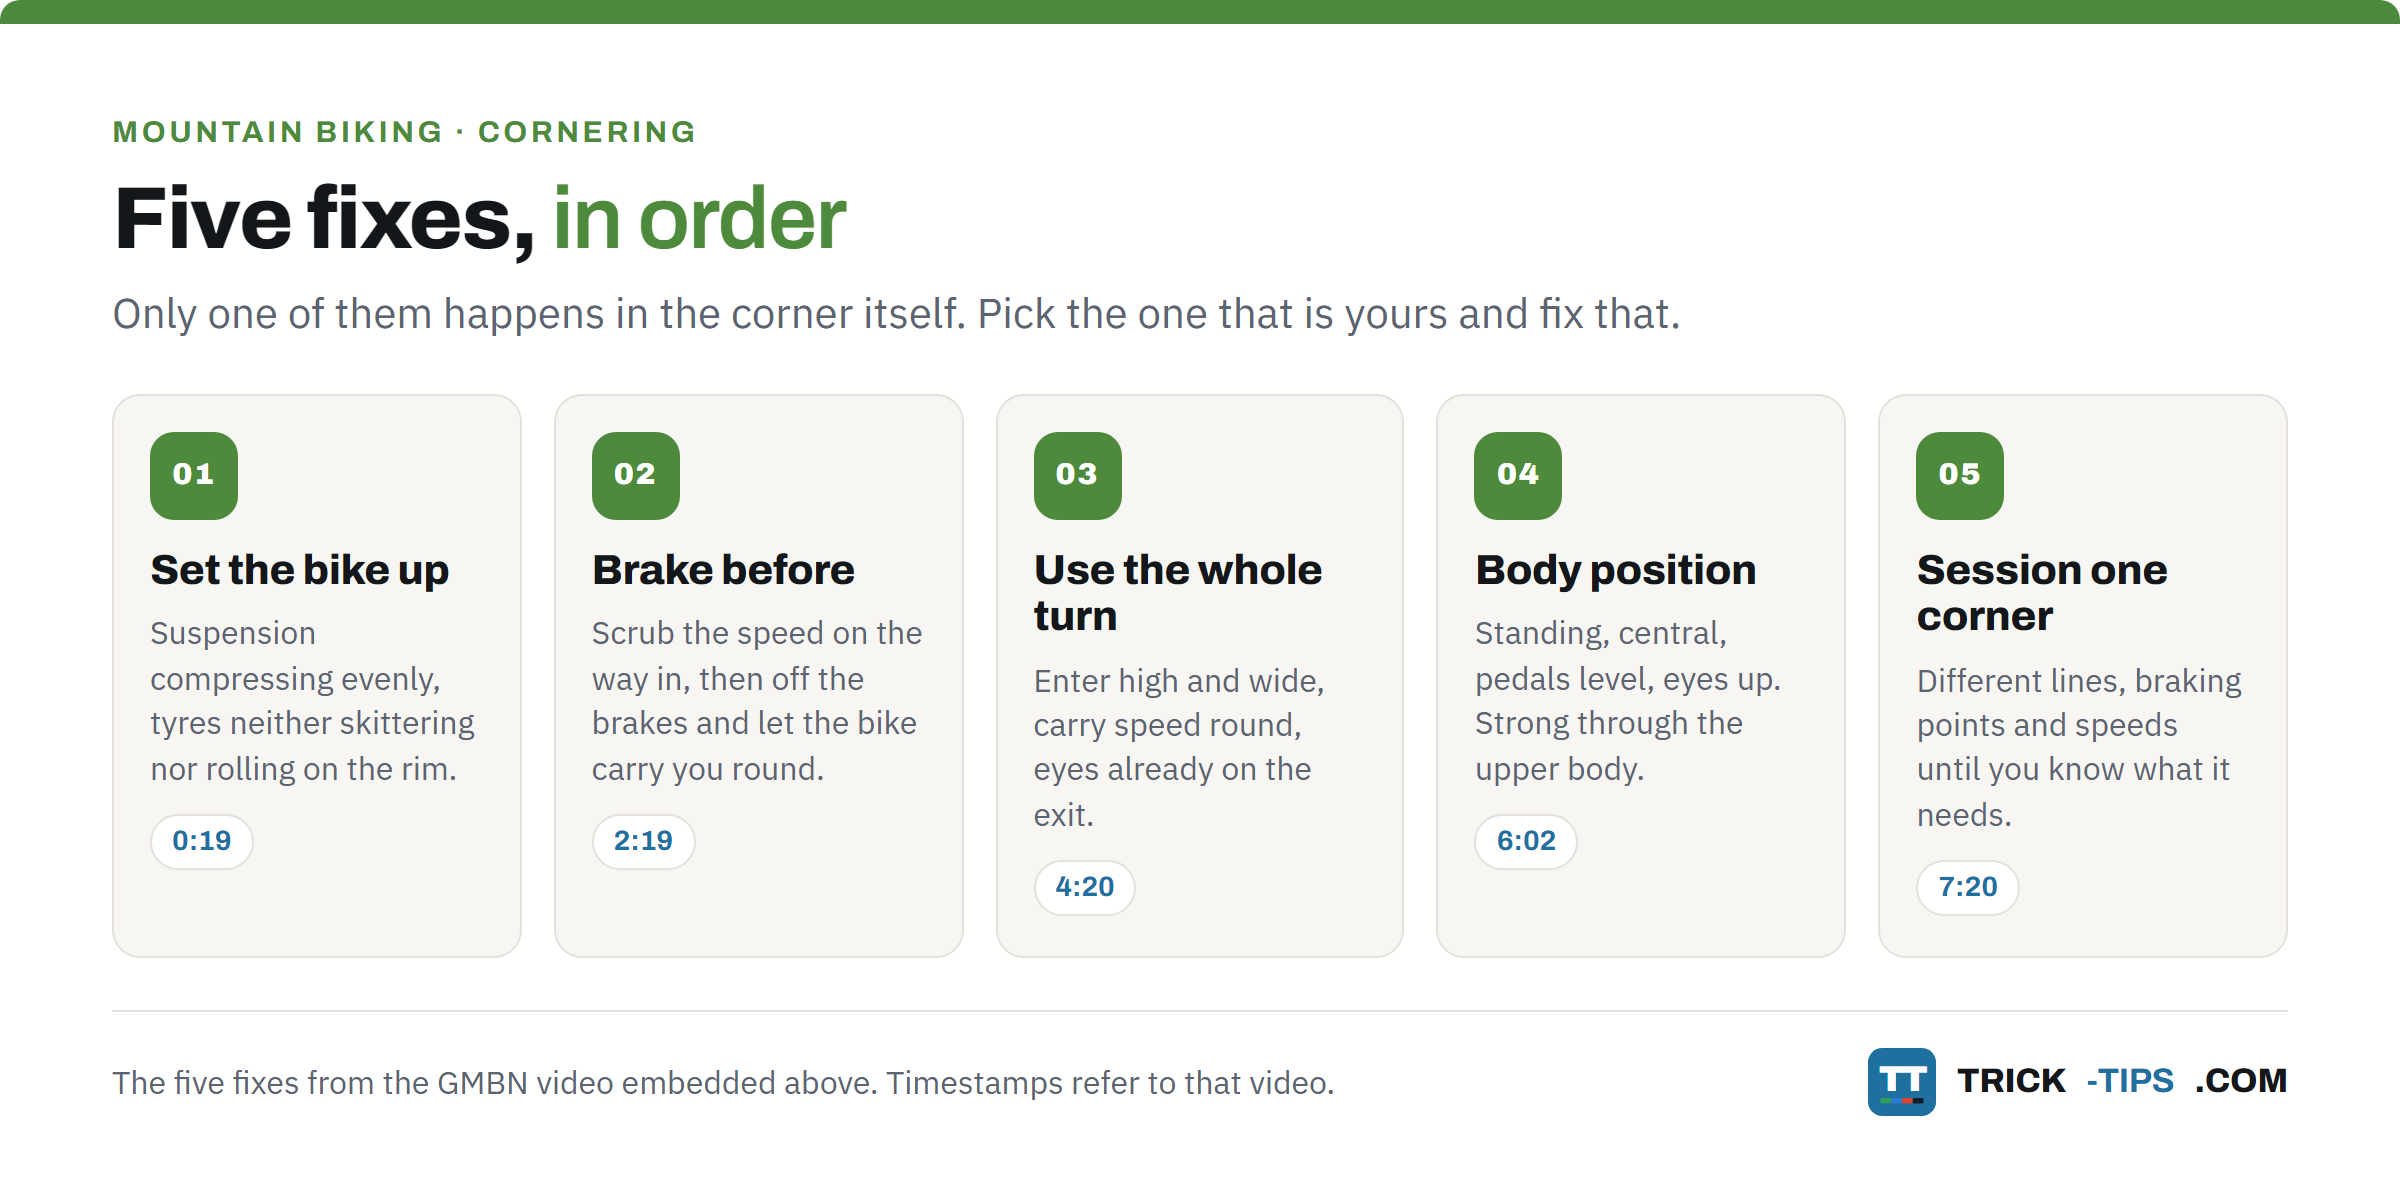
Fix 1. Set the bike up so it can corner (0:19)
Right, this one you can sort before you leave the house. If your suspension is compressing unevenly front and rear, the bike pitches around underneath you and throws your weight out of position before you have even started steering. You want both ends compressing fairly evenly, with the rear often set a touch softer so it settles into the turn.
Tyres matter just as much (1:29). Run them too hard and they skitter across the ground instead of biting into it, which gives you that vague washing-out feeling. Run them too soft and the tyre rolls under itself on the rim. Finding your balance takes a few runs and a bit of trial and error.
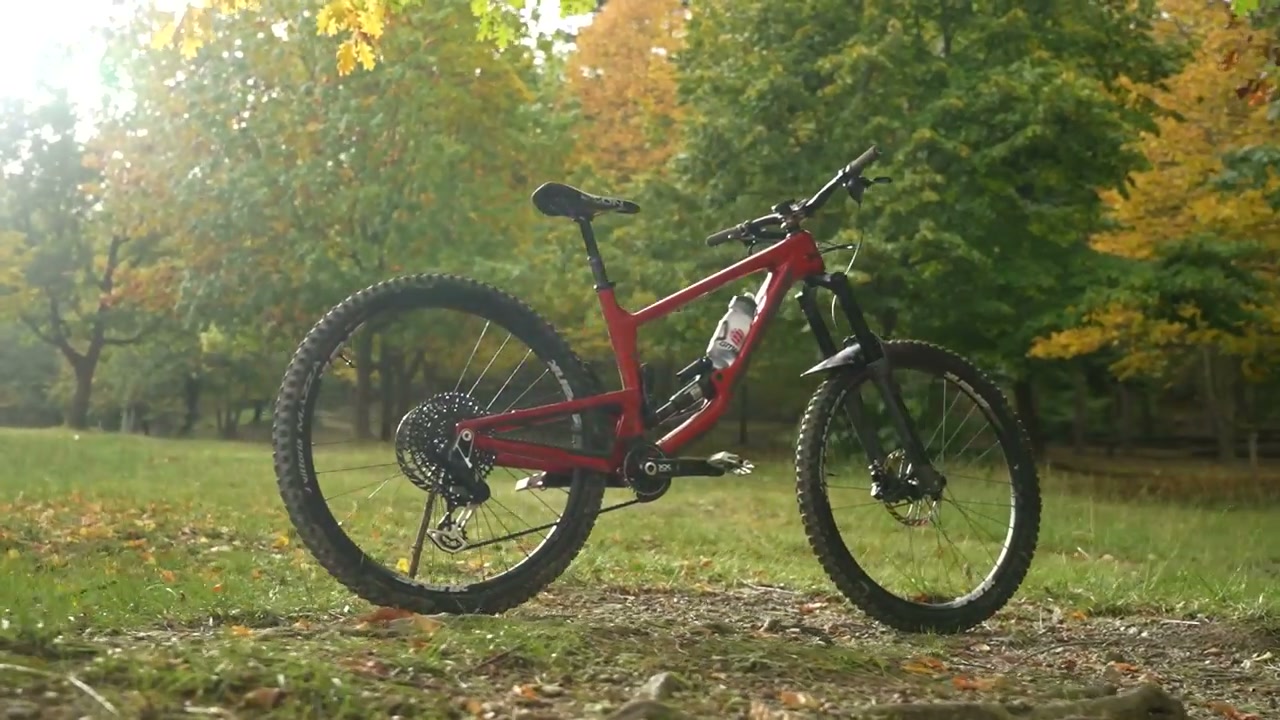
For reference, the presenter runs 23 psi front and 25 psi rear with inserts front and rear, at 82 kg, on a 170 mm rear and 180 mm front enduro bike (2:01). That is his number on his bike, not a target for yours. Different weight, tyres, rims and terrain all move it. Use it as a starting point and adjust a psi at a time.
Fix 2. Do your braking before the corner, not in it (2:19)
This is the big one, and it is the mistake almost everybody makes. Grabbing a handful of brake in the middle of a turn stands the bike up, throws your weight forward and can break traction outright. Scrub the speed you need before you enter, then come off the brakes and let the bike carry you round.
Coming into a tight turn off a fast straight, your front brake does most of the work, because that is where the stopping power is (3:05). The thing to watch is locking it. A locked front wheel mid-turn is game over immediately, and hard front braking also lightens the back end and pitches your weight forward, so you need to be strong through your upper body to hold yourself up with your head still looking where you are going.
On anything loose, wet or slippery, get all of that braking done even earlier (3:49). Wet rock and loose gravel on the entry to a turn are exactly where a bit of front brake turns into a washed-out front wheel.
Fix 3. Pick a line that uses the whole turn (4:20)
Line choice gets talked about for rough straight sections and then forgotten in corners, which is backwards. There are two classic bad lines and you have probably ridden both. The first is entering low and drifting out high, so you run out of turn and end up fighting the exit. The second is charging in flat out, nearly stopping, pivoting through ninety degrees and pedalling away again.
The good version looks like this. Brake hard before the turn, enter as high and wide as the trail allows, then use the full width to carry your speed round, leaning into it and already looking at the exit (4:56). No braking once you are in there. Done properly you come out carrying enough speed that you do not need to pedal at all, which is faster and takes less out of your legs.
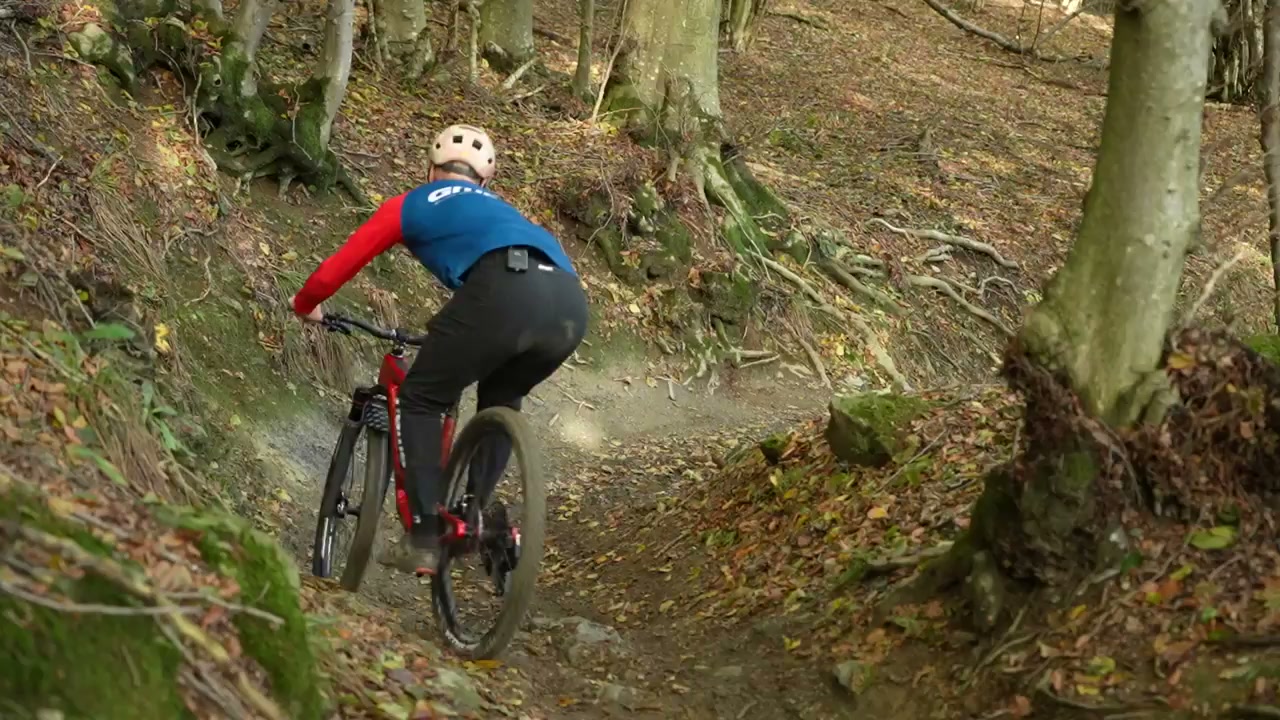
Fix 4. Get your body position sorted (6:02)
The thing is, most people are either too far forward or too far back, or they lean the bike over while keeping their own body bolt upright. What you want is to be standing, planted fairly central or a touch behind the seat, with your pedals level and your eyes up looking ahead.
Stay strong through your upper body so you do not collapse into the bike when you hit a compression or a braking bump. The opposite failure is what the video calls T-Rex arms (6:43), all bent up and slack legged, which pitches you off the back, lightens the front wheel and loses you exactly the grip you were after.
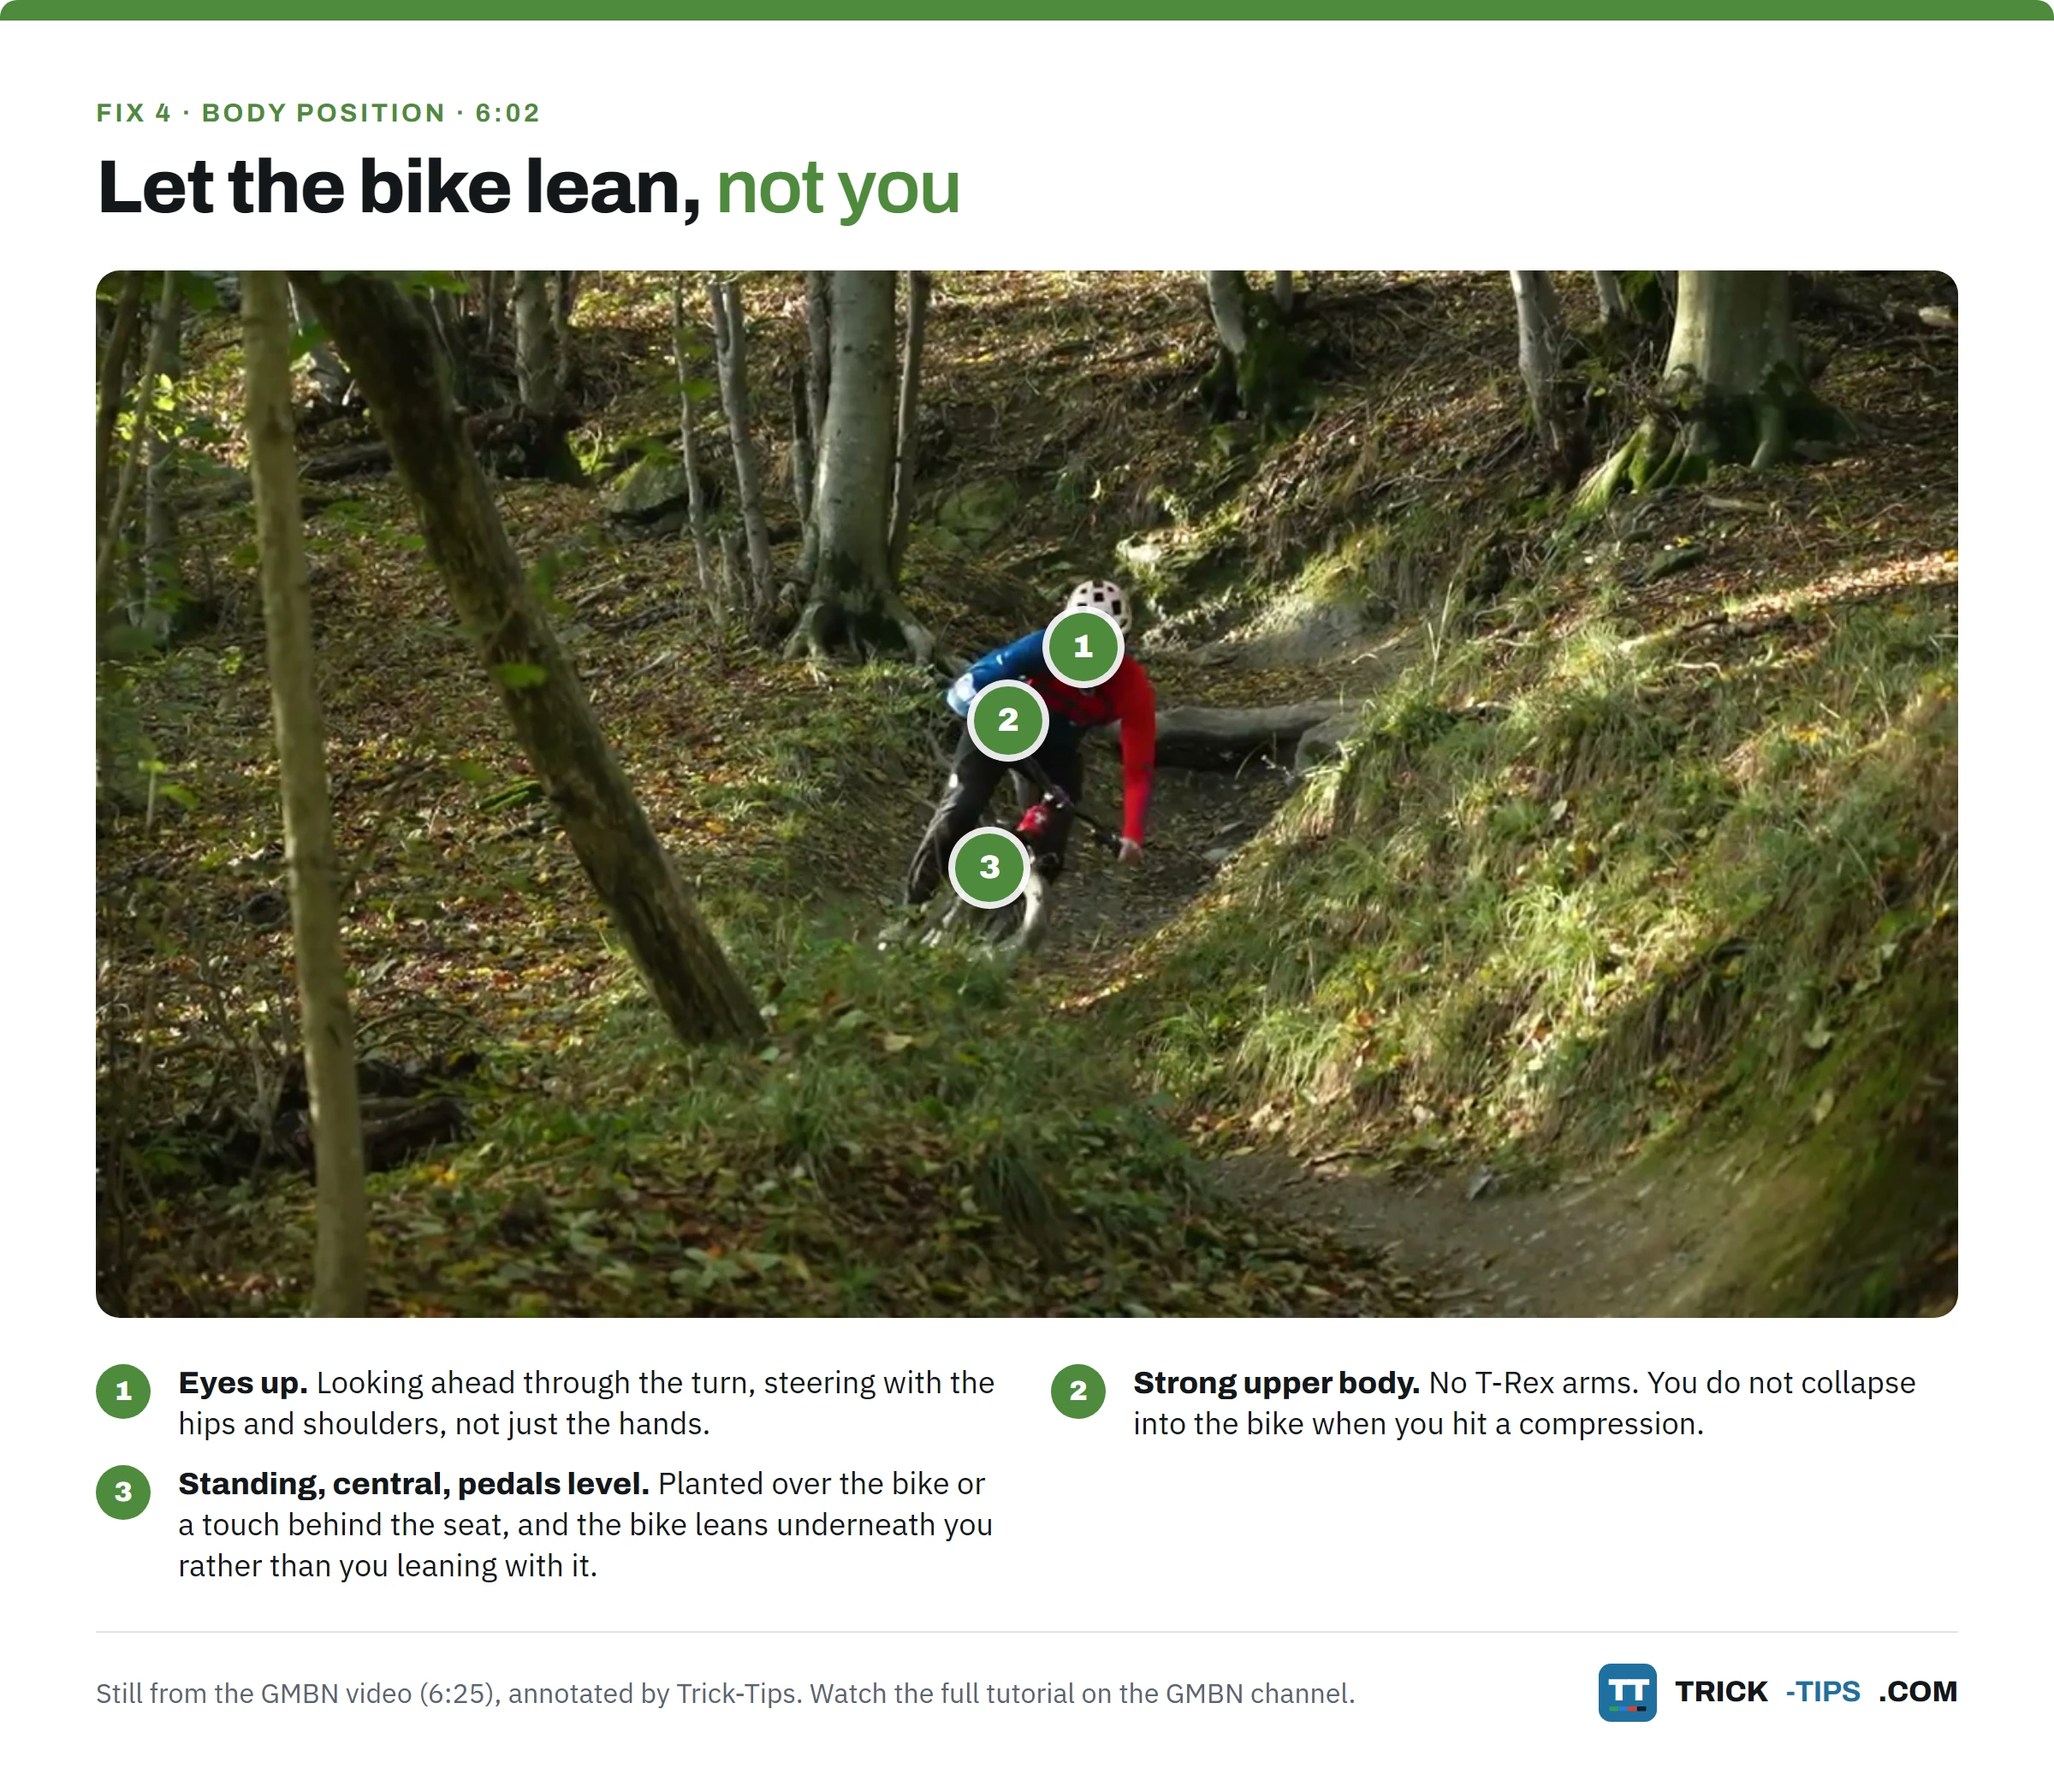
From there you steer with your hips and shoulders rather than just your hands, pointing them where you want to go. Good position is not about holding a pose. It is about being able to move your body around the bike, and the bike around underneath you, whenever the corner asks for it.
Fix 5. Build confidence on one corner (7:20)
In a turn, confidence is not a soft skill. Hesitating mid-corner is what produces the panic brake grab that causes the crash you were worried about.
The fix is repetition on one corner rather than hoping it comes good on a full run. Find a turn you do not like and session it. Try different lines, different braking points, different entry speeds, until you know what that corner actually needs.
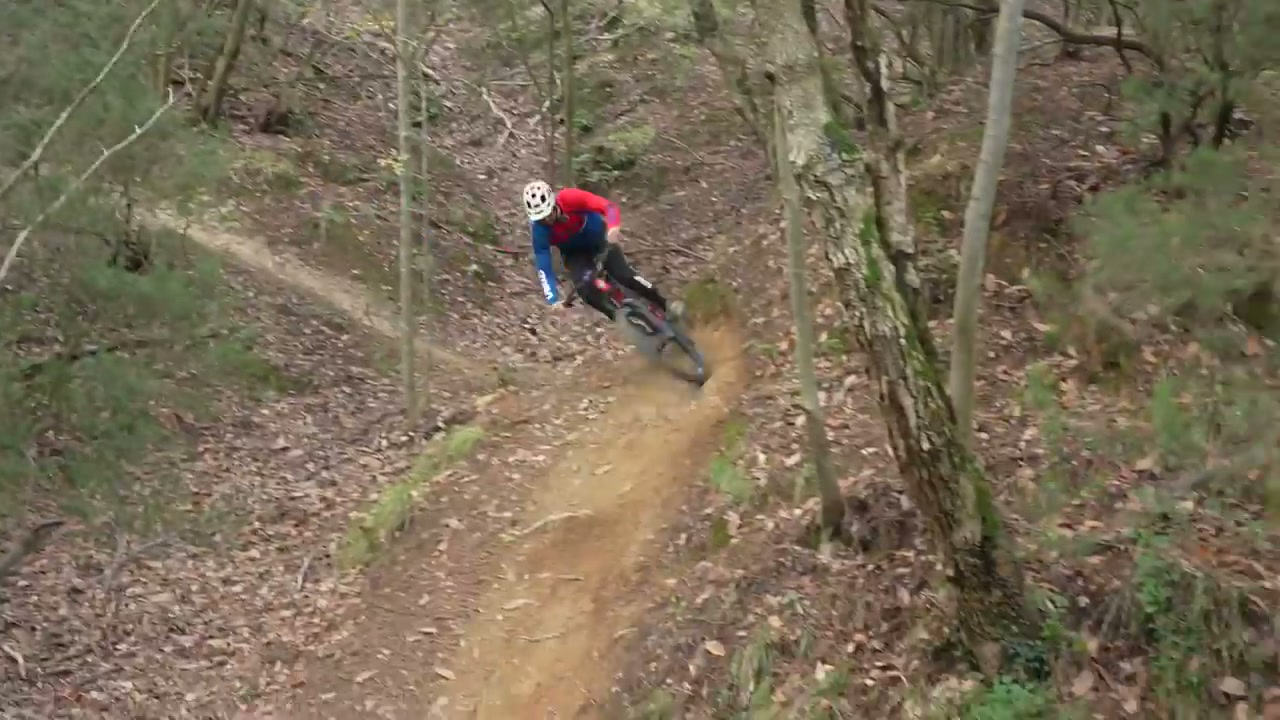
How do you spot which one is your problem?
Reading a list of five fixes is one thing. Knowing which one is yours is harder, because you cannot see yourself ride.
So get a mate to film you on a phone and watch it back in slow motion. GMBN have a second short video on exactly this, and the checklist is simple. Look at your hips first, because they should be central to the saddle and working to the outside, very rarely to the inside. Then look at whether you are weighting both wheels evenly. Then look at your head, because your eyes should already be round the corner and on the exit.
The important bit is what you do with that. Pick one or two things to work on, not five. Try to fix everything at once and you will end up worse, and you will lose the things you already do well. It is also worth checking you corner the same way in both directions, because most people are noticeably better one way than the other and have never noticed.
Beyond the video: outside foot down, or pedals level?
If you watch enough cornering tutorials you will notice they contradict each other on this, and it is the single most argued-about point in mountain biking. The video above says pedals level. Plenty of good riders will tell you to drop your outside foot. Both are right, and the answer is that it depends on the corner.
- Bermed or well supported turns, keep the pedals level. The berm gives you the support, so you can stay level, weight the pedals when it counts and get your weight onto the front tyre for grip.
- Flat, loose or off-camber turns, drop the outside foot. With no support from the trail you make your own. Dropping the outside foot lowers your weight and drives it through the outside of the bike into the tyres, which is exactly what a flat turn is short of.
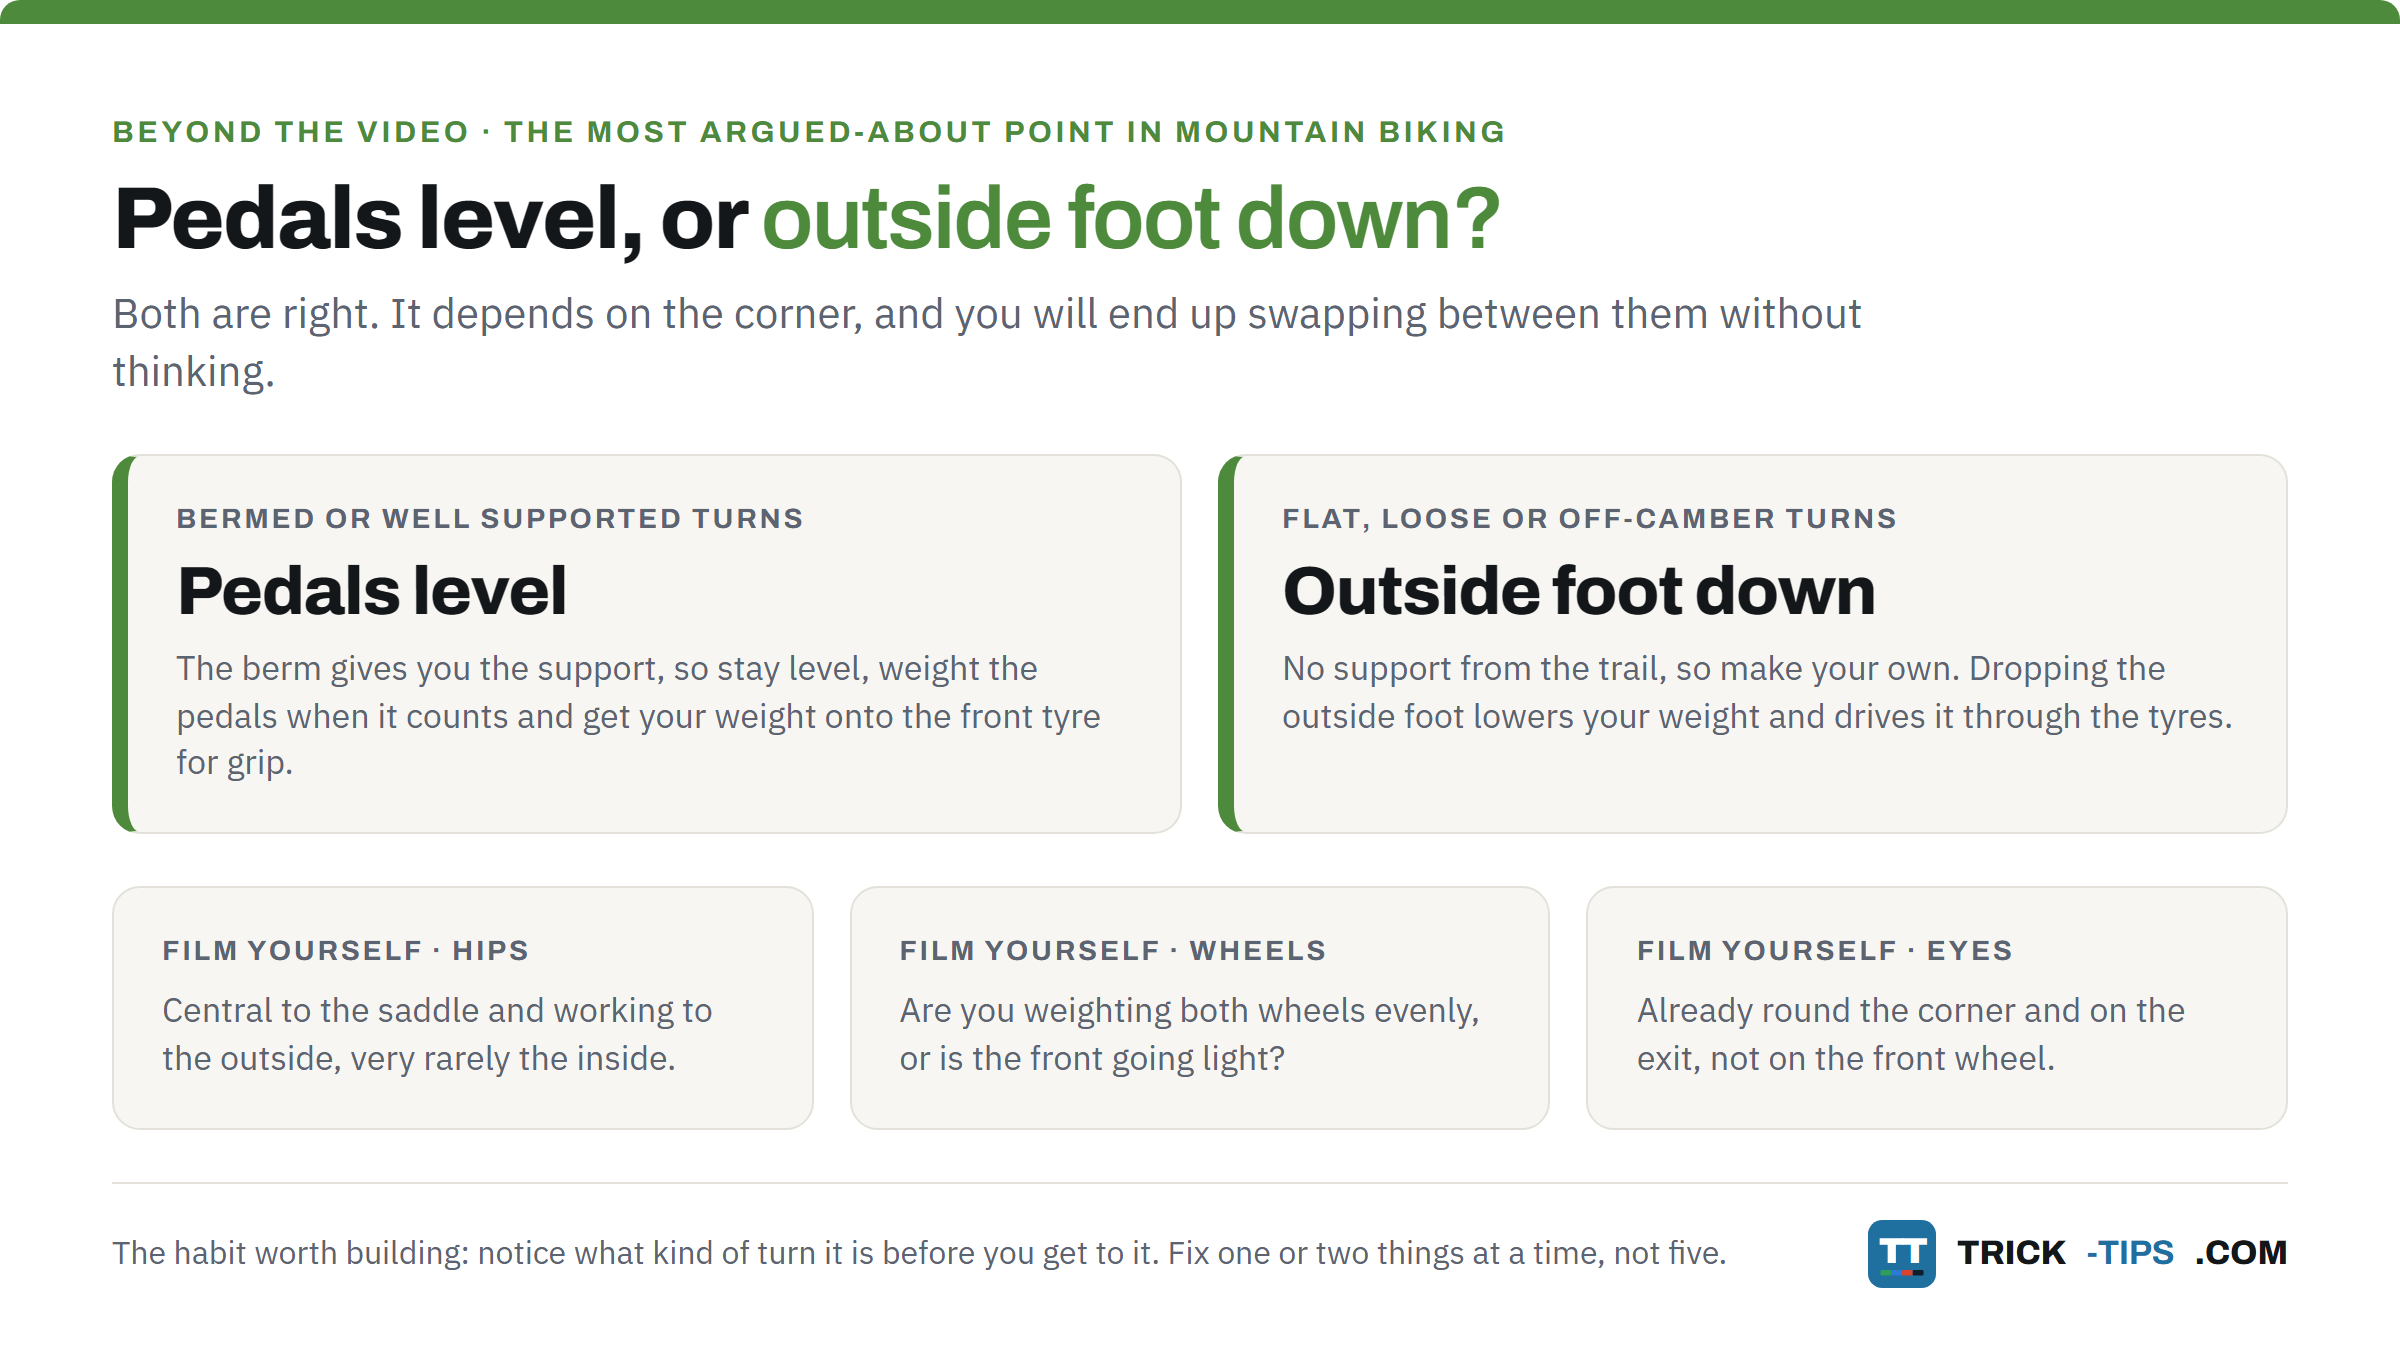
The good news is you do not have to decide once and stick with it. Ride enough and you will swap between the two constantly without thinking about it. If you are learning, the useful habit is noticing what kind of turn you are looking at before you get to it.
One more thing worth knowing. If cornering feels like a lot to think about all at once, a pump track is the best place there is to learn it (5:52). The turns are all bermed, they come round again immediately, and you get twenty attempts in the time one trail run would give you.
What should you learn next?
Cornering sits right in the middle of everything else on the bike, so it pays back fast. Since a pump track is where you should be practising, learn how to pump while you are there and you will carry far more speed out of every turn. The bunny hop is the other skill that transforms how you ride a corner, because it lets you clear the roots and ruts on an entry instead of picking your way round them. And when the trail starts pointing downhill properly, our guide to drops is the next rung.
Mountain bike cornering FAQs
Why do I keep losing my front wheel in corners?
Nine times out of ten it is braking in the turn. Hard braking mid-corner stands the bike up, shifts your weight forward and breaks traction at the front tyre. Get your braking done before you enter, then come off the brakes through the turn. The other common cause is sitting too far back, which lightens the front tyre exactly when it needs weight on it.
Should I brake in a corner at all?
Ideally no. Scrub the speed you need before you enter the turn, then ride it off the brakes. If you have to trim speed mid-corner, feather it lightly rather than grabbing, and never on loose or wet ground. If you find yourself braking hard in every corner, you are entering too fast rather than braking too little.
Outside foot down or pedals level for cornering?
It depends on the corner. In a bermed or well supported turn, keep your pedals level so you can weight them and load the front tyre. In a flat, loose or off-camber turn, drop your outside foot to lower your weight and drive it through the tyres, because the trail is not giving you any support. Experienced riders switch between the two constantly without thinking about it.
What tyre pressure should I run for cornering?
There is no single right number, because it depends on your weight, tyre casing, rim width, whether you run inserts and what you are riding on. Too hard and the tyre skitters instead of biting, too soft and it rolls on the rim. As one reference point, the rider in the video runs 23 psi front and 25 psi rear with inserts at 82 kg on an enduro bike. Start somewhere sensible for your setup and adjust a psi at a time.
Where is the best place to practise cornering?
A pump track, by some distance. The corners are bermed, supportive and come round again straight away, so you get far more repetitions than you would on a trail. Failing that, pick one corner on a trail you know and session it, trying different lines and braking points rather than riding past it once per lap.
Why am I better at cornering one way than the other?
Almost everyone is, usually because of which foot you ride forward. It feels natural to weight the outside of the bike one way and awkward the other. Film yourself turning both directions and compare what your hips and outside foot are doing, then deliberately practise the weaker side until it matches.
So, next ride, pick one of the five. Most likely it is the braking. Get to your local pump track or find one corner you have never liked, and give it twenty goes rather than one. Ask any questions in the comments below.


