
A manual is riding along with the front wheel up and no pedalling, balanced on the back wheel. You learn it in three parts. First you get comfortable shifting from a normal riding position into a low, weight-back position that makes the front end light. Then you deliberately practise looping out, so falling off the back stops being frightening. Only then do you go looking for the balance point. It is a technique skill, not a strength one, and you do not need to be able to wheelie first.
Manual or wheelie, what is the difference?
Worth clearing up first, because people use the words interchangeably and they are not the same thing. In a wheelie you keep pedalling, and the pedalling is what holds the front wheel up. In a manual you do not pedal at all. You hold the front end up purely by balancing your body weight behind the back axle.
That is why the manual is the more useful of the two out on the trail. It is what gets your front wheel over roots, holes and rough sections without losing speed, and it is a proper skill rather than a party trick.
Why this video is the one to learn from
Most manual tutorials start with the balance point, which is the hardest bit, and skip straight past the reason you cannot get there. This one from Joy of Bike does the opposite. It breaks the skill into three ordered parts, and the middle one is teaching you to bail safely, on purpose, before you ever go hunting for balance.
That is the bit that makes it work. Most people never find the balance point because they are quietly terrified of going over the back, so they stop short every time. Get comfortable looping out and the fear stops holding you back. There is also a chair demonstration in there that explains the whole thing in about ten seconds, and you can try it before you even touch your bike.
What do you need to learn to manual?
- A bike with a working back brake. Any bike. Mountain bike, dirt jumper, BMX, it does not matter. The back brake is not optional though, it is your main escape route.
- Flat pedals. Genuinely important for this one. When you loop out you need to step straight off the back, and being clipped in makes that much harder.
- An empty car park. Smooth, flat and predictable, with lines on the ground you can use as targets.
- A helmet. You are deliberately practising falling off the back of a bike. Wear one.
Do not learn this on grass. It feels like the safer option, which is exactly why people try it, but grass has a lot of rolling resistance and it is usually bumpy. Both of those make the balance point almost impossible to find, so you get a harder version of the skill and a softer landing you were hoping not to need anyway.
Part one, the three riding positions (1:20)
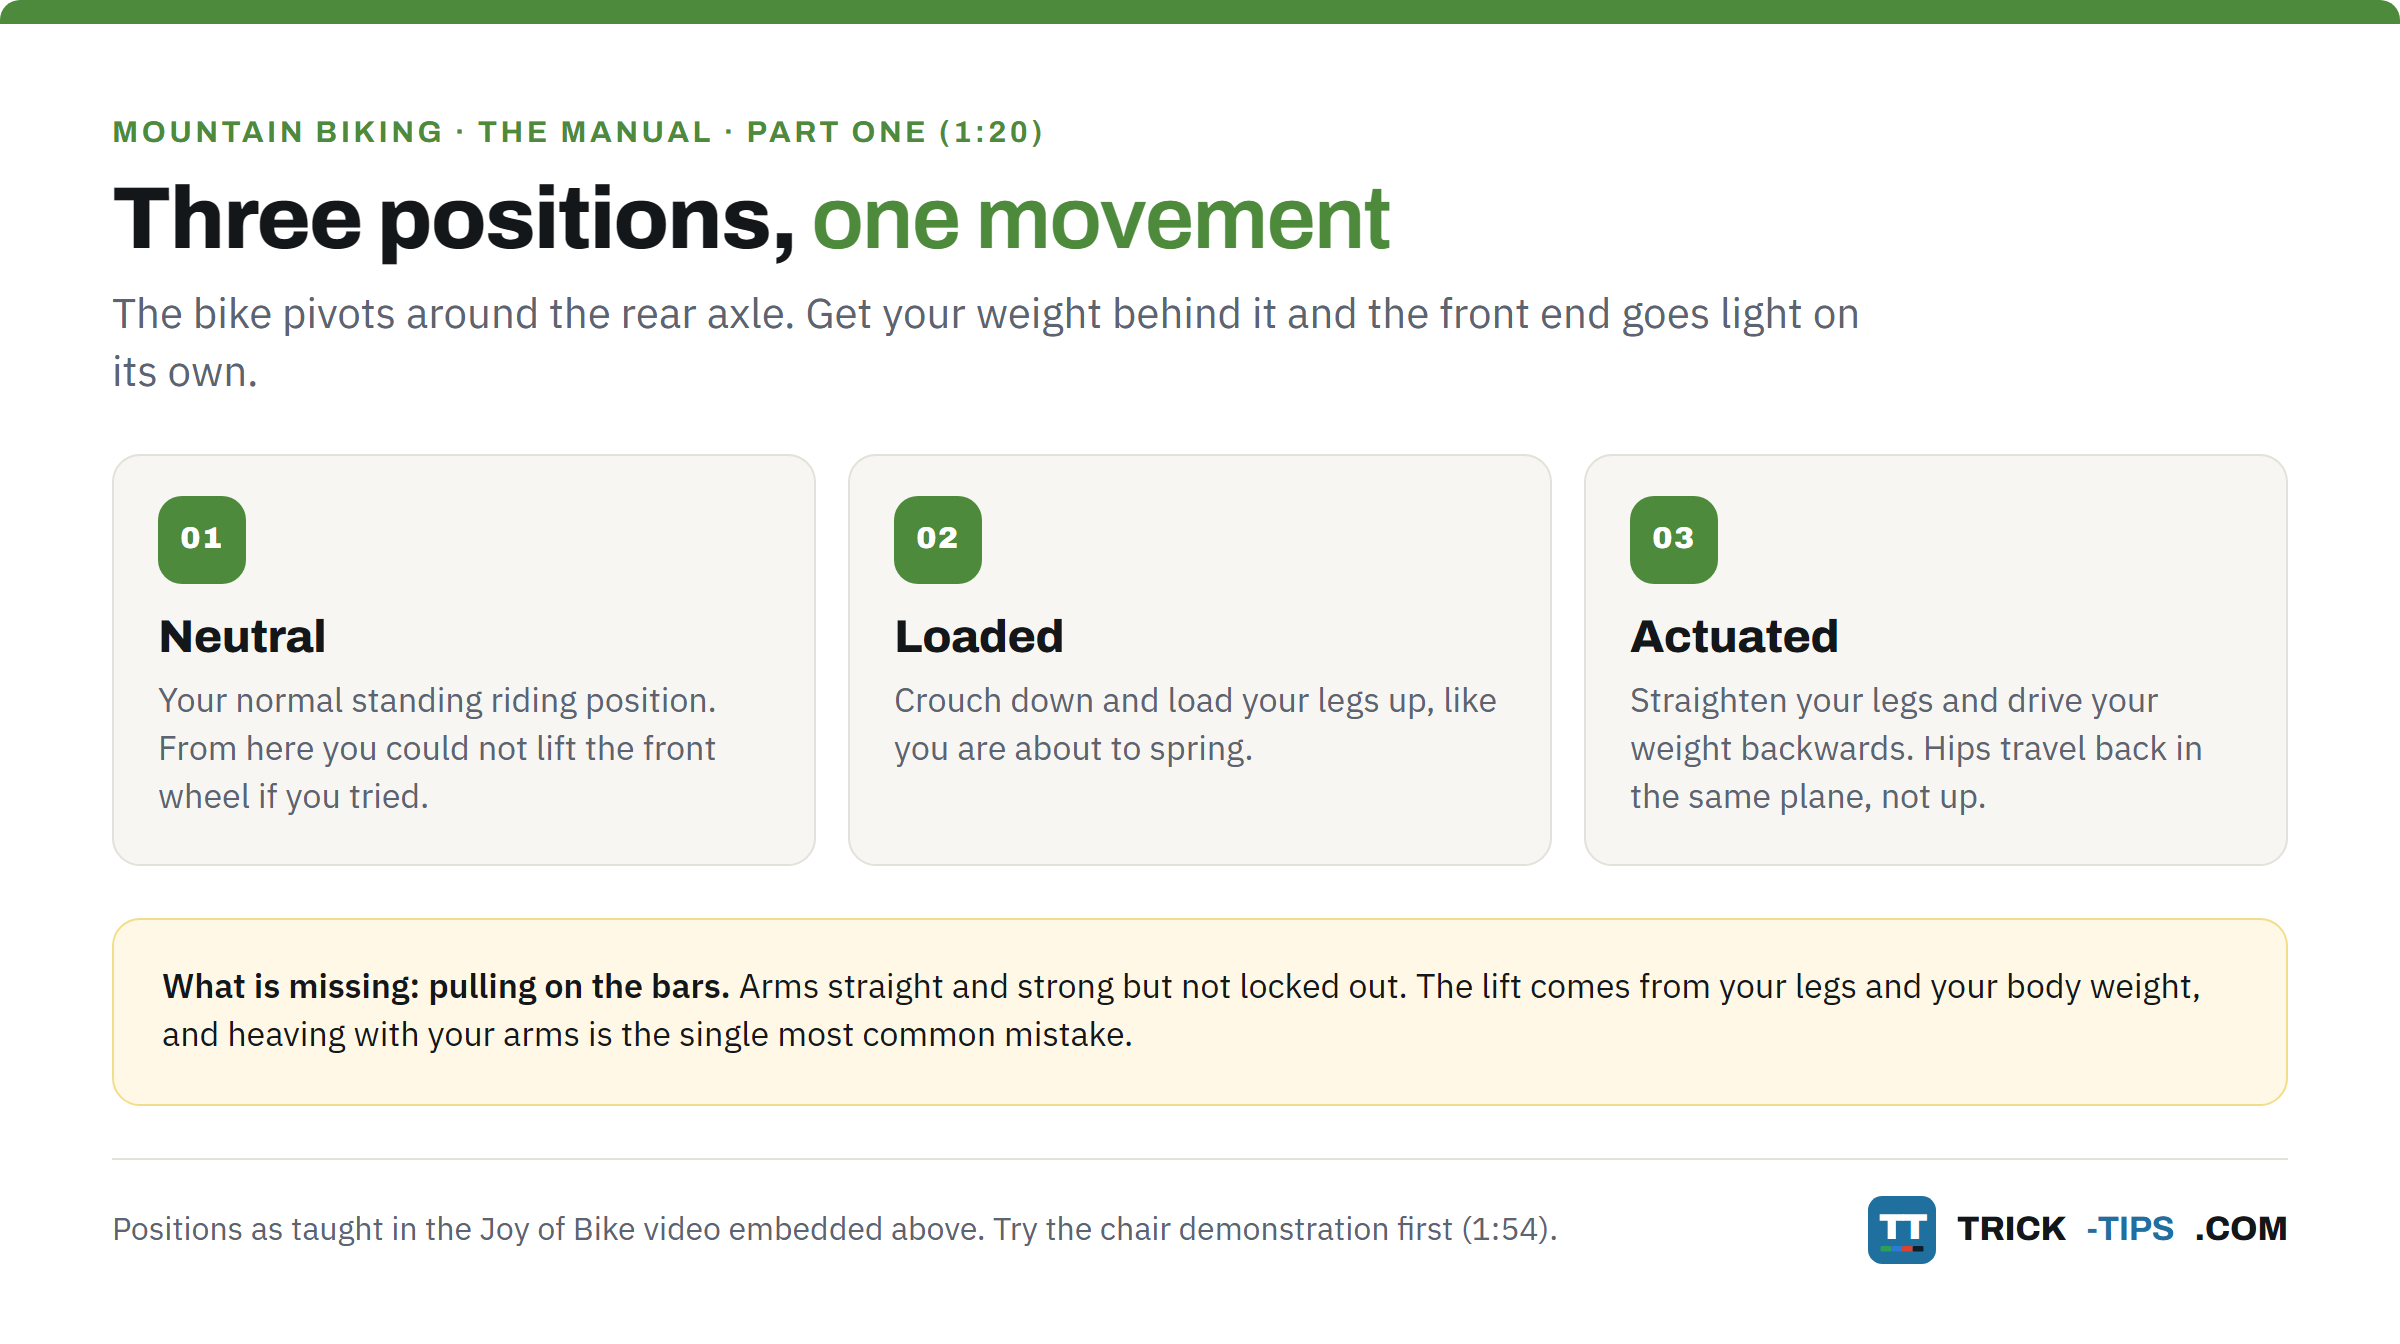
Right, the first thing to understand is that the bike pivots around the rear axle. Where your body weight sits relative to that axle decides whether the front end is heavy or light. In a normal riding position you could not lift the front wheel if you tried. Drop your weight back behind the axle and it goes light on its own.
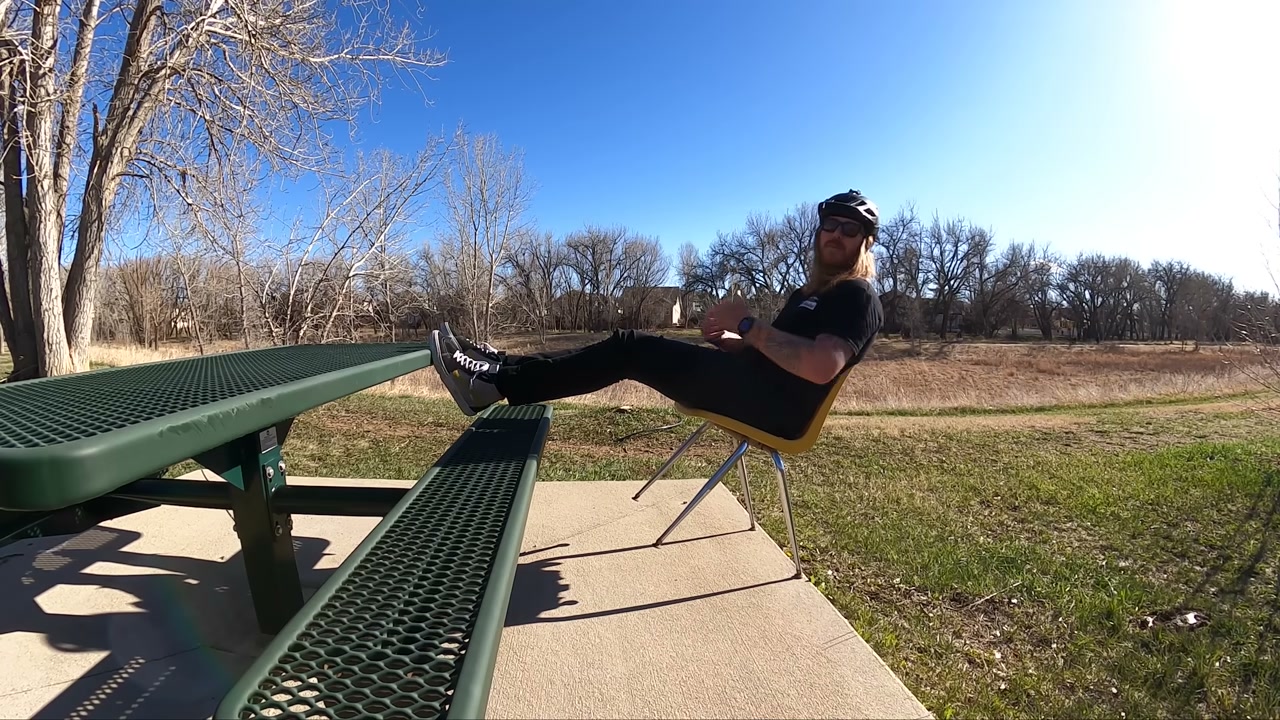
Before you get on the bike, try the chair (1:54). Sit on a normal chair and lean back onto the rear legs. Sit upright and push, and you will find you can only get so far and your legs get tired holding it. Slide your weight back properly and there is a point where it balances and feels comfortable. That is the same balance point you are looking for on the bike, and it is the same movement.
On the bike, roll along at a bit more than walking pace and work through three positions in order.
- Neutral. Just your normal standing riding position.
- Loaded. Crouch down and load your legs up, like you are about to spring.
- Actuated. Straighten your legs and drive your weight backwards. The key detail is keeping your hips in roughly the same horizontal plane as they were when loaded, so you are travelling backwards rather than standing up.
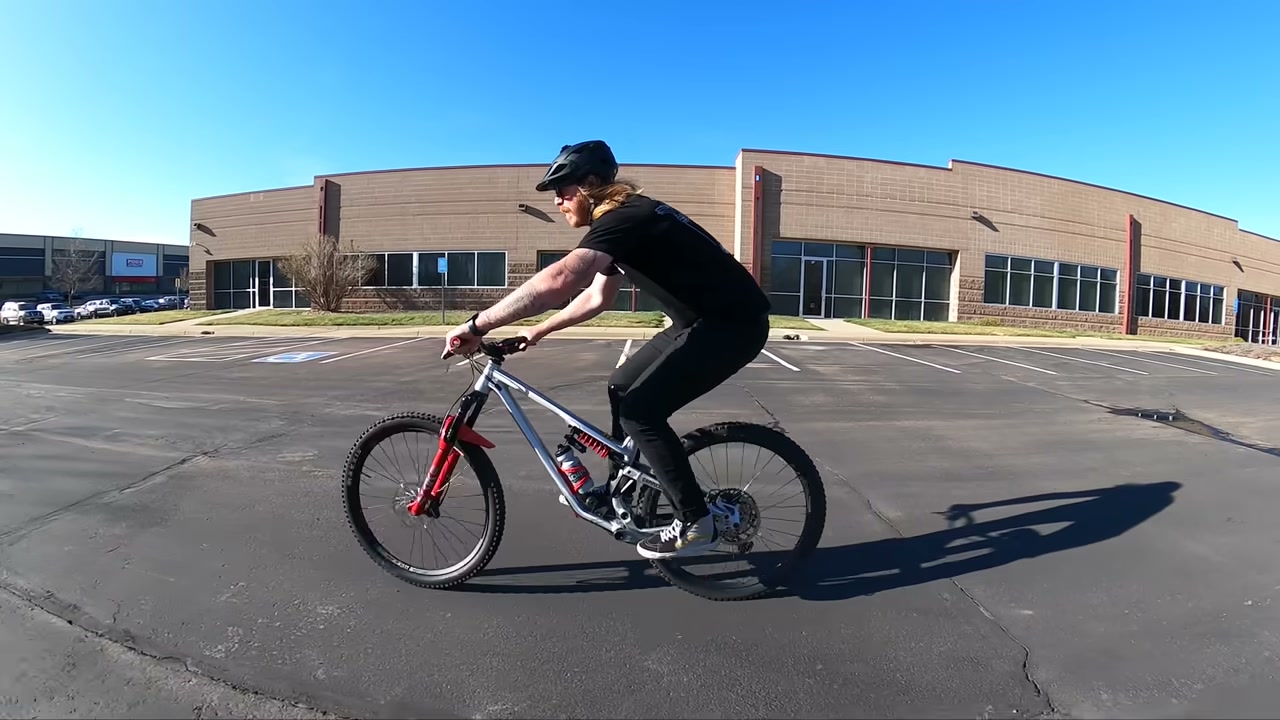
Practise those separately, then run them together as one smooth movement. That is what actually lifts the front wheel. And note what is missing from all of this, which is pulling on the bars. Heaving with your arms is the single most common mistake and it does not work. Your arms stay straight and strong but not locked out. The lift comes from your legs and your body weight.
Part two, practise looping out on purpose (5:09)
This is the part that makes the whole method work, and it feels wrong until you have done it.
Looping out is going past the balance point and falling off the back. It is going to happen. As the video says plainly, all three riders in it still loop out regularly. The problem is not that you will loop out, it is that being scared of it stops you ever committing far enough back to find the balance point in the first place. So you go and do it deliberately, in a car park, at walking pace, until it is boring.
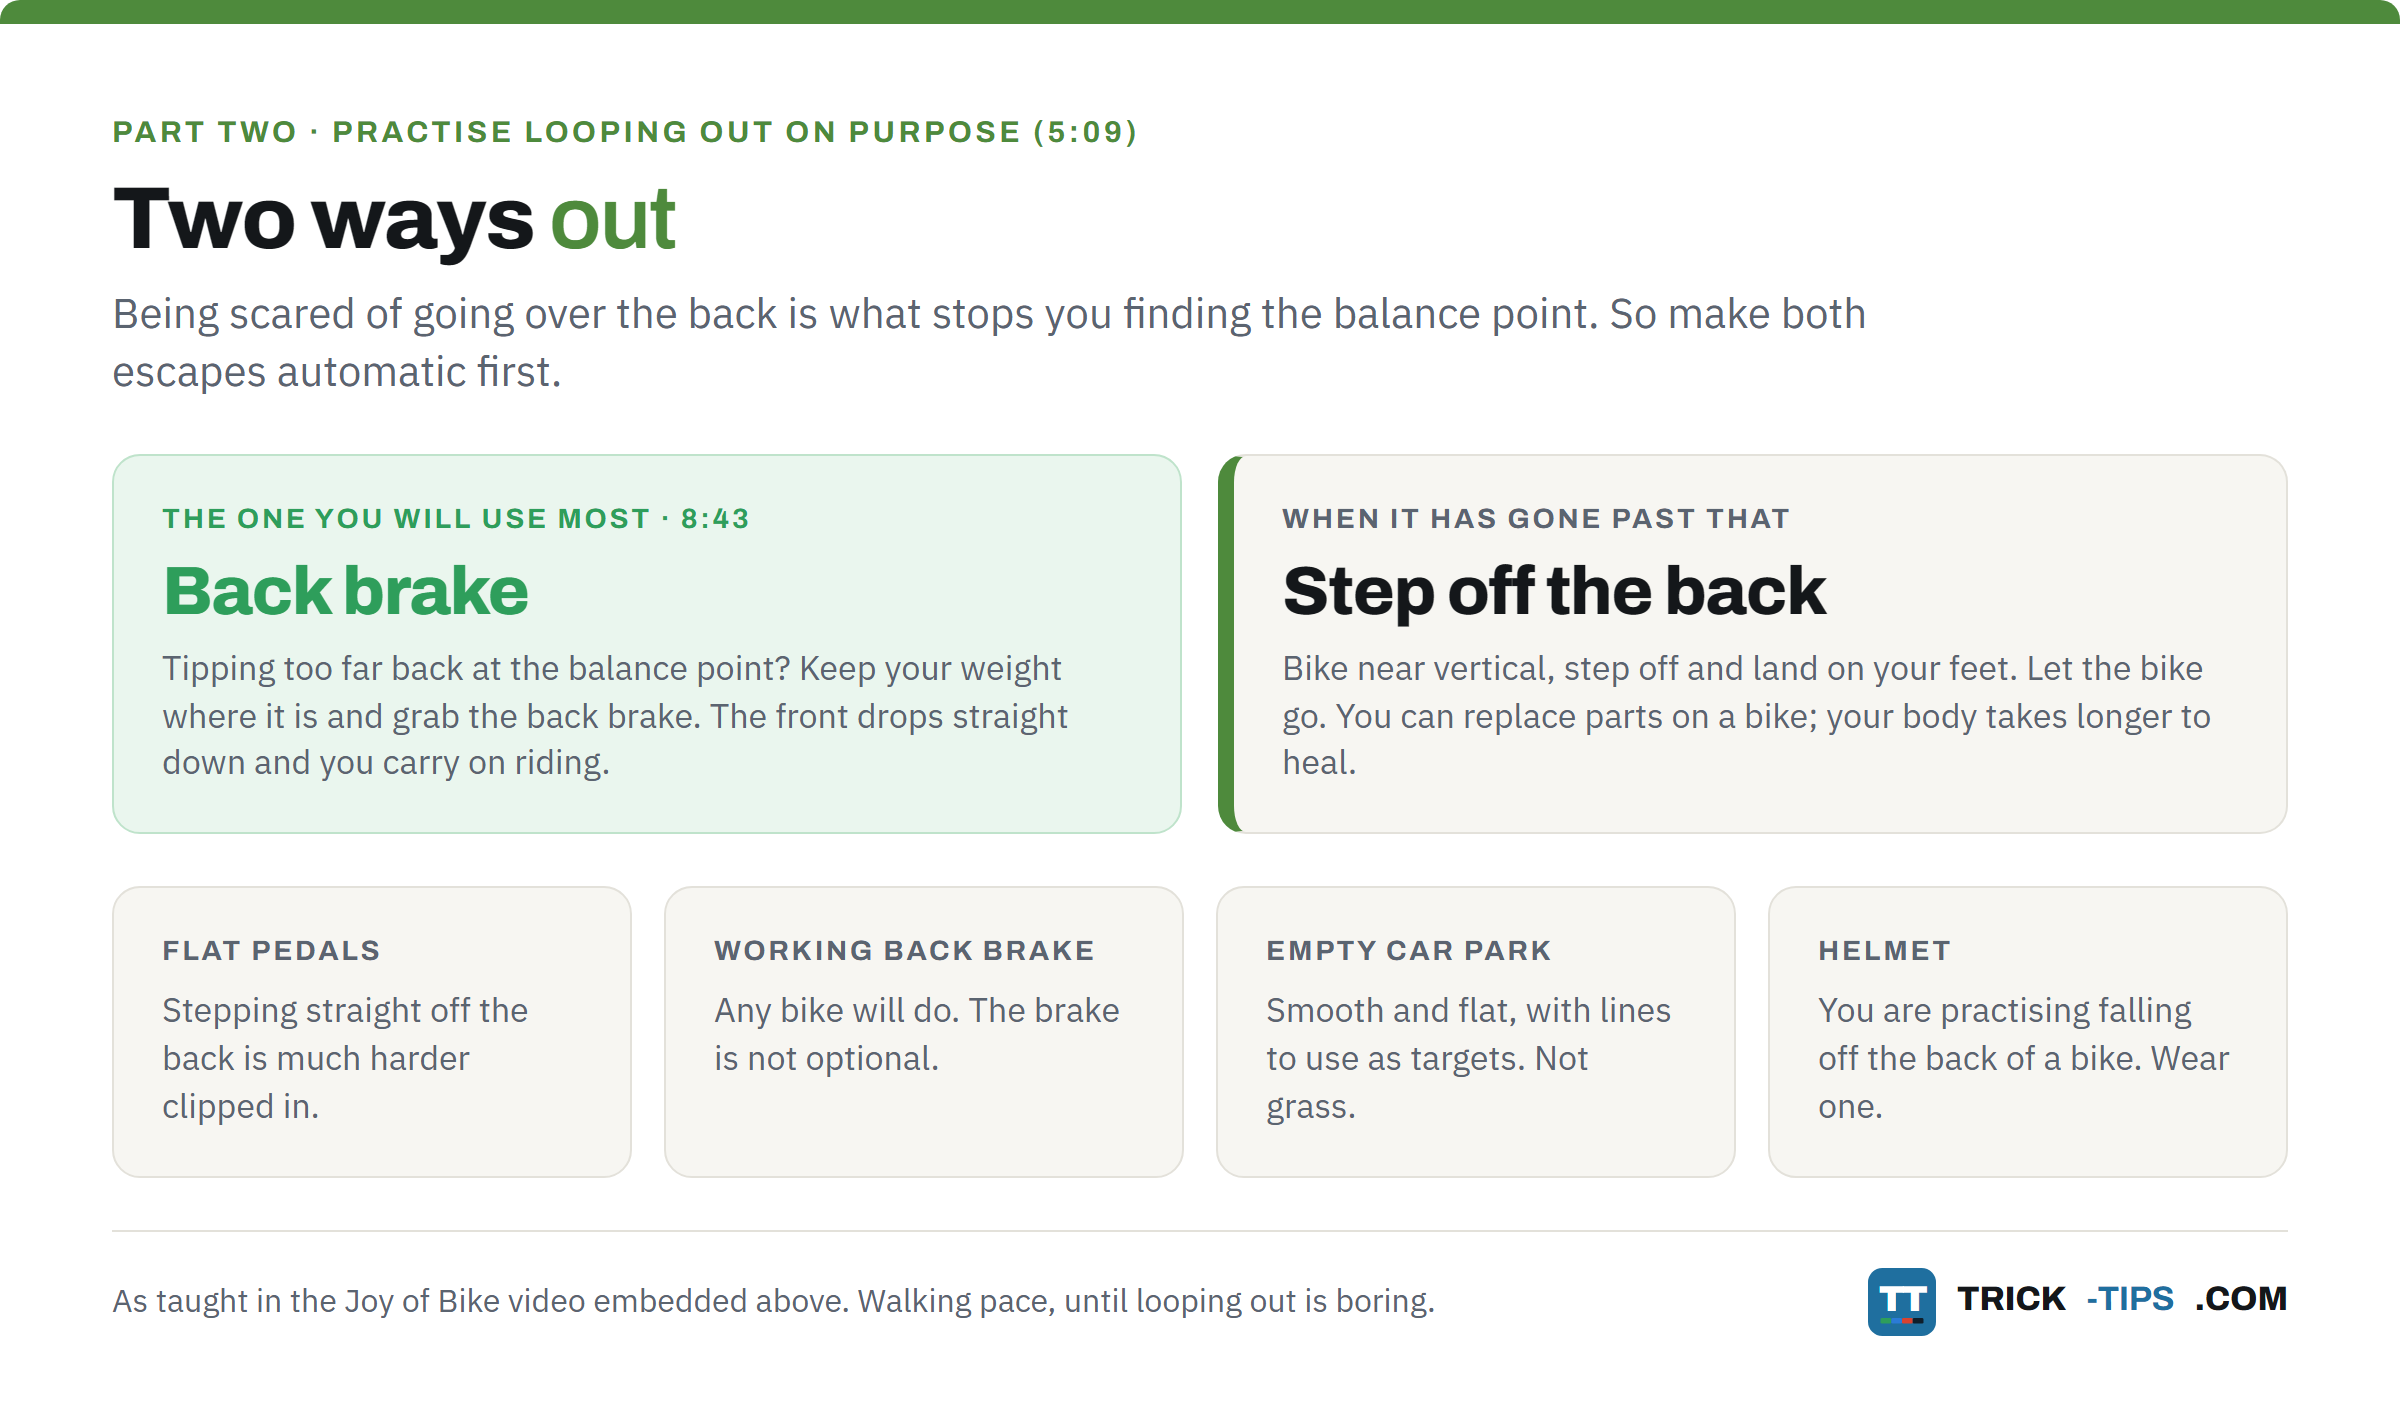
The method is simple. Go through the same positions, but exaggerate the weight shift and pop the front end right up. When the bike gets to roughly vertical, step off the back and land on your feet, letting the bike go. This is why flat pedals matter.
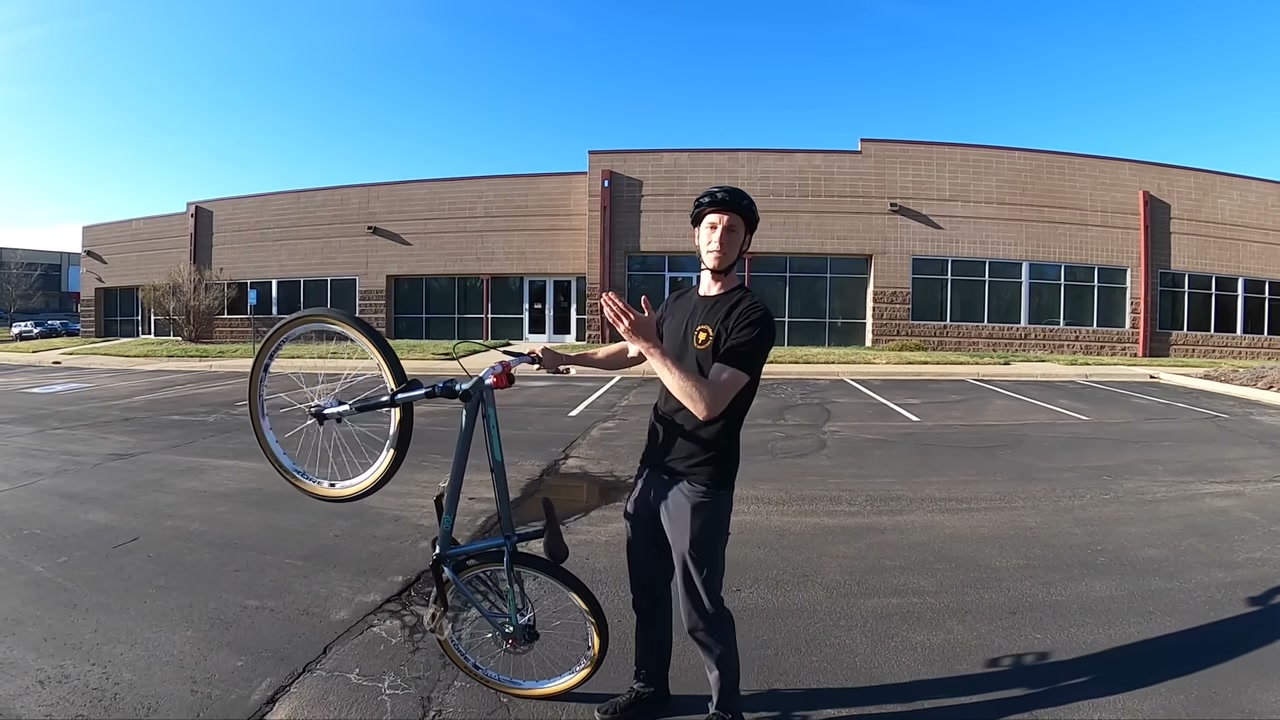
Let go of the bike if you need to. The line in the video is worth repeating: you can replace parts on your bike, but it takes time for your body to heal. If it is going wrong, ditch it and walk away.
Then there is the second escape tool, and this is the one you will use most (8:43). Your back brake. If you are at the balance point and start tipping too far back, keep your weight where it is and just grab the back brake. It drops the front end straight down and you carry on riding. Once that reaction is automatic, the manual stops being scary.
Part three, finding the balance point (9:23)
Now you back it off. Same movement, but ease off the amount of energy you drive into the bike, so instead of popping past the balance point you creep up to it.
Balance is not a position you find once and hold, it is constant small corrections. Front wheel climbing too high, come forward a bit. Front wheel dropping, shift back. Your hips stay roughly in that same plane throughout while your legs do the adjusting.
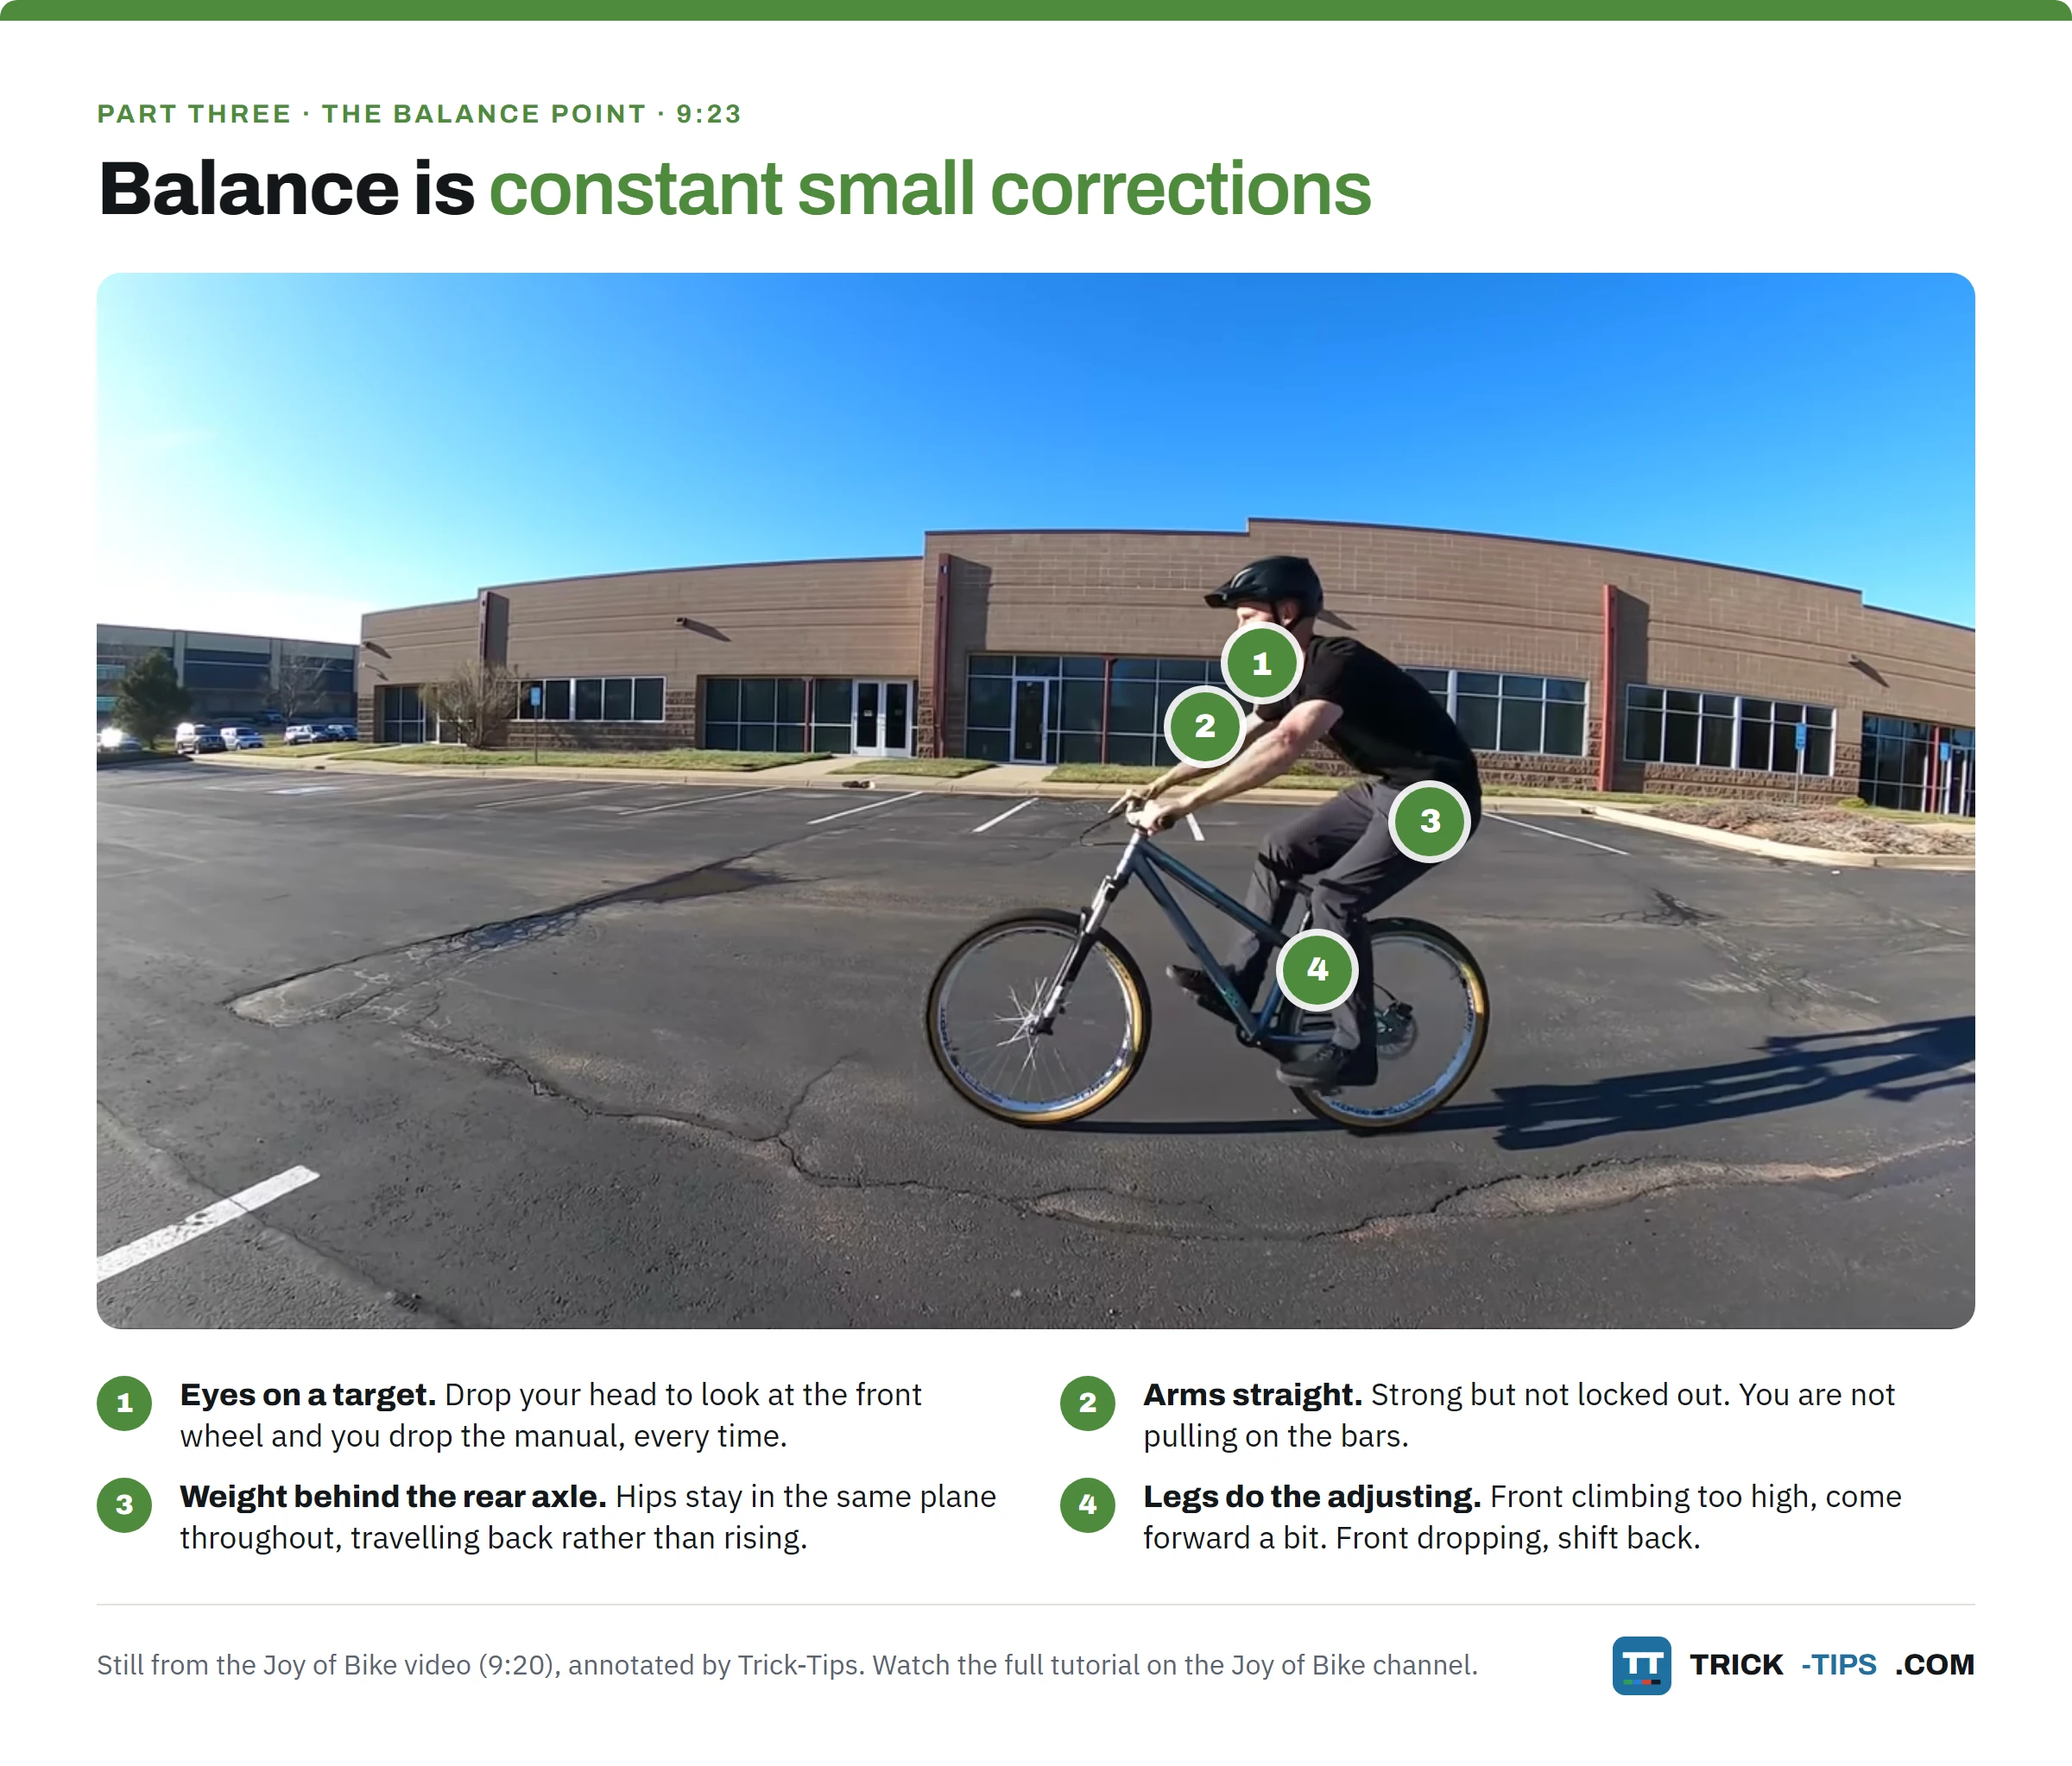
Two things make this stage much easier. First, set yourself a target and keep your eyes on it. Drop your head to look at your front wheel and you will drop the manual, every time. Second, use the car park lines. Aim to manual from one line to the next, then two, then three. It turns a vague skill into something you can actually measure and beat.
Common mistakes
- Pulling up with your arms. The one everybody does. It is technique, not strength. If you are heaving on the bars you are not getting your weight back far enough.
- Not committing far enough back. Usually fear of looping out, which is exactly what part two is for.
- Standing up instead of moving back. If your hips rise rather than travel backwards, the front end stays planted.
- Looking down at the front wheel. Head down, manual over.
- Learning it on grass. Too much rolling resistance and too bumpy to feel the balance point.
- Thinking you need to wheelie first. You do not. They are related but neither is a prerequisite for the other.
Beyond the video: a note for UK riders
The video sets its targets using American car park lines, which are about 8 feet apart. That translates almost exactly, because a traditional UK parking bay is 2.4 metres wide, which is a shade under 8 feet. Newer car parks are being marked out slightly bigger, around 2.6 metres, but for practice purposes one bay is one bay.
So the goal ladder works here unchanged. Manual across one bay, then two, then three. A tidy first target is a full row.
Where to take it once you have it
Once the manual works on flat ground, the pump track is the next place to take it (10:56). Manual from one roller to the next, or across the deck between two berms. Get that dialled and you can start linking rollers together, which is where it starts being genuinely fast rather than just fun.
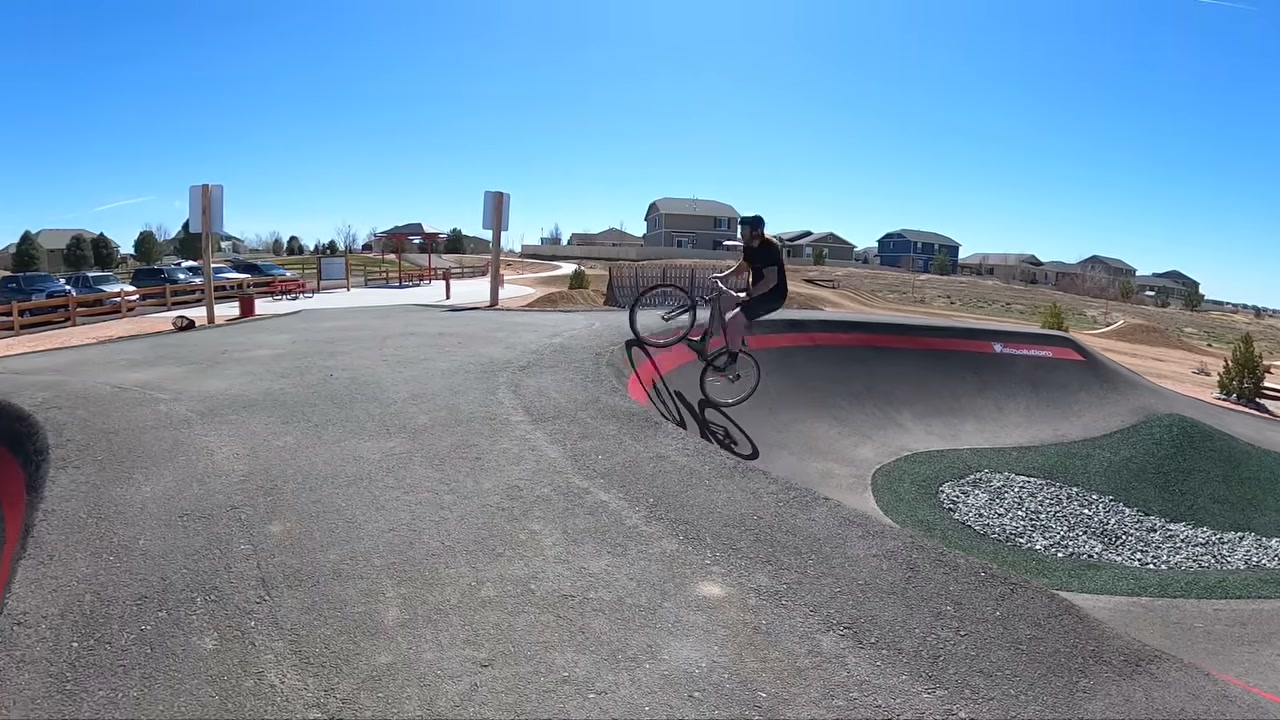
One thing to expect. The balance point moves from bike to bike. A BMX, a dirt jumper and a full-suspension mountain bike all sit differently, so do not be surprised when the skill feels new again on a different bike.
What should you learn next?
The manual sits neatly among the skills that make a trail flow rather than the ones that get you down it. Since the pump track is where you should be taking it, learn how to pump while you are there, because the two combine into real speed. The bunny hop uses the same weight-back movement to start it, so time spent here pays straight into that. And if you want the skill that changes the most trail time for the least effort, it is still cornering.
Manual FAQs
What is the difference between a manual and a wheelie?
In a wheelie you pedal, and the pedalling holds the front wheel up. In a manual you do not pedal at all, and you hold the front end up purely by balancing your weight behind the rear axle. The manual is the more useful of the two on a trail because it carries you over rough sections without losing speed.
Do I need to learn to wheelie before I can manual?
No. It is a common assumption and it is wrong. The two skills are related but neither is a prerequisite for the other, and plenty of riders can manual without being able to hold a wheelie at all.
How long does it take to learn to manual?
Longer than most tricks, and that is normal. Expect to get the front wheel up and hold it briefly within a session or two, but holding a manual for any real distance usually takes weeks or months of short, regular practice. Working in a car park where you can measure your progress against the bay lines helps a lot.
How do I stop myself looping out when manualing?
Two ways. Grab your back brake, which drops the front end immediately and lets you keep riding, and this is the one you will use most. If it has gone too far for that, step off the back and land on your feet, letting the bike go. Practise both deliberately at walking pace before you go looking for the balance point.
Can you manual on any bike?
Yes, as long as it has a working back brake. Mountain bikes, dirt jumpers and BMXs all manual fine. What changes is where the balance point sits, so a skill that feels dialled on one bike will feel unfamiliar on another until you adjust.
Why can I not get my front wheel up?
Almost always because you are pulling with your arms instead of driving your weight back, or because you are standing up rather than moving backwards. The front wheel gets light when your body weight moves behind the rear axle, so keep your hips travelling back rather than rising, and let your legs do the work.
So, find an empty car park, put your flat pedals on and spend the first session doing nothing but looping out. It feels like the least productive way to learn a trick and it is the reason this method works. Ask any questions in the comments below.


