
So you can get down a red run, your turns look roughly right, and yet the snow keeps spraying sideways out of every one. That is skidding, and carving is the fix.
Carving means rolling the skis onto their edges and letting the shape of the ski bend into a turn, instead of twisting your feet and pushing the tails across the hill. The ski does the work. You supply the edge angle and stay balanced over it.
It is not a strength thing and it is not a bravery thing. It is a sequence of four drills on a quiet, flat slope, and the video below walks through all of them.
Why this video?
Carving is one of those subjects where the advice online turns into a list of body-position commands with no way to check whether you are doing any of them. This tutorial from Stomp It Tutorials avoids that in two ways.
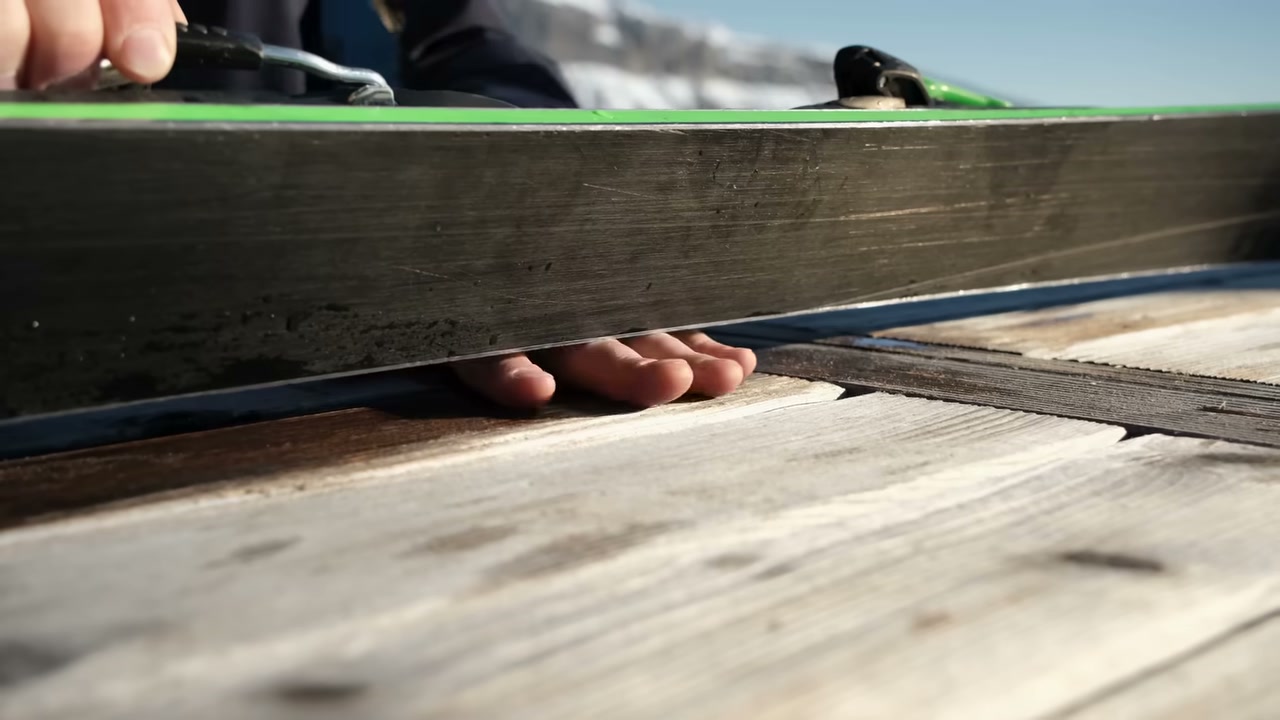
First, it starts by showing you what a ski actually does, with a ski on a table and a hand under the edge, so the phrase “edge angle” means something before you clip in. Second, every drill has a way to check yourself, usually by turning round and looking at your own tracks. That is the bit that turns a video into practice.
It is also honest about terrain. It sends you to a flat, quiet slope rather than telling you to go and carve a red run, which is where most people’s carving falls apart.
One thing to know before you watch. From about 8:35 to 10:33 the video runs a segment with a Carv sensor in the ski boot, showing edge angles in degrees, and there is a discount code for it in the video description. It is a product placement. It also happens to illustrate the point of that section rather well, because you get to see the difference between an edge angle that grips and one that does not. Watch it or skip it, but you should know what it is.
What carving actually is
Look at a ski from the side and it is narrower in the middle than at the tip and tail (0:49). That shape is why this works.
Put the ski on a low edge and press on it, and it bends a little, which gives you a long turn (1:03). Put it on a high edge and press on it, and it bends much more, which gives you a much tighter turn (1:21). The same ski makes a different sized turn depending only on how far over you put it.
So the difference between the two kinds of turn is this. In a skidded turn you are steering, rotating your feet so the skis pivot and brush sideways across the snow (1:47). In a carved turn you are not steering at all. You roll from edge to edge, the ski cuts a clean line, and it leaves two thin tracks behind you rather than a smear (2:01).
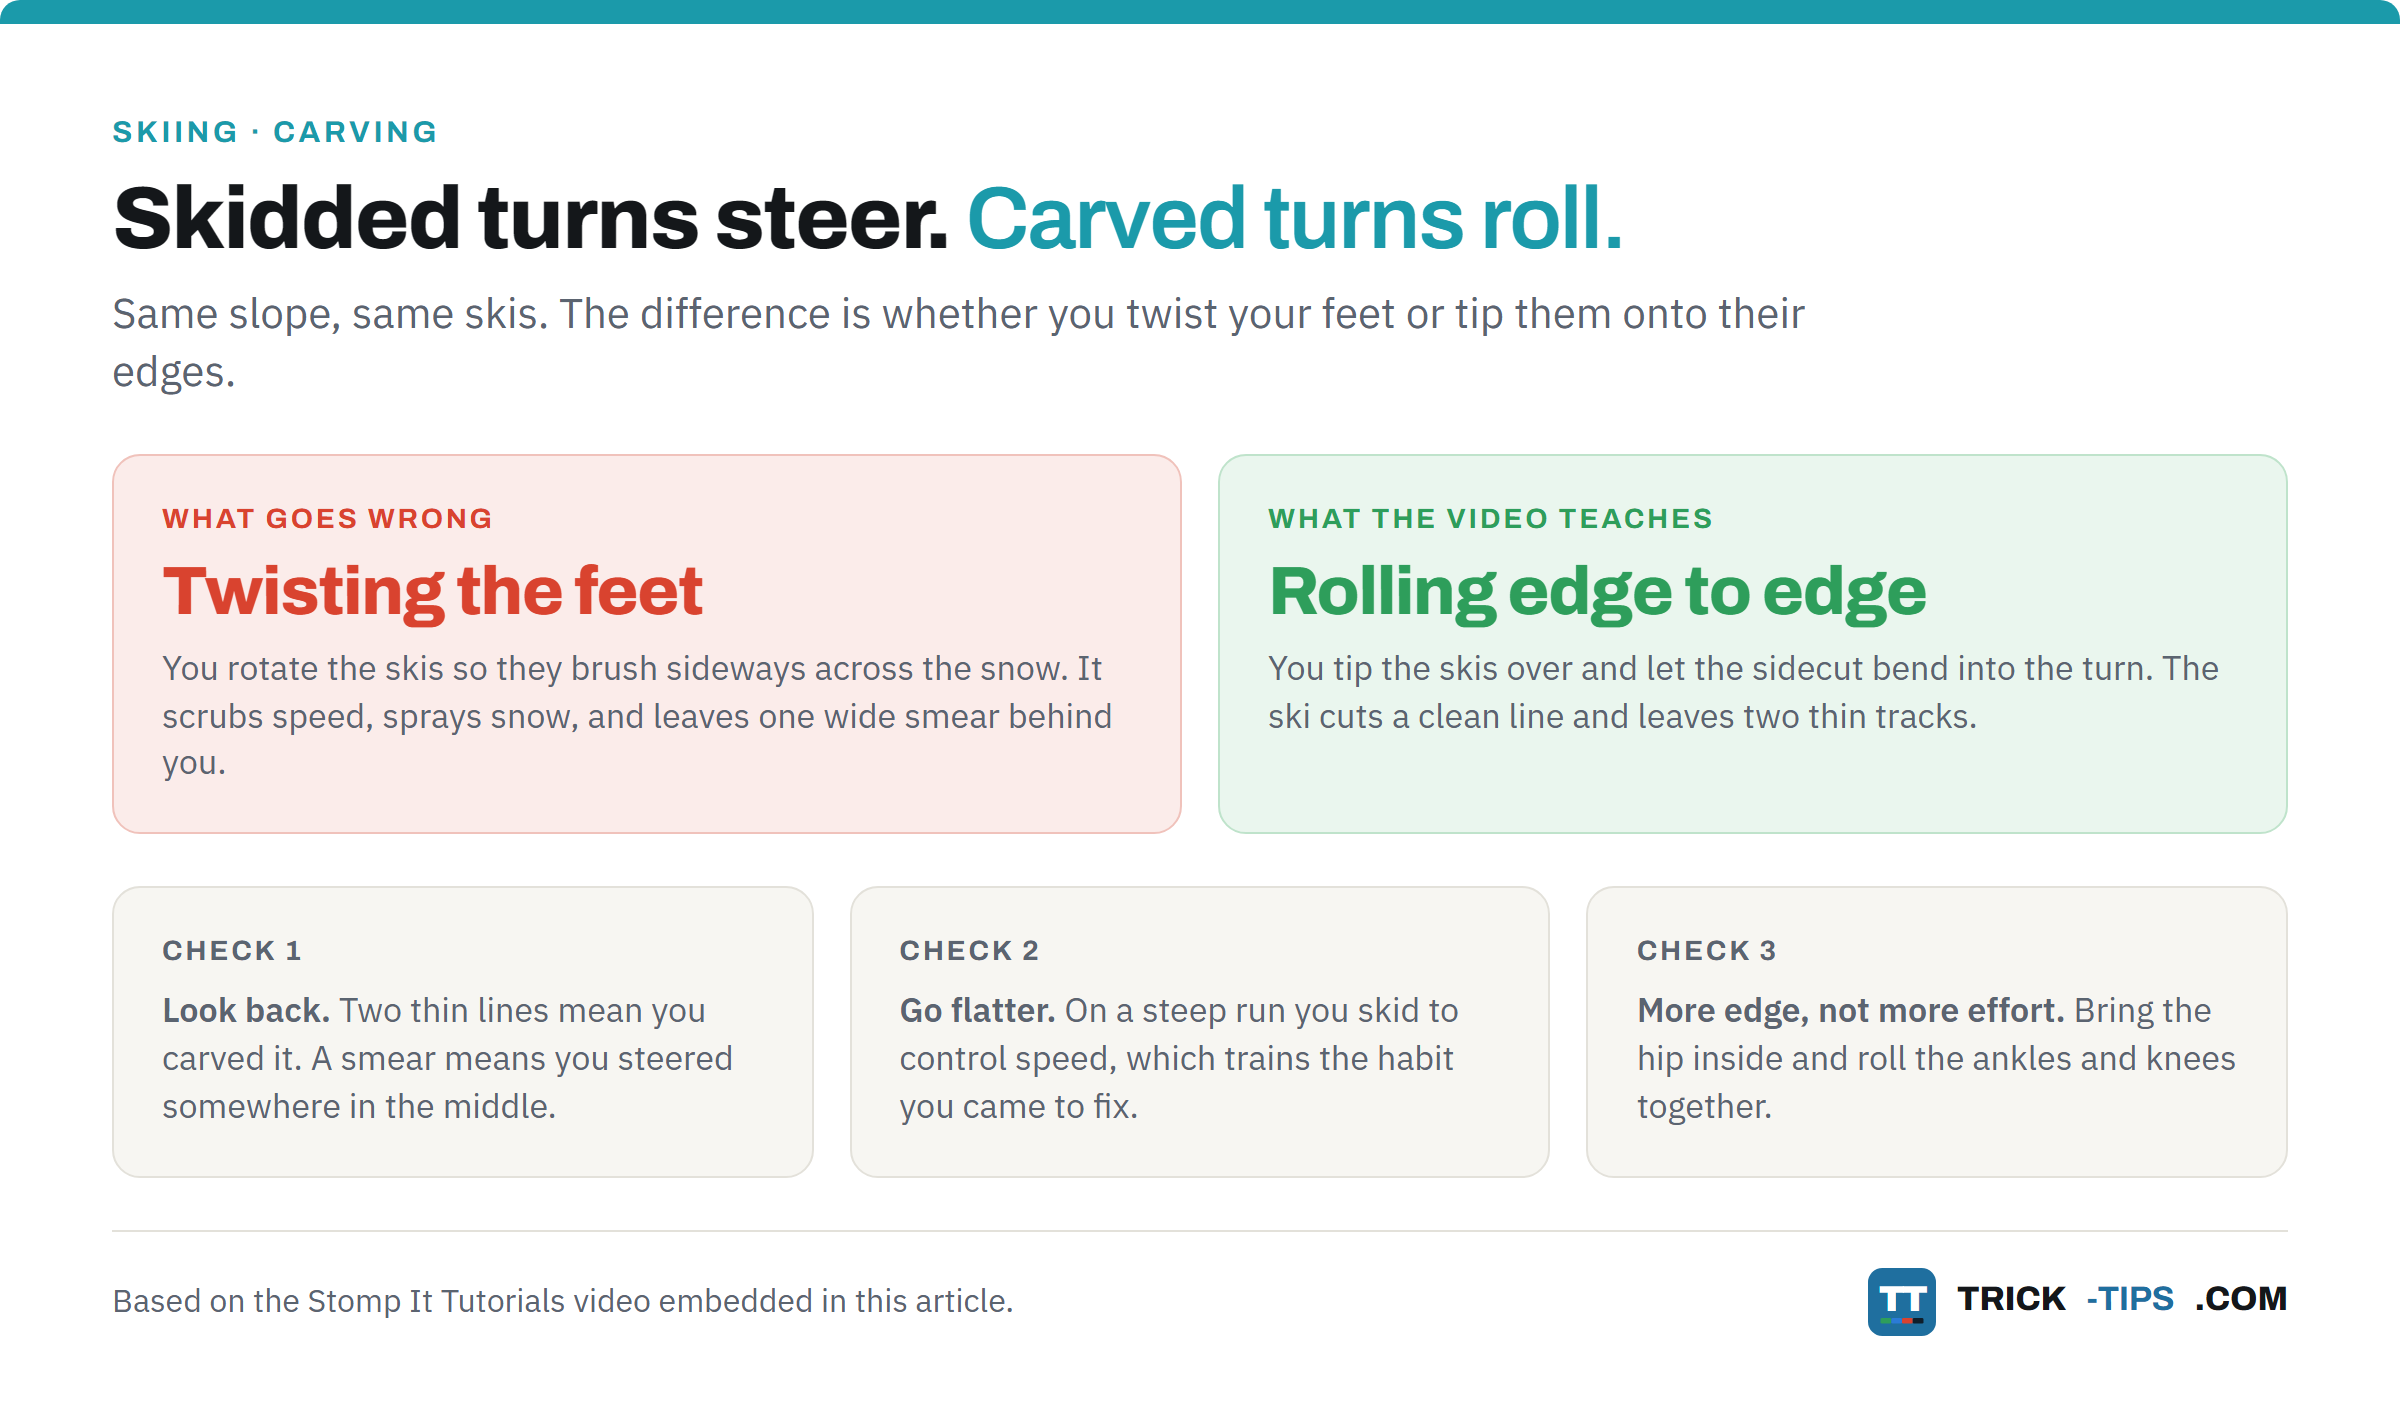
Both are useful. As the video says, a skidded turn is the right tool for bumps, powder and tight short turns (1:57). Carving is what you want on a groomed piste when you would like to go fast, feel the pressure build, and leave a set of tracks worth looking back at.
Where to practise, and what you need first
You should already be able to link parallel turns and stop when you want to. Beyond that, terrain does most of the work for you.
Find a slope that is flat enough that you barely pick up speed, and that stays flat for a long way (2:47). A green or an easy blue is ideal. On anything steeper you will start skidding to control your speed, which is the exact habit you are trying to break.
Then find one that is quiet. These drills take you across the piste rather than down it, so you will be cutting across other people’s lines, and a carved turn covers a lot more width than a skidded one. Look up the hill before you set off, every time (3:00). The video does this before every run and so should you.
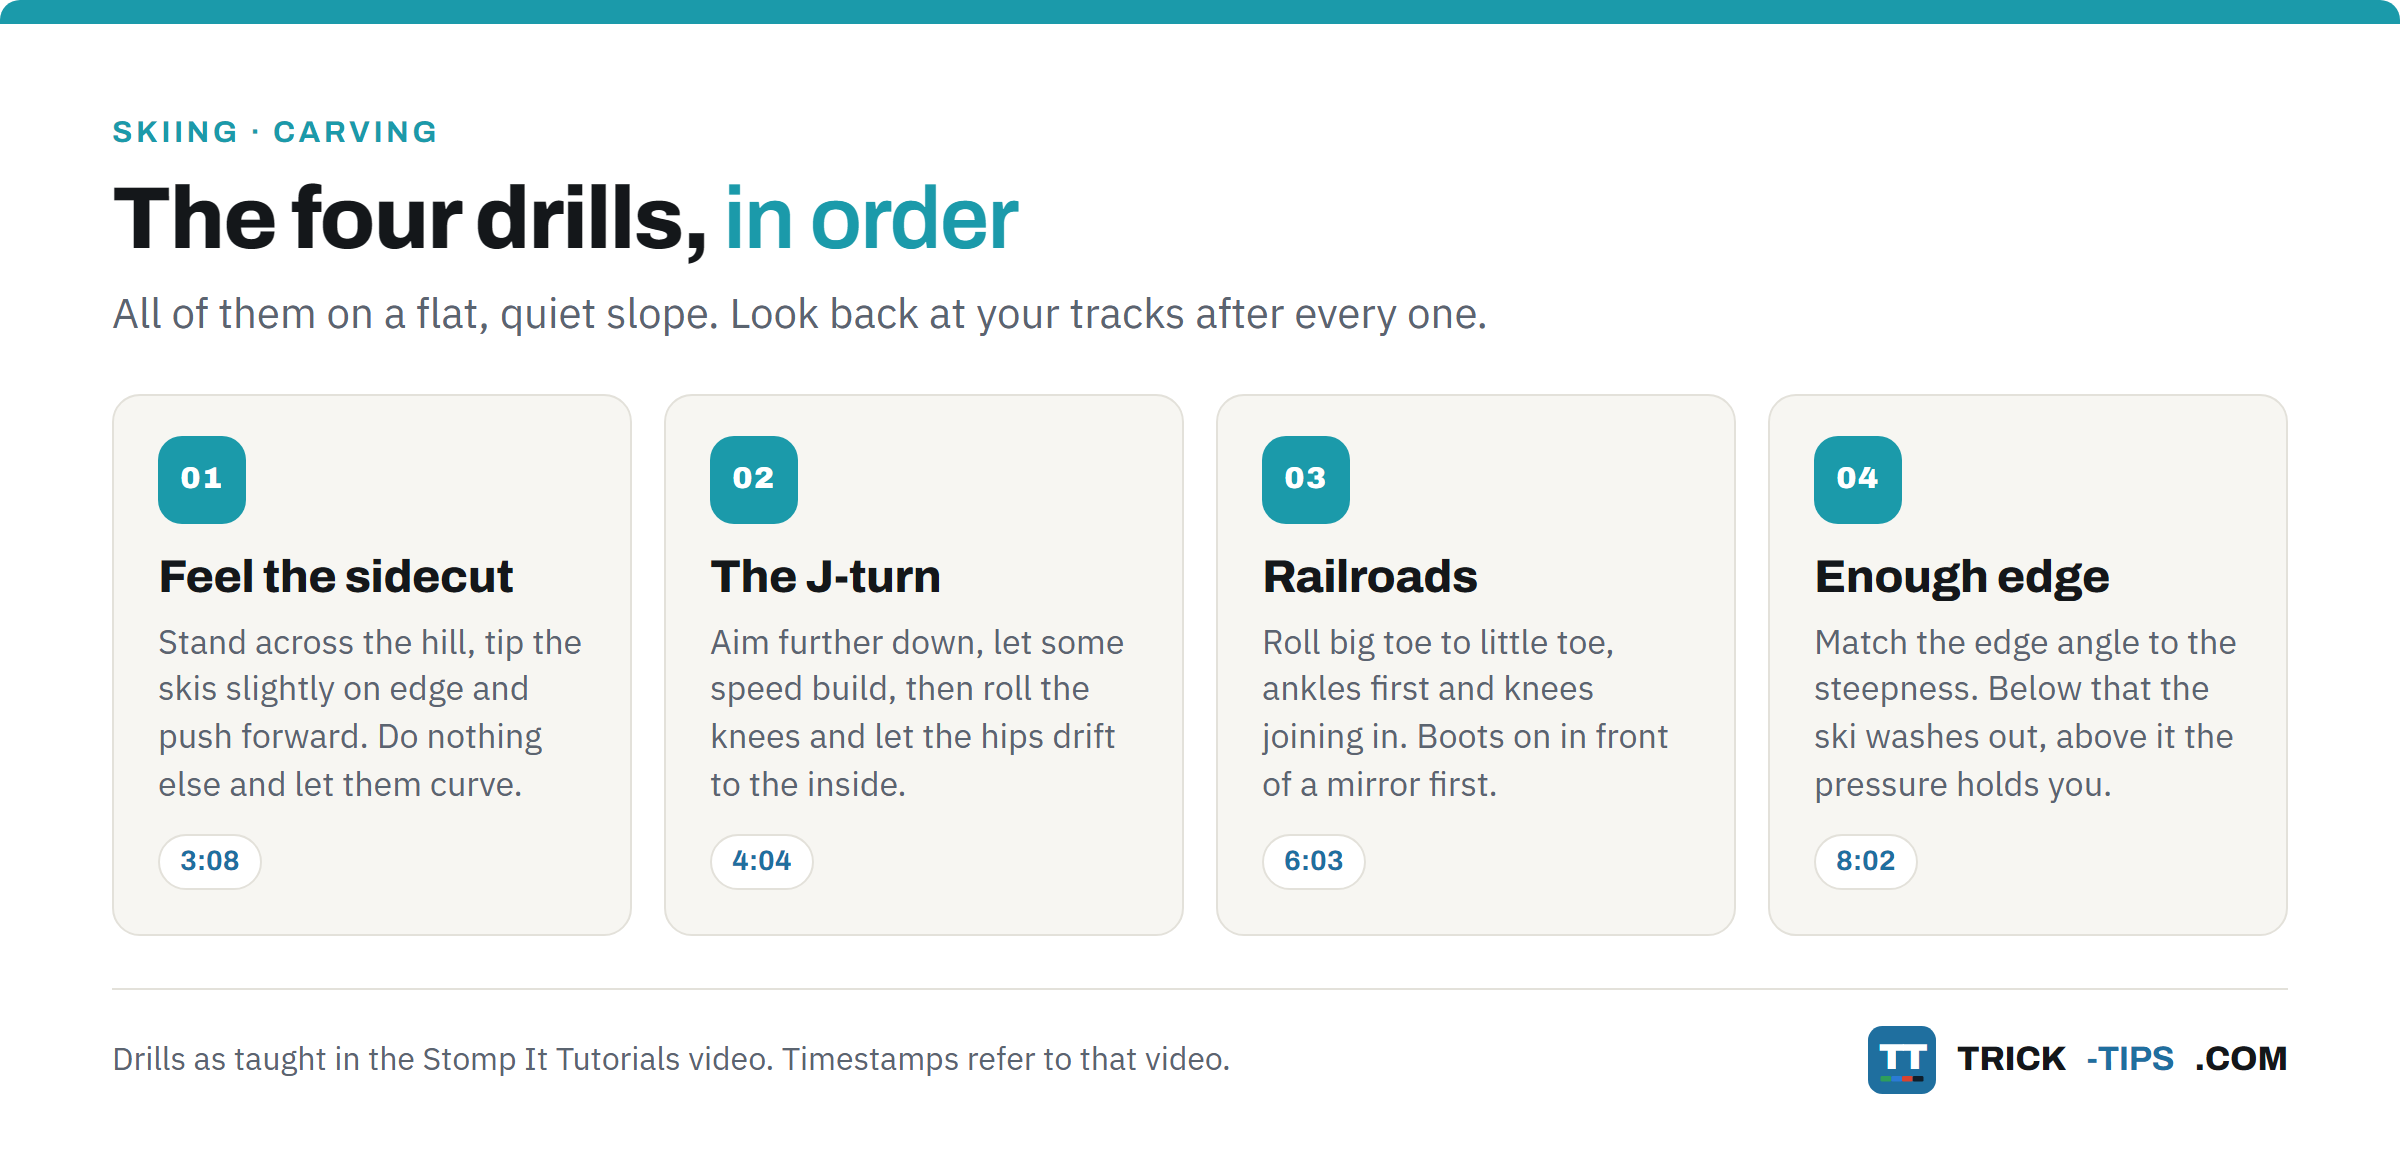
The four drills, in order
Drill one: stand on the edge and feel it
The first one barely counts as skiing. Point the skis across the hill, stand still, tip them slightly onto their edges and push yourself forward (3:08). Do nothing else.
The skis will start to travel and curve gently up the hill on their own (3:15). That is the sidecut working without any help from you, and feeling that once makes the rest of it make sense.
Then aim the skis about 15 degrees down the hill and repeat (3:27). Still do nothing. Let it take you.
Drill two: the J-turn
Now aim further down the hill, let a bit of speed build, and then roll your knees over and let your hips drift towards the inside of the turn (4:04). The skis come round and take you back up the hill, drawing the shape of a letter J.
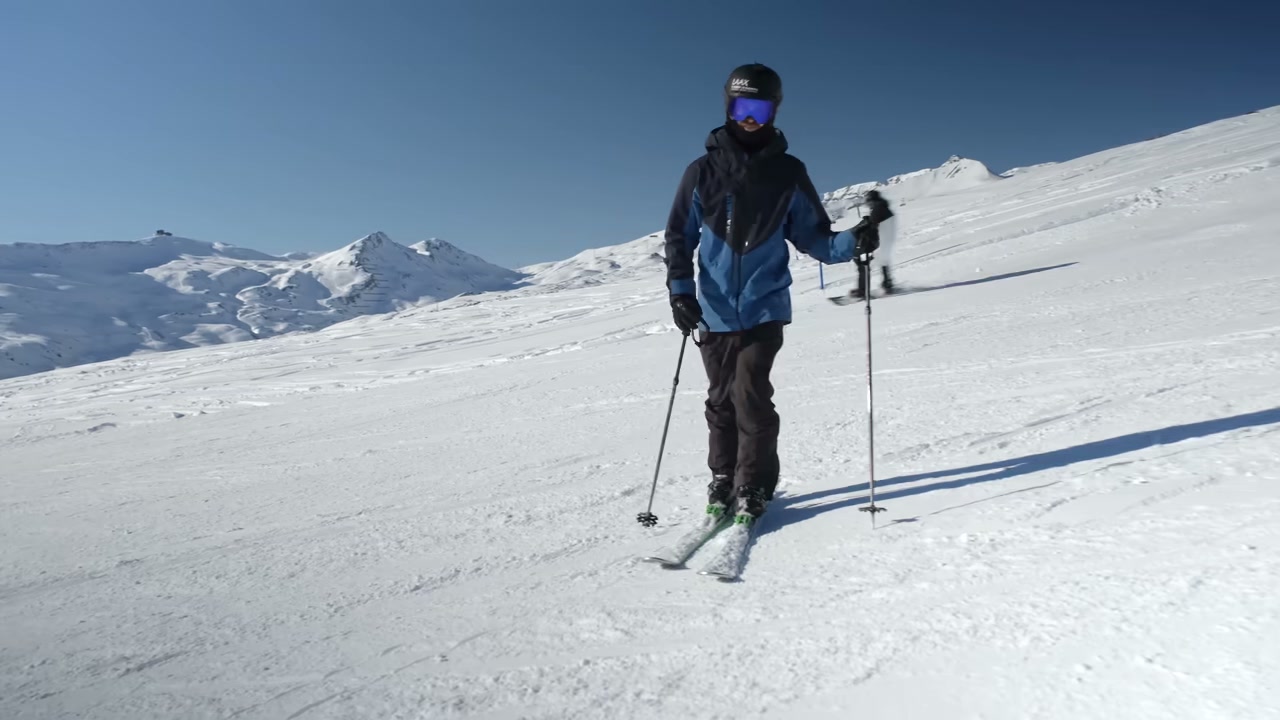
Two things matter here. The first is that the hill slows you down, not your edges brushing sideways. You feel the pressure build under your feet at the end of the turn and that is what controls the speed (4:31).
The second is the check. Stop, turn round and look at your tracks (4:39). Two clean thin lines mean you carved it. Anything wider means you steered somewhere in the middle.
Once the gentle version is clean, do it steeper, pointing straight down the fall line before you commit to the turn (4:48).
Drill three: railroads
Railroad turns are where the rolling movement gets trained properly, and you can start this one in your kitchen.
Put your ski boots on, stand in front of a mirror, and roll from your big toes to your little toes and back (6:03). Slowly. Start the movement from your feet rather than throwing your knees around, then let the knees join in, and watch that they move in unison rather than one leading (6:43).
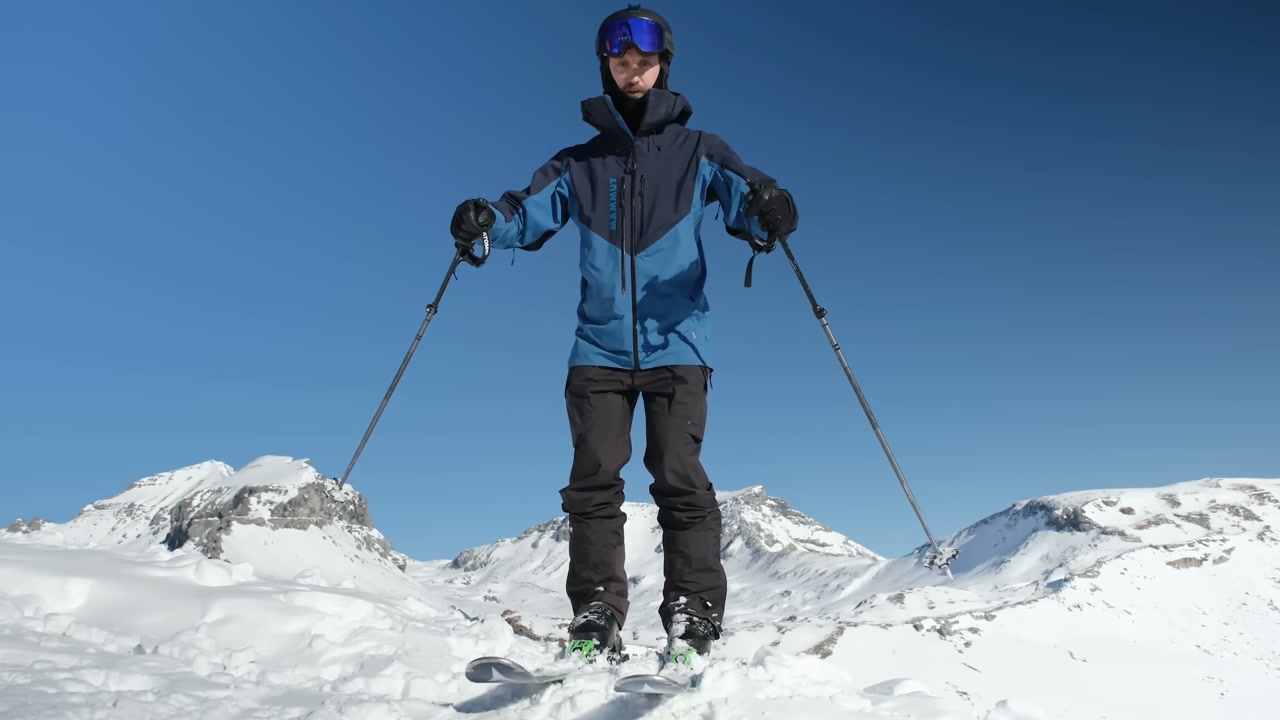
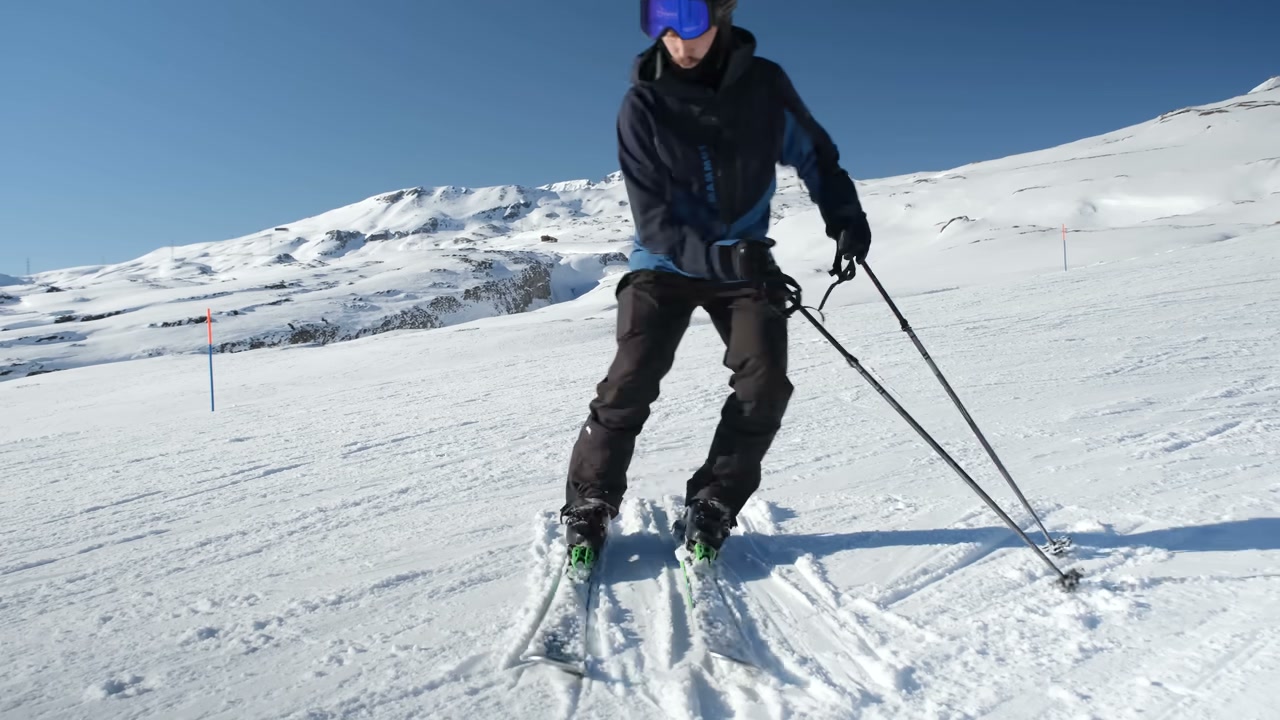
On snow it is the same movement while running straight down a gentle slope. Ankles first, then a little knee (6:57). You are not trying to turn. You are just tipping the skis from one set of edges to the other and letting them draw a shallow S.
Then look behind you again. If the two tracks are clean but the gap between them opens and closes, your legs are at different edge angles (7:16). The video’s fix is a drill that looks daft and works. Stand with your feet hip width apart, bend down and hold a kneecap in each hand, and make a few turns like that so your knees are forced to move together (7:26).
Drill four: enough edge angle to hold
Here is the idea that ties the whole thing together. The video calls it critical edge angle (8:02). It is the amount of edge you need for the steepness, the snow and the speed you are carrying. Below it the ski washes out and you start skidding. Above it the ski grips, the pressure builds, and that pressure is what controls your speed.
There is no number to memorise, because it changes with the slope and the snow. What it means in practice is that if you are skidding halfway through a turn on a steeper pitch, the answer is usually more edge, not more effort.
What your tracks are telling you
Every drill above ends the same way. Stop, look back, read the snow.
| What you see | What it means | What to do |
|---|---|---|
| Two clean, thin lines | You carved it | Go slightly steeper, or make the turns rounder |
| Wide brushed smears | You are steering the skis round | More edge angle, roll the ankles and knees in |
| Clean at the top, smeared at the bottom | Not enough edge for the steepness | Get the hip inside and crank more angle earlier |
| The gap between the lines opens and closes | Your two legs are at different edge angles | The kneecap drill at 7:26 |
| The tails wash out | Weight too far forward, tails light | Hips over the middle of the skis |
Common mistakes
- Rushing the turn. If you hurry, you rotate your feet without meaning to and the carve turns into a steer (5:08). Slow the whole thing down and let the ski come round in its own time.
- Not enough edge angle. The most common one by far. Bring the hip to the inside of the turn and roll the feet, ankles and knees together (5:19).
- Leaning too far forward. Get too far over the fronts and the tails lift and stop gripping, so the back of every turn skids out (5:31). Keep your hips over the middle of the skis so the whole edge is in the snow.
- Practising somewhere too steep. On a steep run you will skid to control your speed, and you will train the habit you came to fix. Flat and quiet, every time.
Going further: transitions and mad angles
Once the four drills are clean, the next gains are in the transition, the moment between one turn and the next.
The video’s drill for this is to lean on a pole planted at your hip while running across the hill, feel how much pressure is on the outside leg, then soften the inside leg so you come up and topple across the skis into the new turn (10:41). It calls the movement toppling, like a tree going over, and the point of it is that you arrive at a high edge angle early in the turn rather than halfway through it.
Pure toppling on its own gets you leaning in, which is fragile if you hit a hard patch. So the video adds angulation, bending at the waist and hip so the body stays stacked while the skis go over further, and trains it with a pole-drag drill where you drag the outside pole through the turn (12:01).
The end of that road is what the video cheerfully calls the mad angles (12:37), where the outside leg is almost straight out and the hip is inches off the snow. That is a long way past a first carved turn, and it is worth watching so you know where this is all heading.
What to learn next
Carving is the foundation under everything else on the mountain, park included. Once you can put a ski on edge on demand and trust it, riding switch is the natural next step, and after that your first box stops being frightening because you already know how to stand on a flat ski and hold a line.
The rest of the ladder, from straight airs to rails and the pipe, is in the skiing section, graded green to black so you can find your level.
And since carving properly means a lot of runs on a cold, quiet piste early in the morning, it is worth being dressed for it. Our Outdoor Skills section covers staying warm when you are stopping and starting all day.
Frequently Asked Questions
What does it mean to carve on skis?
Carving means turning by rolling the skis onto their edges so the shape of the ski bends and draws the turn, rather than twisting your feet to push the skis sideways. A carved turn leaves two clean, thin tracks in the snow. A skidded turn leaves a wide brushed smear.
Can a beginner carve?
You need to be able to link parallel turns and stop confidently first, but after that yes. The drills in the video start with standing still on a flat slope and letting the skis run, which anyone who can ski a green run can do. Carving well on steep terrain takes much longer.
Do I need special carving skis?
No. Any modern ski has sidecut and will carve if you put it on enough edge. Skis with a deeper sidecut turn more tightly for the same edge angle, so a dedicated carving ski makes it easier, but the drills work on whatever you are already on. Sharp edges matter more than the model.
Why do my skis skid at the end of every turn?
Usually one of two things. Either you have not got enough edge angle for how steep it is, so the ski loses grip once the pressure builds, or you are leaning too far forward and lifting the tails out of the snow. The video covers both, at 5:19 and 5:31.
Is carving better than skidding?
Neither is better, they are different tools. Skidded turns are what you want in bumps, in powder and anywhere you need to scrub speed in a tight space. Carving is for groomed pistes where you want speed, grip and a clean line. Good skiers switch between them without thinking about it.
How long does it take to learn to carve?
You can feel the sidecut working in your first ten minutes on a flat slope, and most people get clean railroad tracks within a session or two. Getting a proper carved turn on a blue run, where the edge angle has to match the steepness, is a season-long project rather than an afternoon.
Go and draw some lines
Next time you are out, give the first hour to this. Find the flattest, quietest run on the hill, do the traverse, then the J-turns, then railroads, and look back at your tracks after every single one.
The moment you see two thin lines instead of a smear, you will know exactly what everyone means by carving.
Ask any questions in the comments below.


