So you are strapped in at the top of a gentle slope, and the one thing you want to know before anything else is how to stop.
Here is how to stop on a snowboard, in short. Turn the board across the slope and tilt it onto its uphill edge. The more you dig that edge in, the slower you go, until you stop. Let the board go a little flatter and it slides again. That is the side slip, and you learn it twice, once on your heels facing down the hill and once on your toes facing up it.
Once you can slide and stop on both edges, the falling leaf lets you drift from side to side across the slope as well. We will build up to that in small steps, starting sitting down.
Watch it first
The pick is from Snowboard Addiction, and it is two and a half minutes of on-snow footage at Whistler Blackcomb with a voice-over, so there is no talking head to wait through. It goes in the order you will actually learn, sitting on the heel edge, standing on it, then rolling over and doing the same on your toes.
What made it the winner is its two cues. Your edge works like a gas pedal, and you control it like a dimmer switch rather than an on-off switch. Between them they explain stopping better than any of the longer videos we watched. The description links to Snowboard Addiction’s own shop, and nothing in the lesson depends on it.
The heel edge starts at 0:13, standing up at 1:00, and the toe edge at 1:34.
Where should you practise?
Somewhere gentle and quiet. SnowboardProCamp’s heel slide video puts it well at 0:26, an easy beginner area where the board will slide but you will not pick up too much speed.
You also need to know one word, the fall line. It is the direct line straight down the slope. The video’s whole idea, from 0:06, is to ride with the board across the fall line, not pointing down it, with an edge dug into the snow.
One plain safety point before you start. The edge that catches is the downhill one. On your heels, if you let the toe edge drop too close to the snow it can dig in and throw you forward, as SnowboardProCamp warns at 1:19. And before you set off, every time, look up the slope to check nobody is coming.
How does a snowboard actually stop?
With the edge. Nothing else.
When the board is across the slope and tilted onto its uphill edge, that edge grips the snow and holds you in place. Let the board go flatter and the edge lets go, so it starts to slide sideways down the hill. Tilt it back up and it grips again.
The video’s cue for this, at 0:24, is that your edge works almost like a gas pedal. The more you let the downhill edge down towards the snow, the faster you go. So stopping is just taking your foot off the gas. SnowboardProCamp says the same thing at 1:01 in his heel slide video. The more you lift the toe edge, the slower you go, and you may even stop.
That is the whole skill. Everything below is how to do it on each edge without falling over, in four steps.
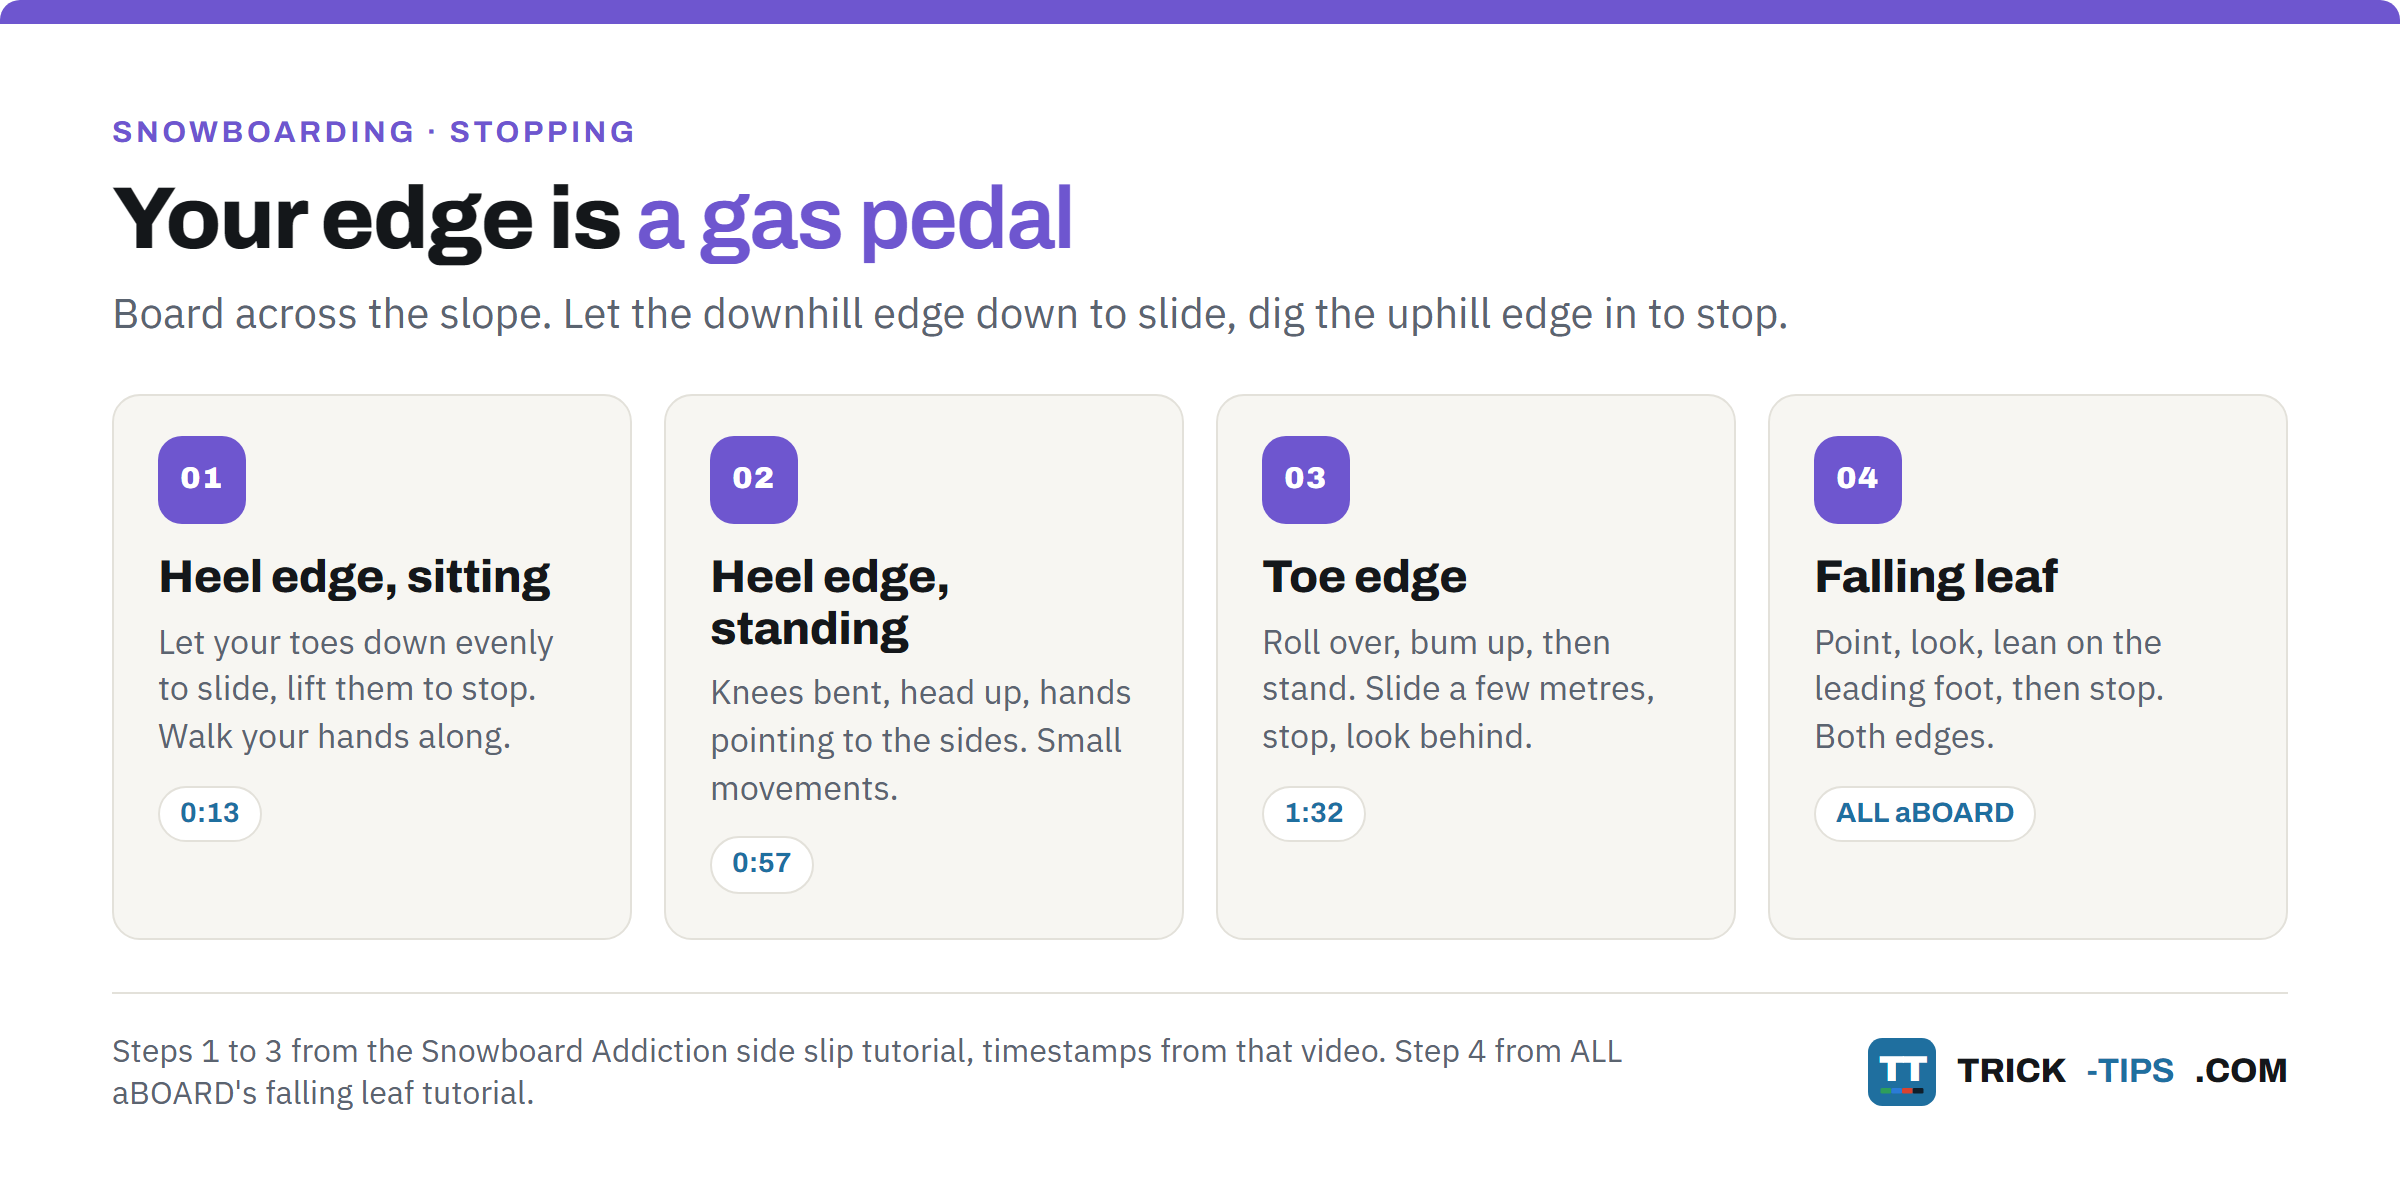
- Heel edge, sitting. Gas pedal on, gas pedal off, walking your hands along.
- Heel edge, standing. Hands to the sides, small movements.
- Toe edge. Roll over, bum up, then stand. Slide, stop, look behind.
- Falling leaf. Point, look, lean, stop, on both edges.
How to stop on a snowboard on your heel edge
Start sitting down. It is the least scary way in, and it is how the video does it.
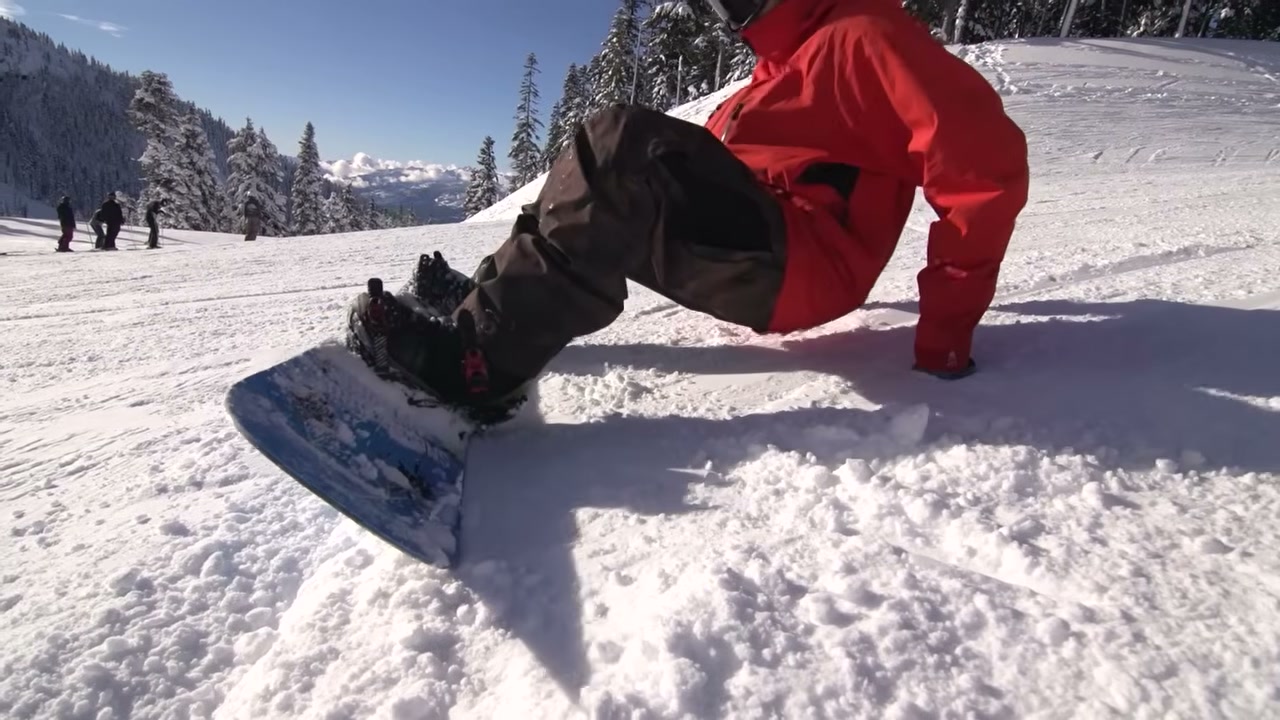
- Sit with the board across the slope. At 0:13 the board is at 90 degrees to the fall line and you are on your heel edge. Get your bum close to the board and prop yourself up on your hands.
- Let your toes down to start sliding. The video’s words at 0:19 are “pushing down on your toe edge evenly with both feet”. In plain terms, let the toe edge sink towards the snow, both feet the same, and the board starts to slide.
- Walk your hands along. As the board slides, step your hands along like a crab to keep up with it (0:32).
- Lift your toes to slow down and stop. Ease off the gas pedal. Tilt the toe edge back up and the heel edge bites.
At 0:36 the video shows that more pressure on your right foot sends the board right, and more on your left sends it left. Park that for now. Keep the pressure even and slide straight down the fall line.
The movements are tiny. The video’s advice at 0:49 is to think about how much pressure you are putting on the edge, not how far you are moving it.
Standing up on the heel edge
Once the slide is smooth and even, give yourself a big push up and try it standing (0:57).
From 1:01, the position is knees bent, back straight, head up, and hands pointing to either side of the hill. The hands matter more than they look. Pointing them out to the sides keeps your shoulders at 90 degrees to the fall line, and that keeps the board across the fall line too (1:08).
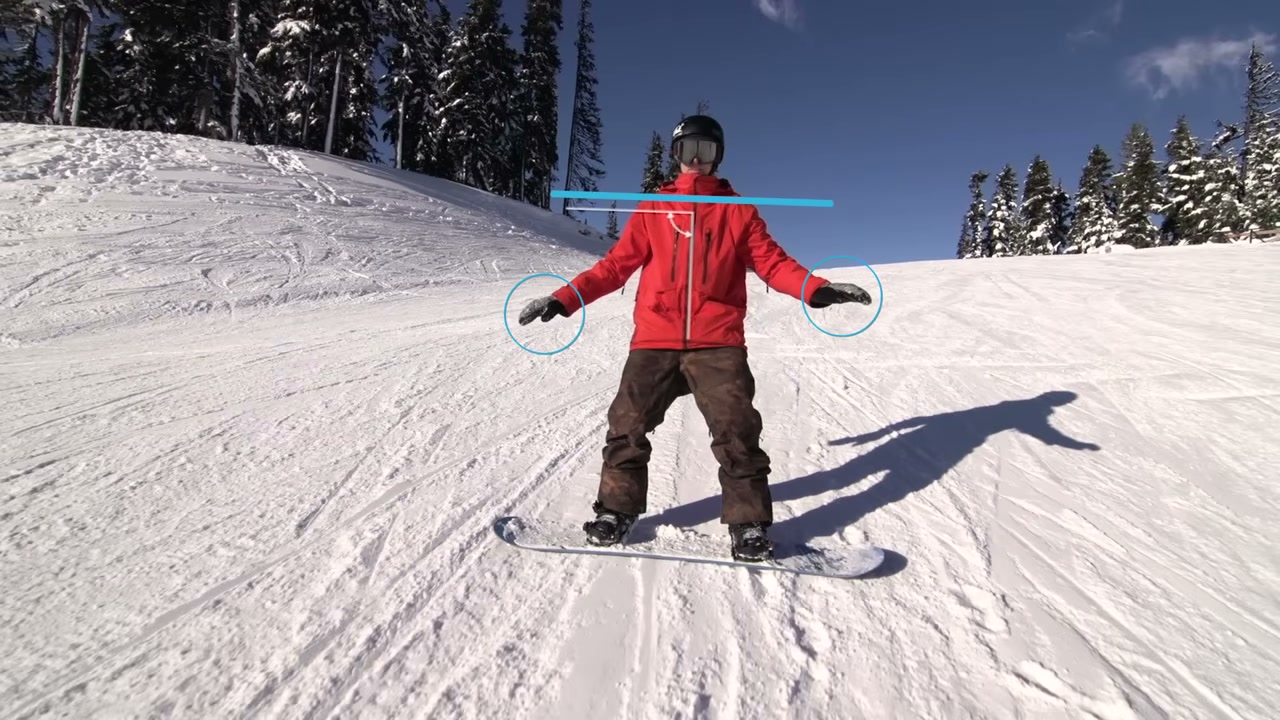
Then it is the same gas pedal. Toes down a touch to slide, toes up to stop.
How to stop on your toe edge
Your toe edge is the one facing up the hill. It feels stranger, because you are sliding backwards and cannot see where you are going, but the idea is the same.
- Roll over. From sitting, straighten one knee, bend the other, put your hand under the bent knee and pull yourself over (1:37). You end up kneeling, facing the slope.
- Stand up bum first. Push up with your bum in the air and your hands in the snow for balance (1:47).
- Let your heels down to slide. The video says at 1:51 to push evenly on both heels, letting your hands drag in the snow. It is the gas pedal again, from the other side. Let the heel edge sink towards the snow, both feet the same, and you start to slide.
- Dig your toes in to stop. SnowboardProCamp’s toe slide video puts it simply. The more you dig your toes in, the slower you go (1:09), and at 1:23 he digs his toes in to stop.
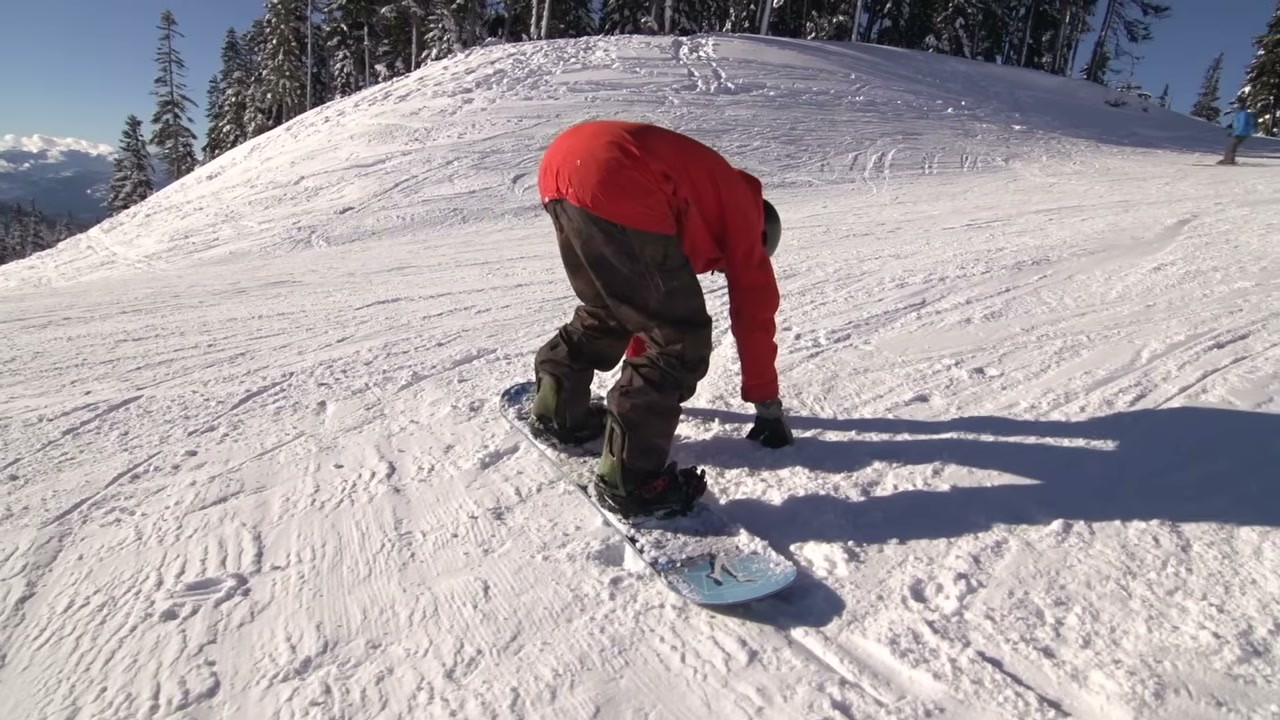
Keep the movements small and the pressure even on both feet, just like the heel edge (1:56). When the slide is smooth, stand up (2:05).
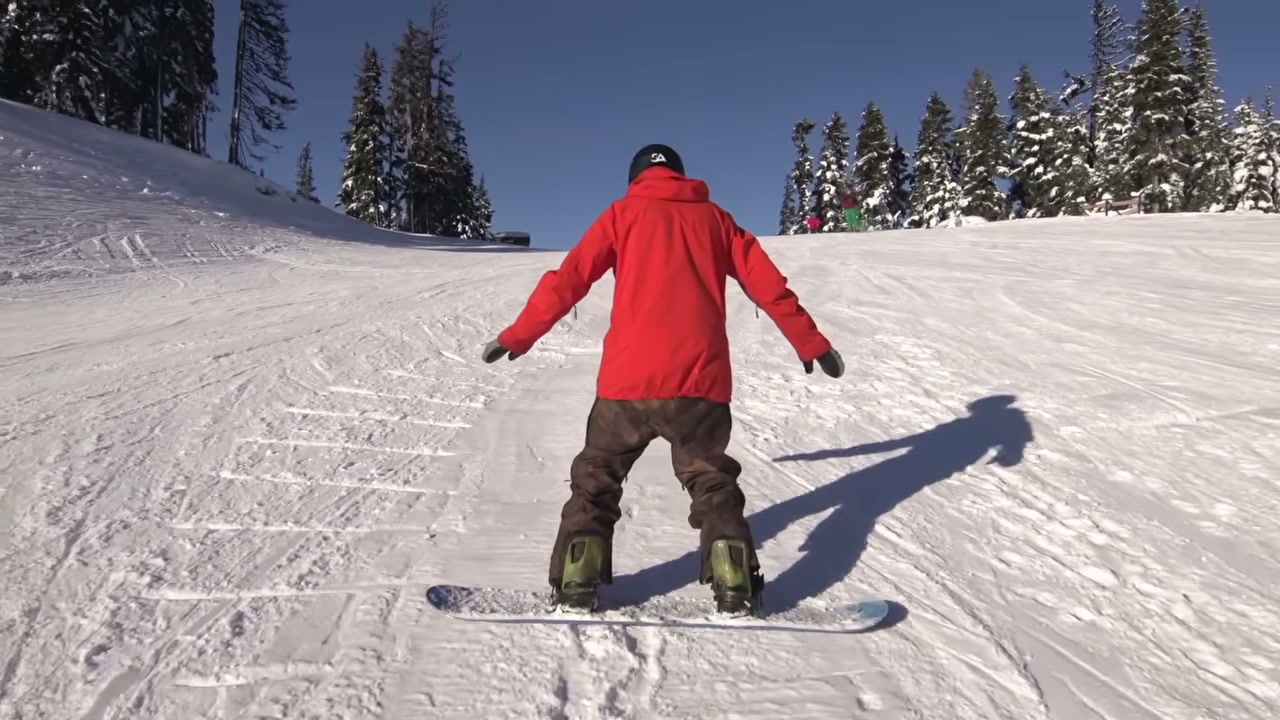
Do not look down the hill as you slide
This is the one the video picks out at 2:07. On your toes, the urge is to keep craning round to see what is below you. Resist it.
Instead, side slip a few metres, stop, and then look behind you. If it is clear, keep slipping. Slide, stop, check, slide.
Practise this edge as much as the other one
Most people find the heel edge easier, and it is tempting to stay on it. SnowboardProCamp explains why at 3:03 in his toe slide video. On your heels you face the bottom and can see everything coming. But turning needs speed control on both edges, so he says to practise the toe slide just as much.
Heel edge or toe edge?
You need both. Here is how they compare, all from the video unless marked.
| Heel edge | Toe edge | |
|---|---|---|
| Which way you face | Down the hill | Up the hill |
| Body | Knees bent, back straight, head up, hands pointing to the sides (1:01) | Bum up and hands in the snow at first, then standing (1:47, 2:05) |
| To slide | Let your toes down, evenly (0:19) | Let your heels down, evenly (1:51) |
| To stop | Lift your toes so the heel edge bites (SnowboardProCamp heel slide, 1:01) | Dig your toes in (SnowboardProCamp toe slide, 1:23) |
| The edge that can catch | The toe edge (SnowboardProCamp heel slide, 1:19) | The heel edge |
| Watch out for | Stop-and-go jerks (1:18) | Looking down the hill while you move (2:07) |
On the toe edge it works the other way round. You face up the hill, so your heel edge is now the downhill one, and that is the edge to keep just off the snow.
Common mistakes when learning to stop
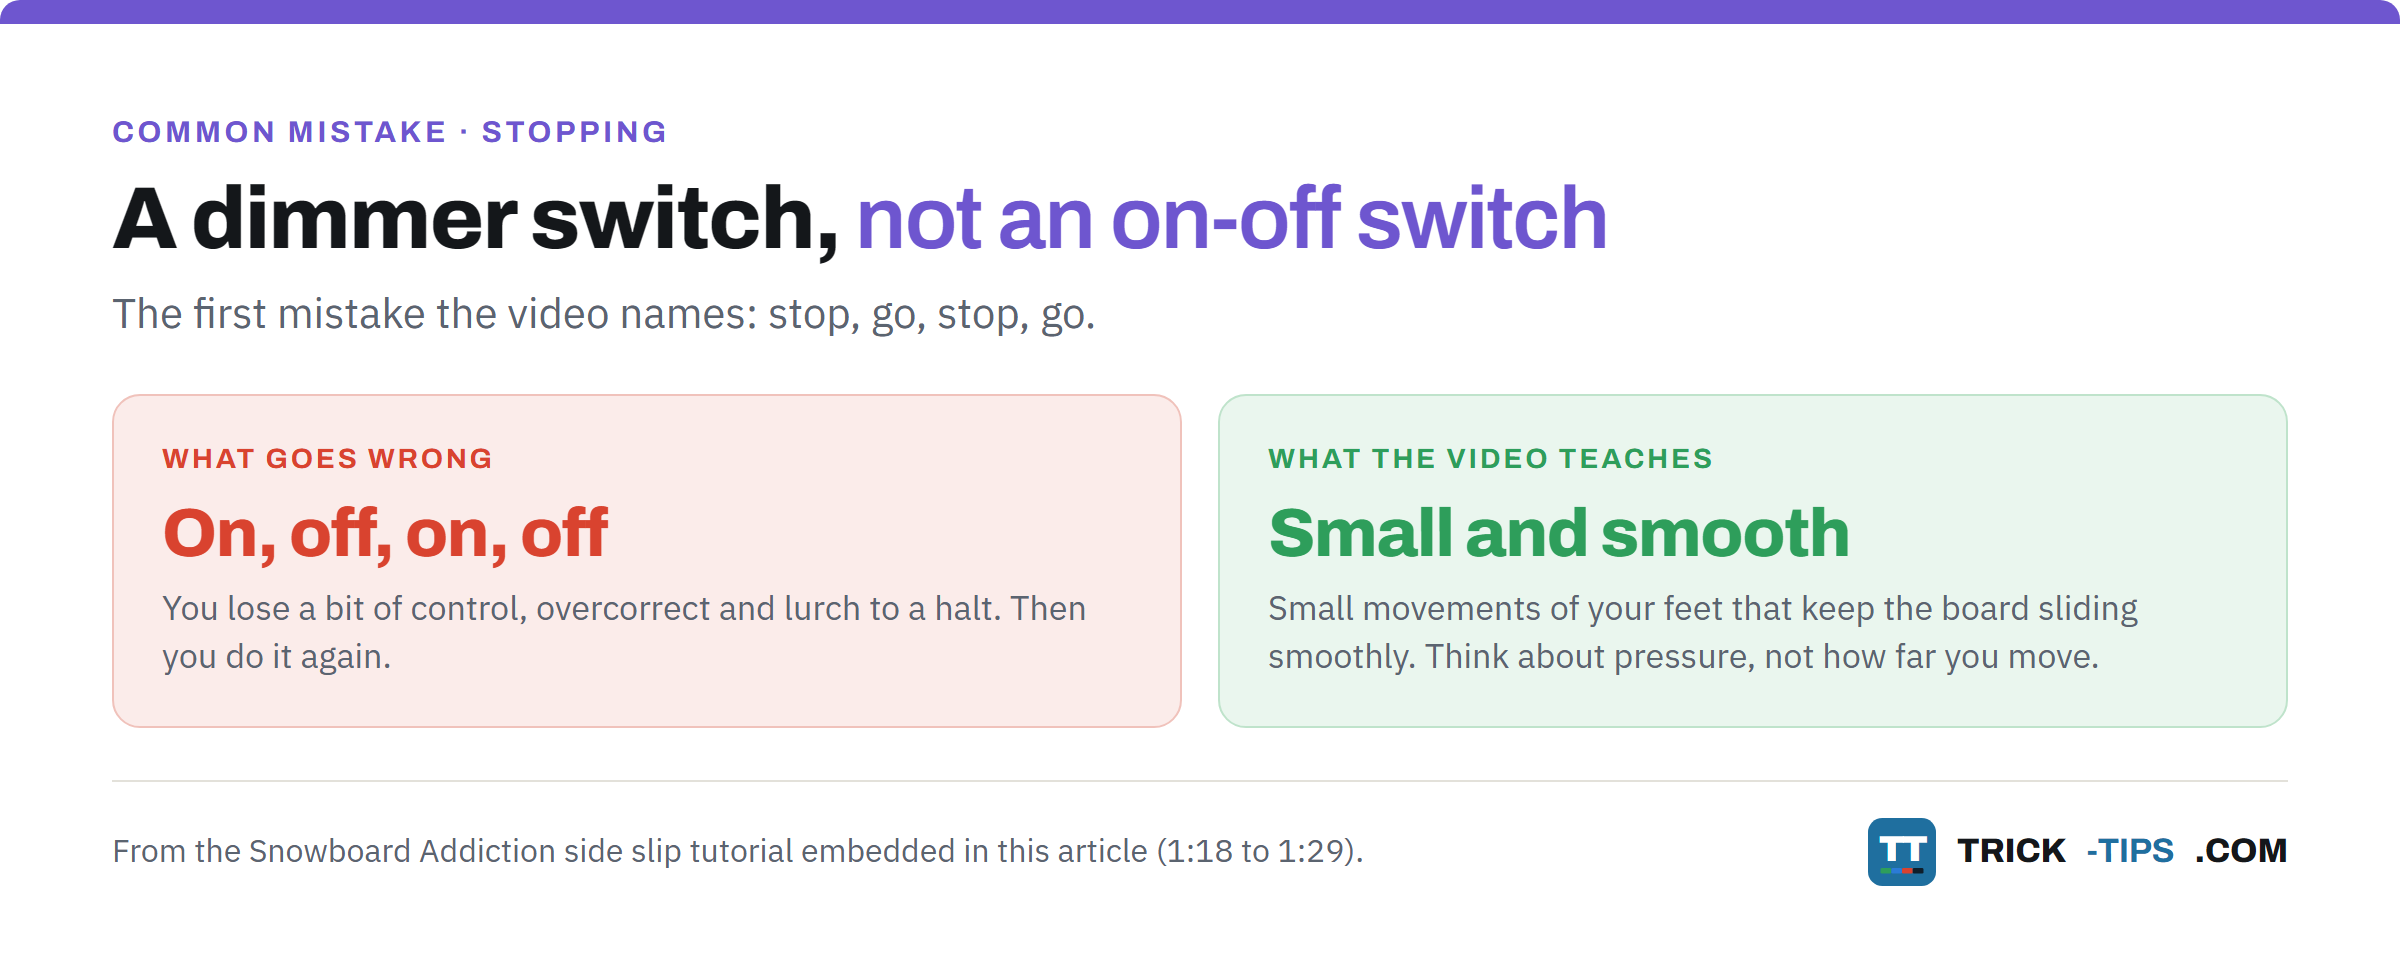
Stop, go, stop, go. The first mistake the video names, at 1:18. You lose a bit of control, overcorrect, and lurch to a halt, then do it again. The fix, from 1:24, is to think of your feet as a dimmer switch, not an on-off switch. Small movements that keep the board sliding smoothly.
Letting the downhill edge drop. Too far on the gas and the downhill edge digs in. On the heel edge that throws you forward, as SnowboardProCamp warns at 1:19 in his heel slide video. Keep that edge just off the snow.
Looking down the hill on your toes. Covered above (2:07). Slide a few metres, stop, look behind, then carry on.
Drifting until the board points downhill. Common on the toe edge when you start moving from side to side. SnowboardProCamp’s fix at 2:48 in his toe slide video is to face your chest to the top of the slope and put equal weight on both feet to stop.
Only ever practising the heel edge. It is the comfortable one. It is also the one that leaves your first toe turn feeling impossible.
How do you move side to side? The falling leaf
Sliding straight down is fine until the slope does not go where you want to go. SnowboardProCamp makes this point at 2:11 in his heel slide video. You will need to get across the hill as well as down it.
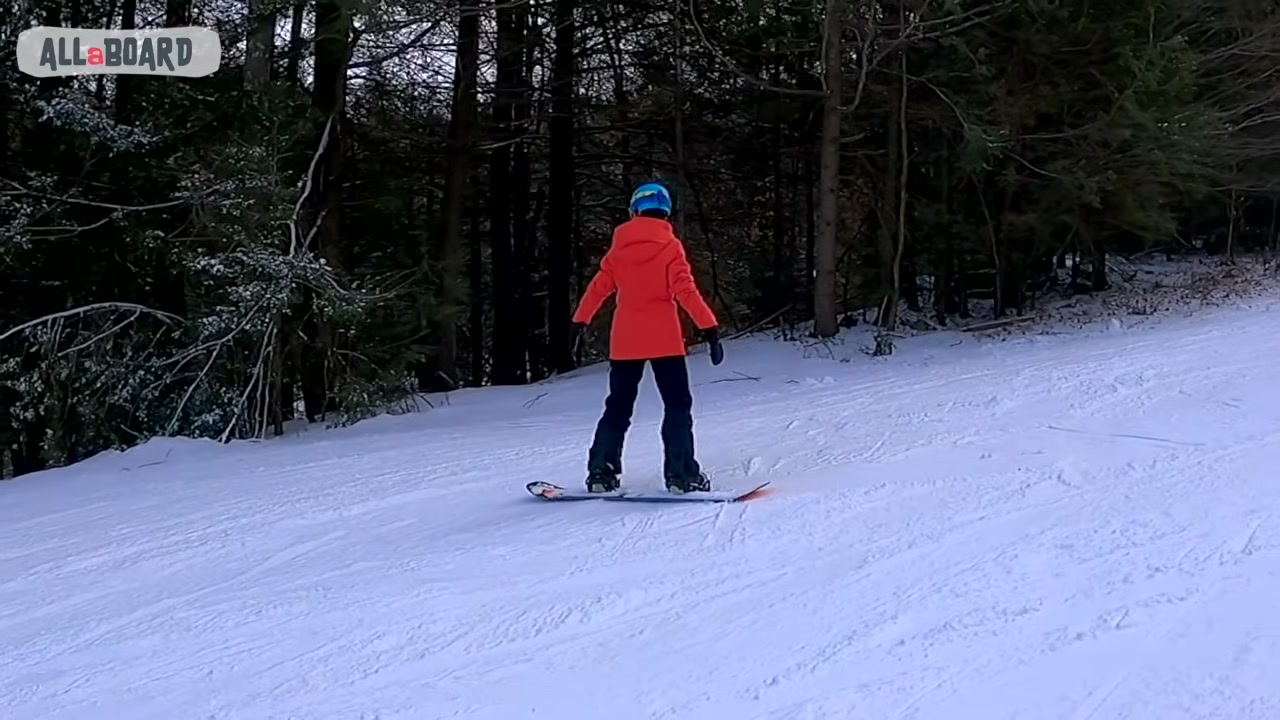
The falling leaf is how. You side slip as before, but drift to one side, stop, then drift back the other way, like a leaf zigzagging down from a tree. The Snowboard Addiction video does not teach it, so for this bit we use ALL aBOARD’s falling leaf tutorial, step 3 in that channel’s beginner series. Its description carries Amazon affiliate links for the kit the presenter uses, which earn the channel a commission, and nothing in the lesson depends on them.
The three steps from 0:30 are point, look, and lean on your front foot. At first each one ends in a full stop.
Heel side falling leaf
From 0:40, stand facing down the slope in your heel side position. Knees and hips bent a bit, as if you are slightly sitting, and do not look down.
- Point your hand towards the side you want to go.
- Look that way.
- Lean onto the foot on that side, the leading foot. The video’s image at 0:55 is almost wanting to grab the tip of the board.
- Press both heels to stop (0:58). Get your balance back, then point, look and lean the other way.
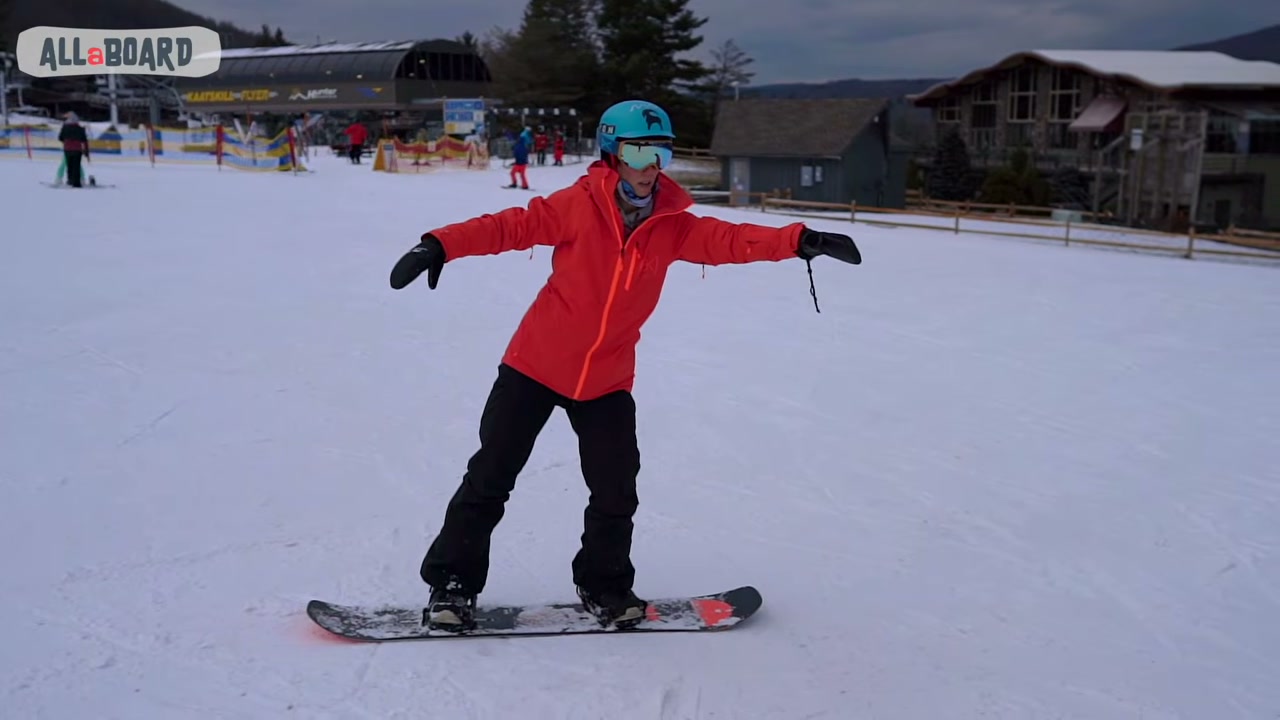
Each time you change direction, the other foot becomes the leading foot. As it starts to feel easy, smooth it out and drop the stop between sides (1:09). Do not drop the three steps, though.
Toe side falling leaf
Same idea on your toes, from 1:30. Face up the slope, knees towards the snow, hips and chest stacked. Point and look to the side you want to go, and lean on that leading foot.
To stop, the video’s cue at 1:40 is to lift your head up the mountain and put equal weight on both toes.
Ryan de Milliano adds a useful detail in his own falling leaf session (1:09). Shift your weight at the hips onto the foot you want to lead with, and keep your upper body the same rather than tilting it.
Keep it narrow on busy days
ALL aBOARD’s safety word at 2:30 is about going across the fall line. Stay in a fairly quiet area, keep your head up for riders coming down fast, and always look back before switching sides. If it is a weekend or the slope is busy, stick with the falling leaf rather than the longer traverses the video moves on to at 2:04.
Beyond the video
Two things the videos do not cover, both from the international code for skiers and snowboarders, the FIS rules.
Look up and down the slope before you set off again. FIS rule 5 says anyone joining a run, or starting again after stopping, must look up and down first. You will be stopping and starting dozens of times a run while you learn this, so it is a habit worth building now.
Stop where people can see you. FIS rule 6 says not to stop in narrow places or where people coming down cannot see you, unless you have to, and to get clear quickly if you fall there. So practise in the open, not just below a bump or in a narrow section. Our guide to ski slope etiquette covers all ten rules.
What to practise
Pick a gentle, quiet slope and do the steps in order. Don’t skip the sitting start.
Slide a couple of metres on your heels, stop, slide again. Then roll over and do the same on your toes, with a look behind at every stop. When both edges feel calm, start pointing, looking and leaning into a falling leaf.
If it starts to feel jerky, you are using an on-off switch. Make the movements smaller.
What comes next
Stopping is the rung everything else stands on. Once you can stop on both edges, you are ready for your first turns on a snowboard, where the toe slide you have just learned is the first thing you will need.
After that comes linking turns, which is where your falling leaf turns into proper S turns.
Frequently Asked Questions
What is the easiest way to stop on a snowboard?
The heel edge side slip. Face down the slope with the board across it, and lift your toes so the heel edge digs into the snow. It is the easier edge for most beginners because you can see where you are going, and you can learn it sitting down first.
Should I stop on my heel edge or my toe edge?
Learn both. The heel edge comes first because it feels more natural, but you need to stop on your toe edge as well, and your first turns will ask you to finish on it. Practise the toe edge at least as much as the heel edge.
Why do I keep catching an edge when I side slip?
Usually because the downhill edge is getting too close to the snow. On your heels that is the toe edge, and if it digs in it can throw you forward. Keep the downhill edge just off the snow and make small, smooth movements rather than big ones.
What is the falling leaf in snowboarding?
The falling leaf is a side slip where you drift to one side, stop, then drift back the other way, zigzagging down the slope like a falling leaf. You point, look and lean on the foot you want to lead with, then press evenly to stop. You do it on both the heel and toe edge.
Do I need to learn to stop before I learn to turn?
Yes. Stopping on both edges is the step before your first turn, because a turn ends with you on a new edge controlling your speed. If you cannot yet stop on your toe edge, the toe turn will feel very hard.
Why does my board keep pointing down the hill on my toe edge?
You have drifted too far to one side and the nose has come round. Face your chest to the top of the slope and put equal weight on both feet, and the board comes back across the slope and stops.
In short
To stop on a snowboard, put the board across the slope and dig in the uphill edge. Your edge is a gas pedal, and you work it like a dimmer switch.
Learn it sitting on your heels, then standing, then on your toes, then as a falling leaf. Look up the slope every time you set off.
Ask any questions in the comments below.