Right, you can 50-50 a box and you want the next one. The backside boardslide is it, and it is the trick that makes you look like you actually ride park.
Here is the short answer. A backside boardslide is a slide with your board turned 90 degrees across the box instead of along it. You approach straight and flat, pop so your board comes round sideways, keep your weight centred over the middle of the board, then untwist at the end and ride away. The whole thing hinges on one twist and on not leaning back.
Kevin at SnowboardProCamp breaks it into three parts and, more usefully, tells you the one mistake that puts almost everybody on their backside the first time. We will go through what he teaches, the drill that lets you practise it away from the park, and how to stop sliding out.
Why this video
It is three minutes long and there is not a wasted second in it.
Most boardslide tutorials show you a pro doing one and leave you to reverse-engineer it. This one splits the trick into approach, on the box and landing, gives you a drill for each, and then spends the last thirty seconds on the heel-edge slide-out, which is the fault that actually stops people learning it.
It also tells you honestly what you need first, which most tutorials skip.
What you need before you try one
At 2:22 Kevin says to find a feature you are already comfortable doing 50-50s on. That is the real prerequisite, and it matters more than it sounds.
- A solid 50-50. If you are still thinking about the 50-50, you have no attention left for the twist.
- A low, flat box. Not a rail, not a kink, not anything with a drop off the end.
- A reliable ollie. You need to pop off both feet on command.
At 0:15 Kevin calls the backside boardslide one of the first tricks you should learn in the park, and that is fair. It is a beginner park trick. It is just not a beginner snowboarding trick.
The three parts
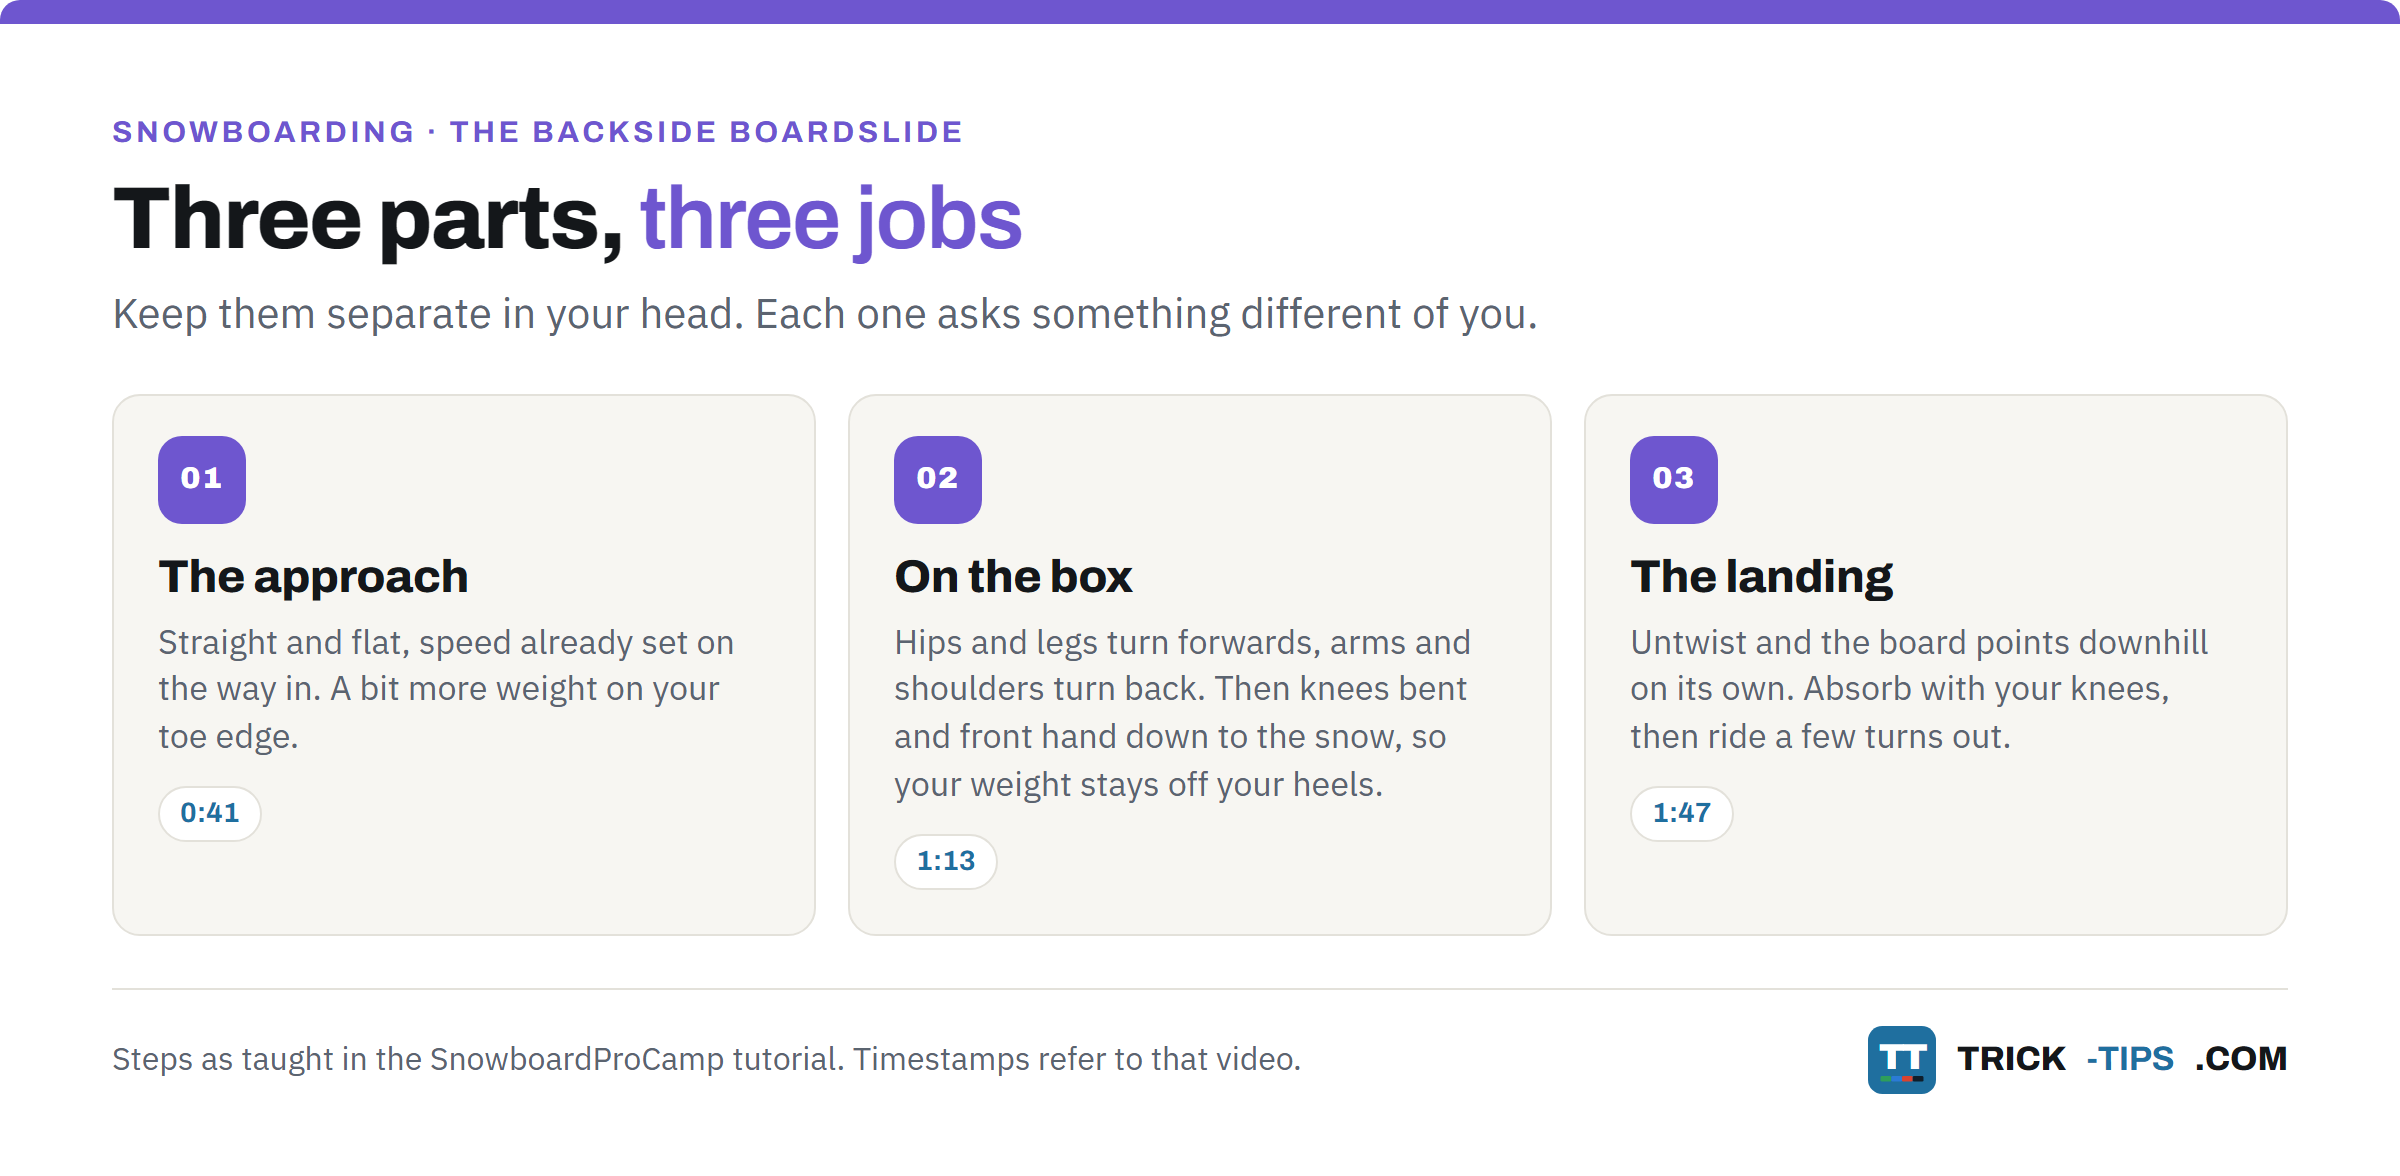
Kevin splits it at 0:29 into approach, on the box, and landing. Keeping those separate in your head is most of the battle, because each one has a different job.
1. The approach
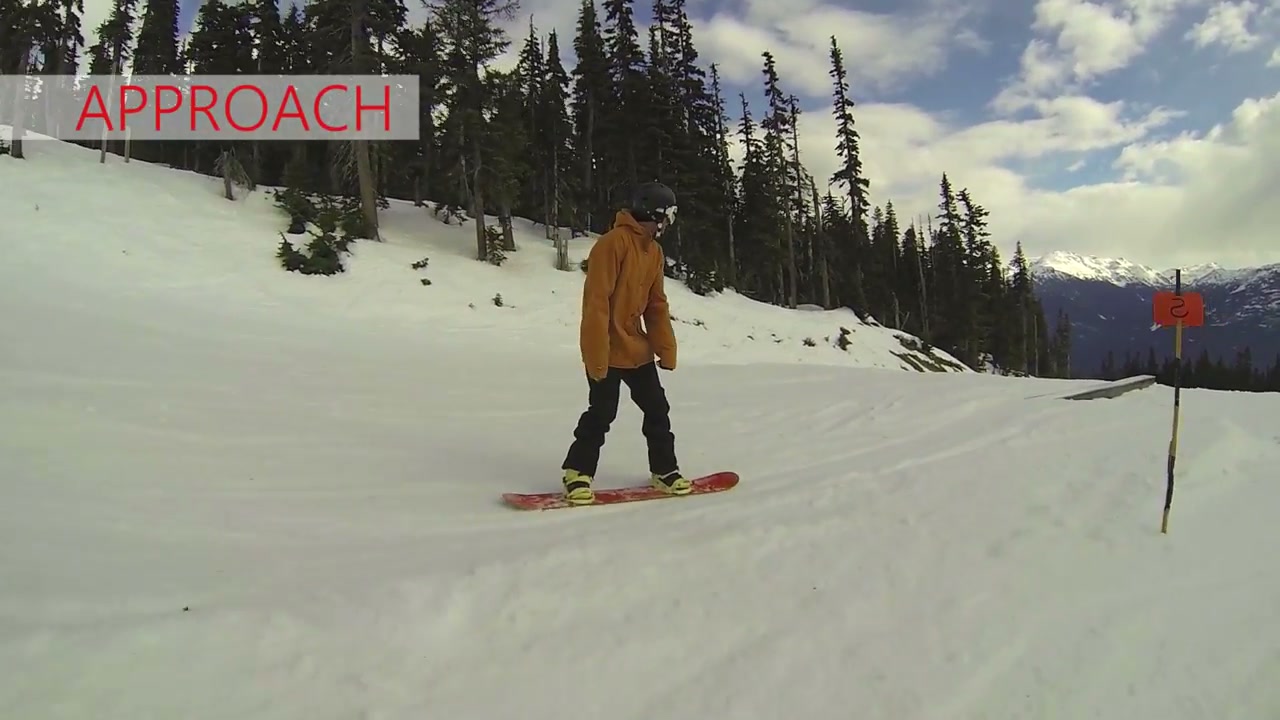
Come in straight, with a bit of speed, in a straight line at the box (0:41).
Set your speed early. Kevin’s instruction at 0:45 is one or two speed checks on the way in, then give yourself plenty of space to point the board straight and flat before you reach the feature (0:52). Matt’s original tip on this article was to approach slightly faster than normal, and that still holds. What you do not want is a last-second scrub right as you get there.
One detail that is easy to miss: he asks for a bit more weight on your toe edge on the run-in (0:57). That sets you up to stay off your heels, which is the whole ballgame here.
2. On the box
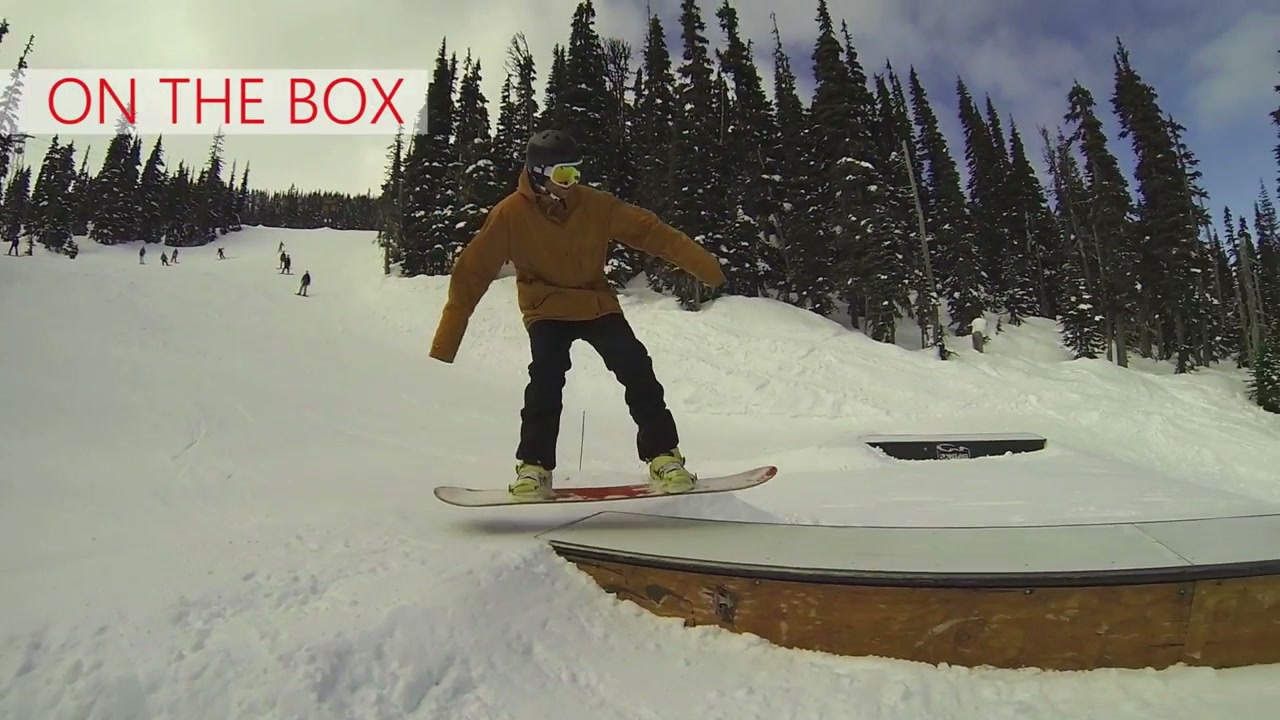
Pop 90 degrees onto the box and get on top of your board. That was Matt’s original tip two and it is exactly right.
To get the board sideways, Kevin gives two movements at 1:13 that happen together:
- Hips and legs turn forwards.
- Upper body and arms turn backwards.
That opposing twist is what brings the board round and locks it there (1:22). If both halves of you turn the same way you just keep spinning, and off you come.
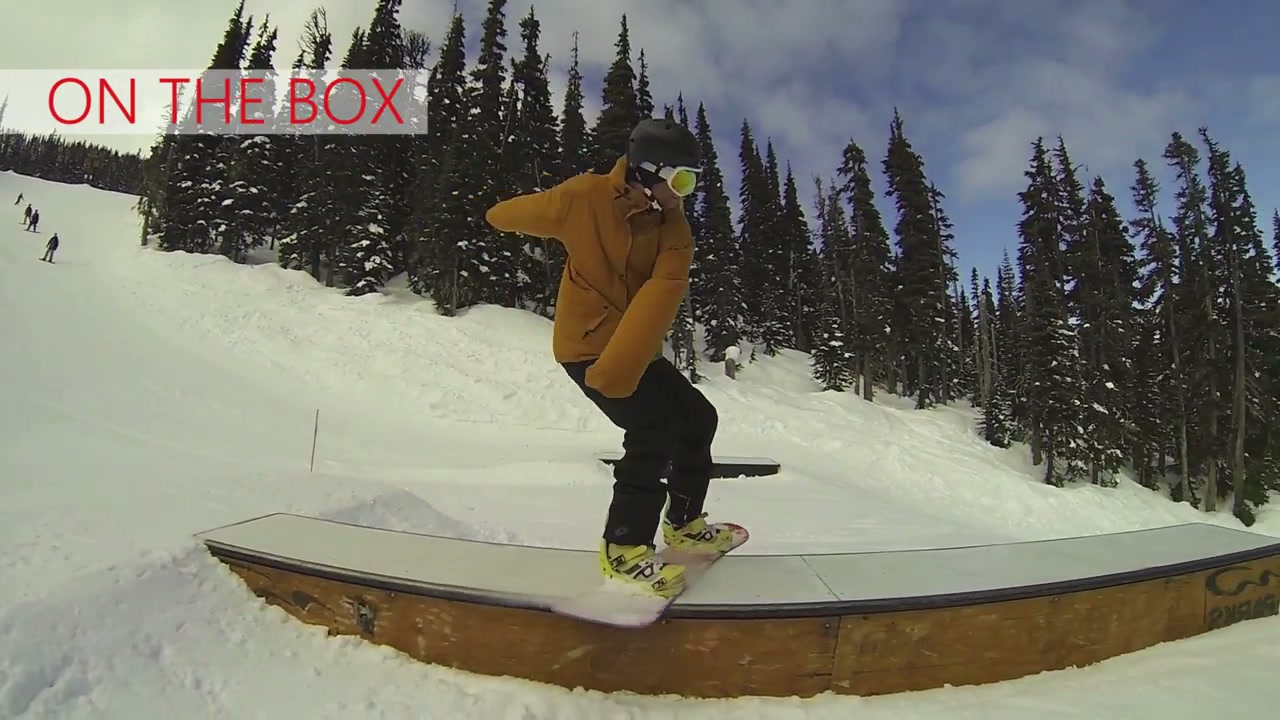
Then, to stay on it, two more things at 1:27. Bend your knees, and reach your front hand down towards the snow. That hand is not decoration. It pulls your weight forward and centred over the board instead of letting it drift back over your heels.
3. The landing
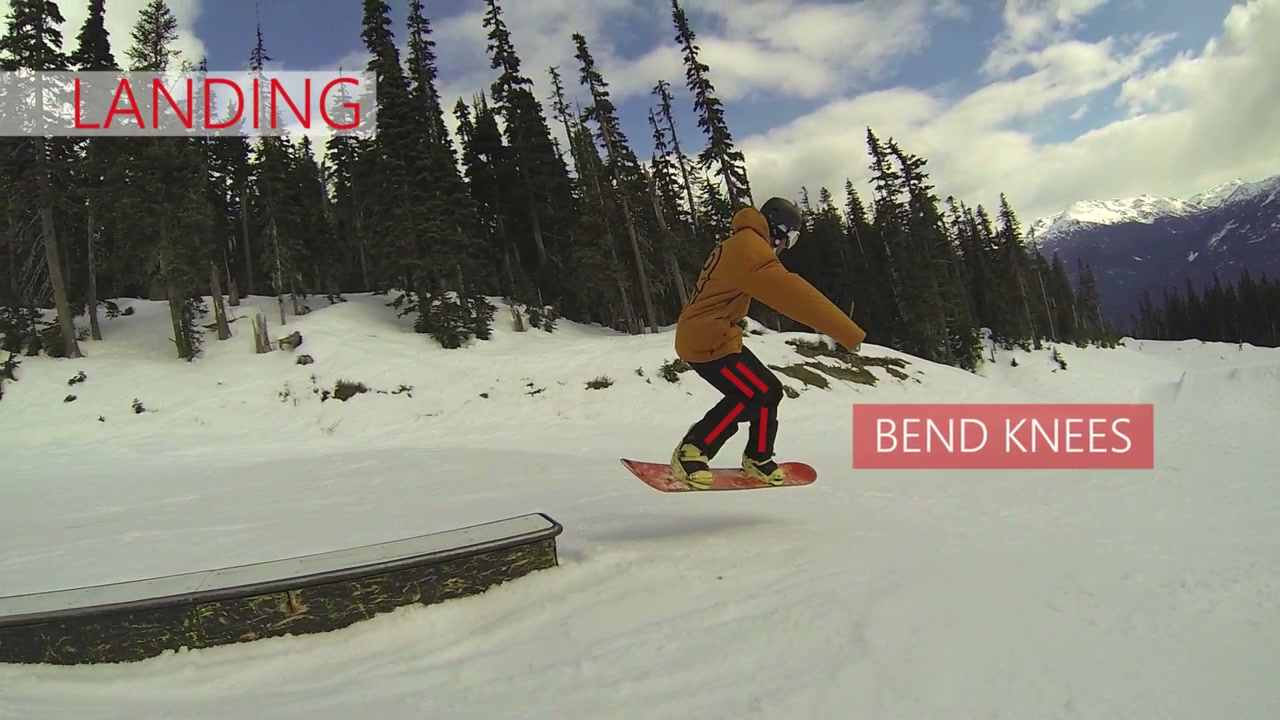
Come off the end of the box, land solid, ride away clean (1:43).
You get out of it by untwisting (1:47). Let the wind-up go and the board comes back underneath you pointing down the hill. Bend your knees to absorb the landing (1:53), and Kevin adds a nice touch at 1:59: plan to do a few turns straight after, so you ride it out properly rather than stopping dead and celebrating.
Practise the twist before you go near the box
This is the part to actually do, and it is free.
At 2:03 Kevin says the most important tip is to practise backside boardslides outside the park first. Find a mellow run, ride straight and flat, and practise twisting your body into the boardslide position on the snow (2:10).
There is no box to catch an edge on, so the only thing you are learning is the movement. Do it until the twist happens without you thinking about it. Then take it to a feature you already 50-50 comfortably.
It is the same idea as the drill in our frontside boardslide article, and it works for the same reason. The body position is the hard bit, not the box.
Common mistakes
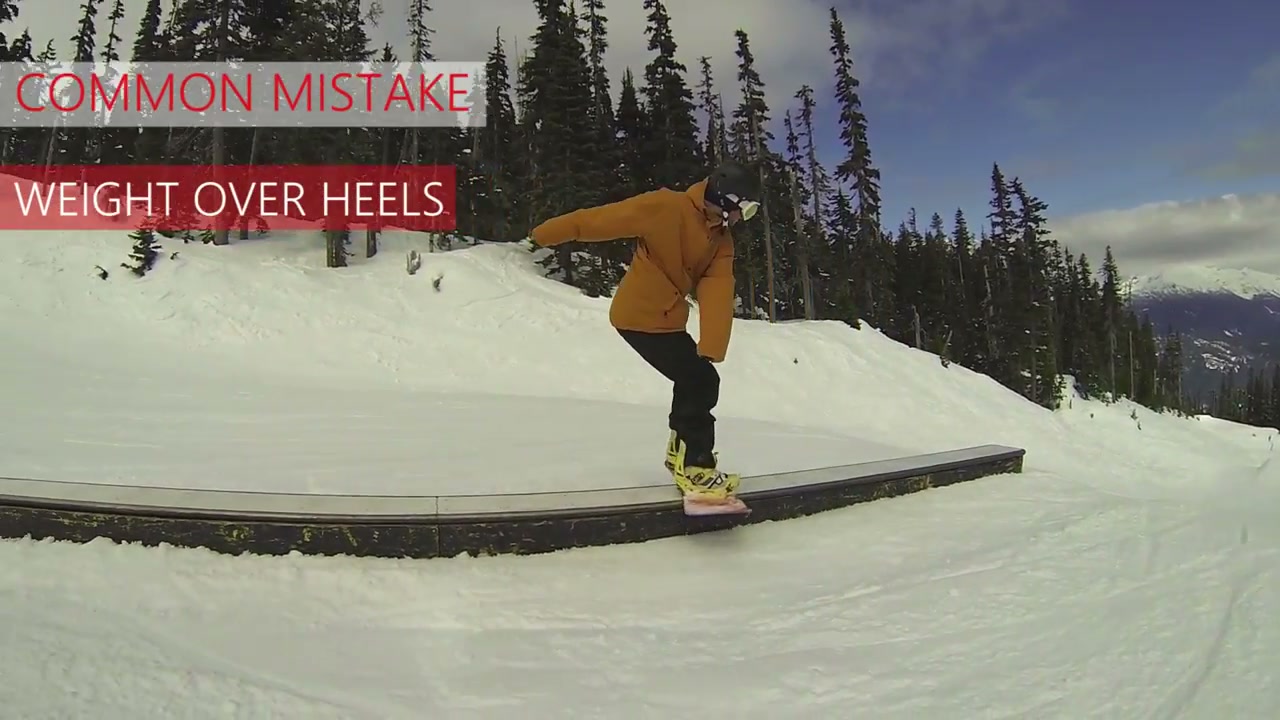
Too much weight over your heel edge. This is the big one, and Kevin names it at 2:29 as the most common mistake people make. Your heel edge catches, and it puts you straight down onto your backside. Matt’s original warning on this article was simply “don’t lean too far back”, which is the same fault in fewer words.
The fix is at 2:34 and it is two things you already know: keep your knees bent, and keep that front hand reaching down so your weight stays forward and centred over the board.
Turning your whole body one way. If your shoulders go round with your hips there is no twist holding the board sideways, so it keeps rotating.
Riding an edge on the box. On snow you steer with your edges. On a box the base wants to be flat and your weight pressed straight down through it.
Going for a rail first. Boxes are wide and forgiving. Rails are neither. Get it dialled on a flat box before you go near anything round or kinked.
Where this sits, and what is next
The backside boardslide is the second rung of park riding, straight after the 50-50.
- Below it: the 50-50, and the ollie that gets you onto things.
- Alongside it: the frontside boardslide, which turns you the other way and needs a stronger counter-rotation. Worth reading, because the frontside and backside labels are used inconsistently across guides and that article explains the position properly.
- Above it: cab 180 to 50-50 and backside 180 on a switch 50-50 once you want to start spinning onto features.
A solid 180 helps all of it, because every one of those is a rotation onto or off a feature.
Safety
Boxes and rails do not give. Wear a helmet, and consider wrist guards or impact shorts while you are learning. Sliding out onto your heels means landing on your back or your wrists, and it will happen at least once.
Look up the run-in before every attempt and check nobody is on the feature or sitting past the end of it.
Start low and flat. The same mistake on a knee-high box and on a tall down rail are two completely different outcomes.
[MATT: verify the safety lines above, and whether you’d recommend wrist guards or impact shorts to a park beginner. The video covers no safety at all, so this section is ours.]
Frequently Asked Questions
What is a backside boardslide on a snowboard?
It is a slide along a box or rail with your snowboard turned 90 degrees across the feature rather than pointing along it. You get there by popping on and twisting your hips and legs one way while your upper body turns the other, then you untwist at the end to ride away straight.
What do I need to be able to do first?
Comfortable 50-50s on the feature you are going to try it on, and a reliable ollie off both feet. The video is clear at 2:22 that you should already be at ease doing 50-50s on that exact box before you add the twist.
Why do I keep sliding out onto my backside?
Because too much of your weight is over your heel edge. That is named in the video at 2:29 as the single most common mistake. Bend your knees and reach your front hand down towards the snow, which brings your weight forward and centres it over the board.
How do I practise a boardslide without a box?
Find a mellow run outside the park, ride straight and flat, and twist your body into the boardslide position on the snow. There is no edge to catch, so you can rehearse the movement until it is automatic before you ever touch a feature.
Should I learn backside or frontside boardslides first?
Backside first. Snowboard Addiction’s frontside tutorial is explicit that you want 50-50s and normal boardslides working on a range of features before you attempt a front board, so the backside version is the rung below. Get it solid on a flat box, then take the same drill across.
Can I learn this on a rail instead of a box?
You can, but it is a much harder way to do it. A box is wide and flat and forgiving of a slightly early or late twist. A rail is none of those things. Get it dialled on a box first.
In short
Approach straight and flat with your speed already sorted. Pop, and turn your hips and legs one way while your arms and shoulders go the other. Knees bent, front hand down towards the snow. Untwist at the end and ride away.
If you only take one thing: practise the twist on a mellow run before you take it to the box. It costs nothing and it is the difference between learning this in an afternoon and spending a season landing on your backside.
Ask any questions in the comments below.