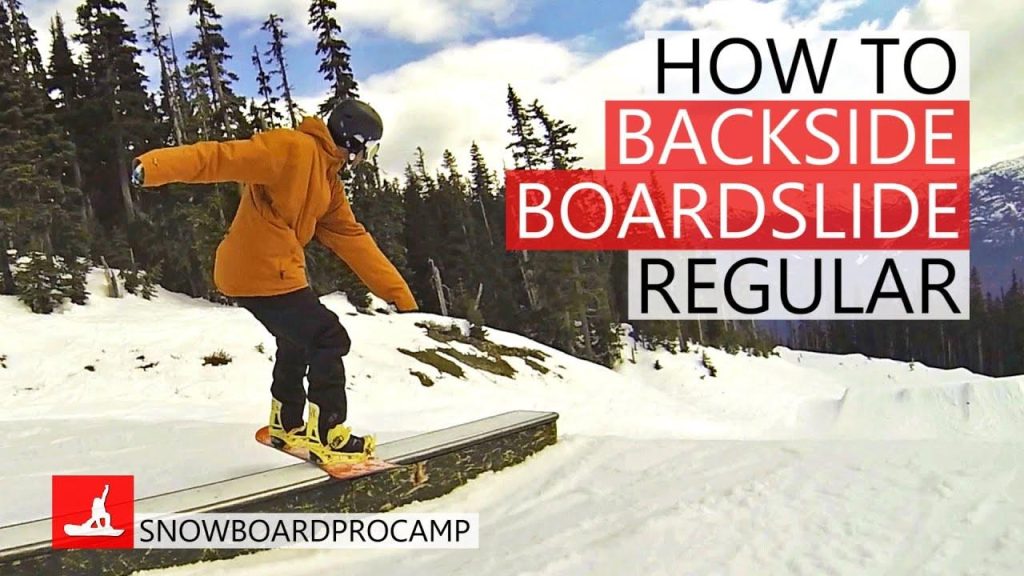
So you can slide a box 50-50 and you can boardslide it, and now you want the one that actually looks like snowboarding. The frontside boardslide is it.
Here is the short answer. A frontside boardslide is a boardslide where you pop onto the feature so the board sits across it and you end up sliding with your body counter-rotated, upper body still facing down the hill while your board points across the rail. That counter-rotation is the whole trick. Get it and the slide feels stable and you ride out forwards. Miss it and you spin off the side.
Nev Lapwood at Snowboard Addiction breaks it down better than anyone, and there is a drill in there that takes most of the fear out of it. We will go through what he teaches, what to practise before you go anywhere near a box, and the mistakes that catch people out.
Why this video
There are a lot of front board tutorials and most of them film a pro doing one at full speed and tell you to commit. This one does not.
Nev builds it from the ground up. He shows the body position on flat snow first, then a drill called the 50/50 shuffle that lets you find the position while you are already safely sliding, then the pop-on version once your balance is sorted. It is a proper progression rather than a demonstration.
It is also worth saying that the clip is from 2008 and it looks it. The footage is soft and the graphics are dated. The coaching has not aged a day.
What the trick actually is
At 0:17 Nev defines it plainly. You are sliding down the rail backwards, with your board facing uphill, while you keep looking downhill in the direction you are travelling.
That sounds like a contradiction until you see the position. Your lower body turns the board across the feature. Your upper body stays where it was, facing down the hill. You are wound up like a spring, and that is deliberate.
A quick word on the name. Frontside and backside get used inconsistently for boardslides, and you will find guides that define them differently to the video above. Rather than argue about labels, this article describes the movement Nev actually teaches. If your mates call it something else, ride it anyway. [MATT: verify how you’d frame the frontside/backside naming here, you’ll know how it’s used in the resorts you teach in]
What you need first
Nev is firm about this at 0:23, and he is right. This is not a first-week-in-the-park trick.
- 50-50s properly dialled. You should be able to 50-50 a box without thinking about it, on more than one feature.
- Normal boardslides on lockdown too. Nev says get them on “a whole bunch of features” so you already know how your board behaves when it is sideways on something slippery. Our backside boardslide article covers that rung.
- A reliable ollie. You need to be able to pop off both feet on command to get on cleanly.
- A small, flat, low box. At 2:31 Nev says to use a feature where falling off has minimal consequences. Not a down rail, not a kink, not anything with a gap.
The good news is that if you have got those, the front board is mostly a body position you can rehearse standing still.
Counter-rotation, and why it works
This is the bit worth reading twice.
Counter-rotation means your upper body is turned in the opposite direction to your lower body. Nev shows it at 0:39. Legs and board turn to sit across the feature. Chest, shoulders and head stay pointing down the hill.
Two things come out of that, and both matter.
First, you can see where you are going. You are travelling backwards down the rail, but because your head and chest never turned, you are still looking down the hill at the end of the feature. You are not riding blind.
Second, you have got a wound-up spring to unwind. At 1:16 Nev explains that as you reach the end you simply release the counter-rotation, and the board comes back underneath you and points down the hill on its own. You do not have to steer out of it. You just stop holding it.
Your arms do most of the work. At 1:26 Nev gives the pattern. Start with your arms back towards your tail. As you pop, they swing round towards the nose, which is what pulls the counter-rotation into place. As you release at the end, they come back. Back, forward, back.
He also mentions at 2:01 that most riders find it easier with their weight slightly over the front foot, and that it looks better too.
Here is the whole position, body part by body part.
| Body part | What it does | Why |
|---|---|---|
| Board and legs | Turn across the feature | This is the slide itself |
| Chest and shoulders | Stay facing down the hill | Winds up the counter-rotation |
| Head and eyes | Look at the end of the feature, or past it | Keeps you sliding the whole thing |
| Arms | Start at the tail, swing towards the nose as you pop, return as you release | They drive the rotation and then undo it |
| Base of the board | Dead flat, no edge at all | An edge on a box puts you down instantly |
| Weight | Slightly over the front foot, pressed straight down | Easier to balance, and it looks better |
The steps
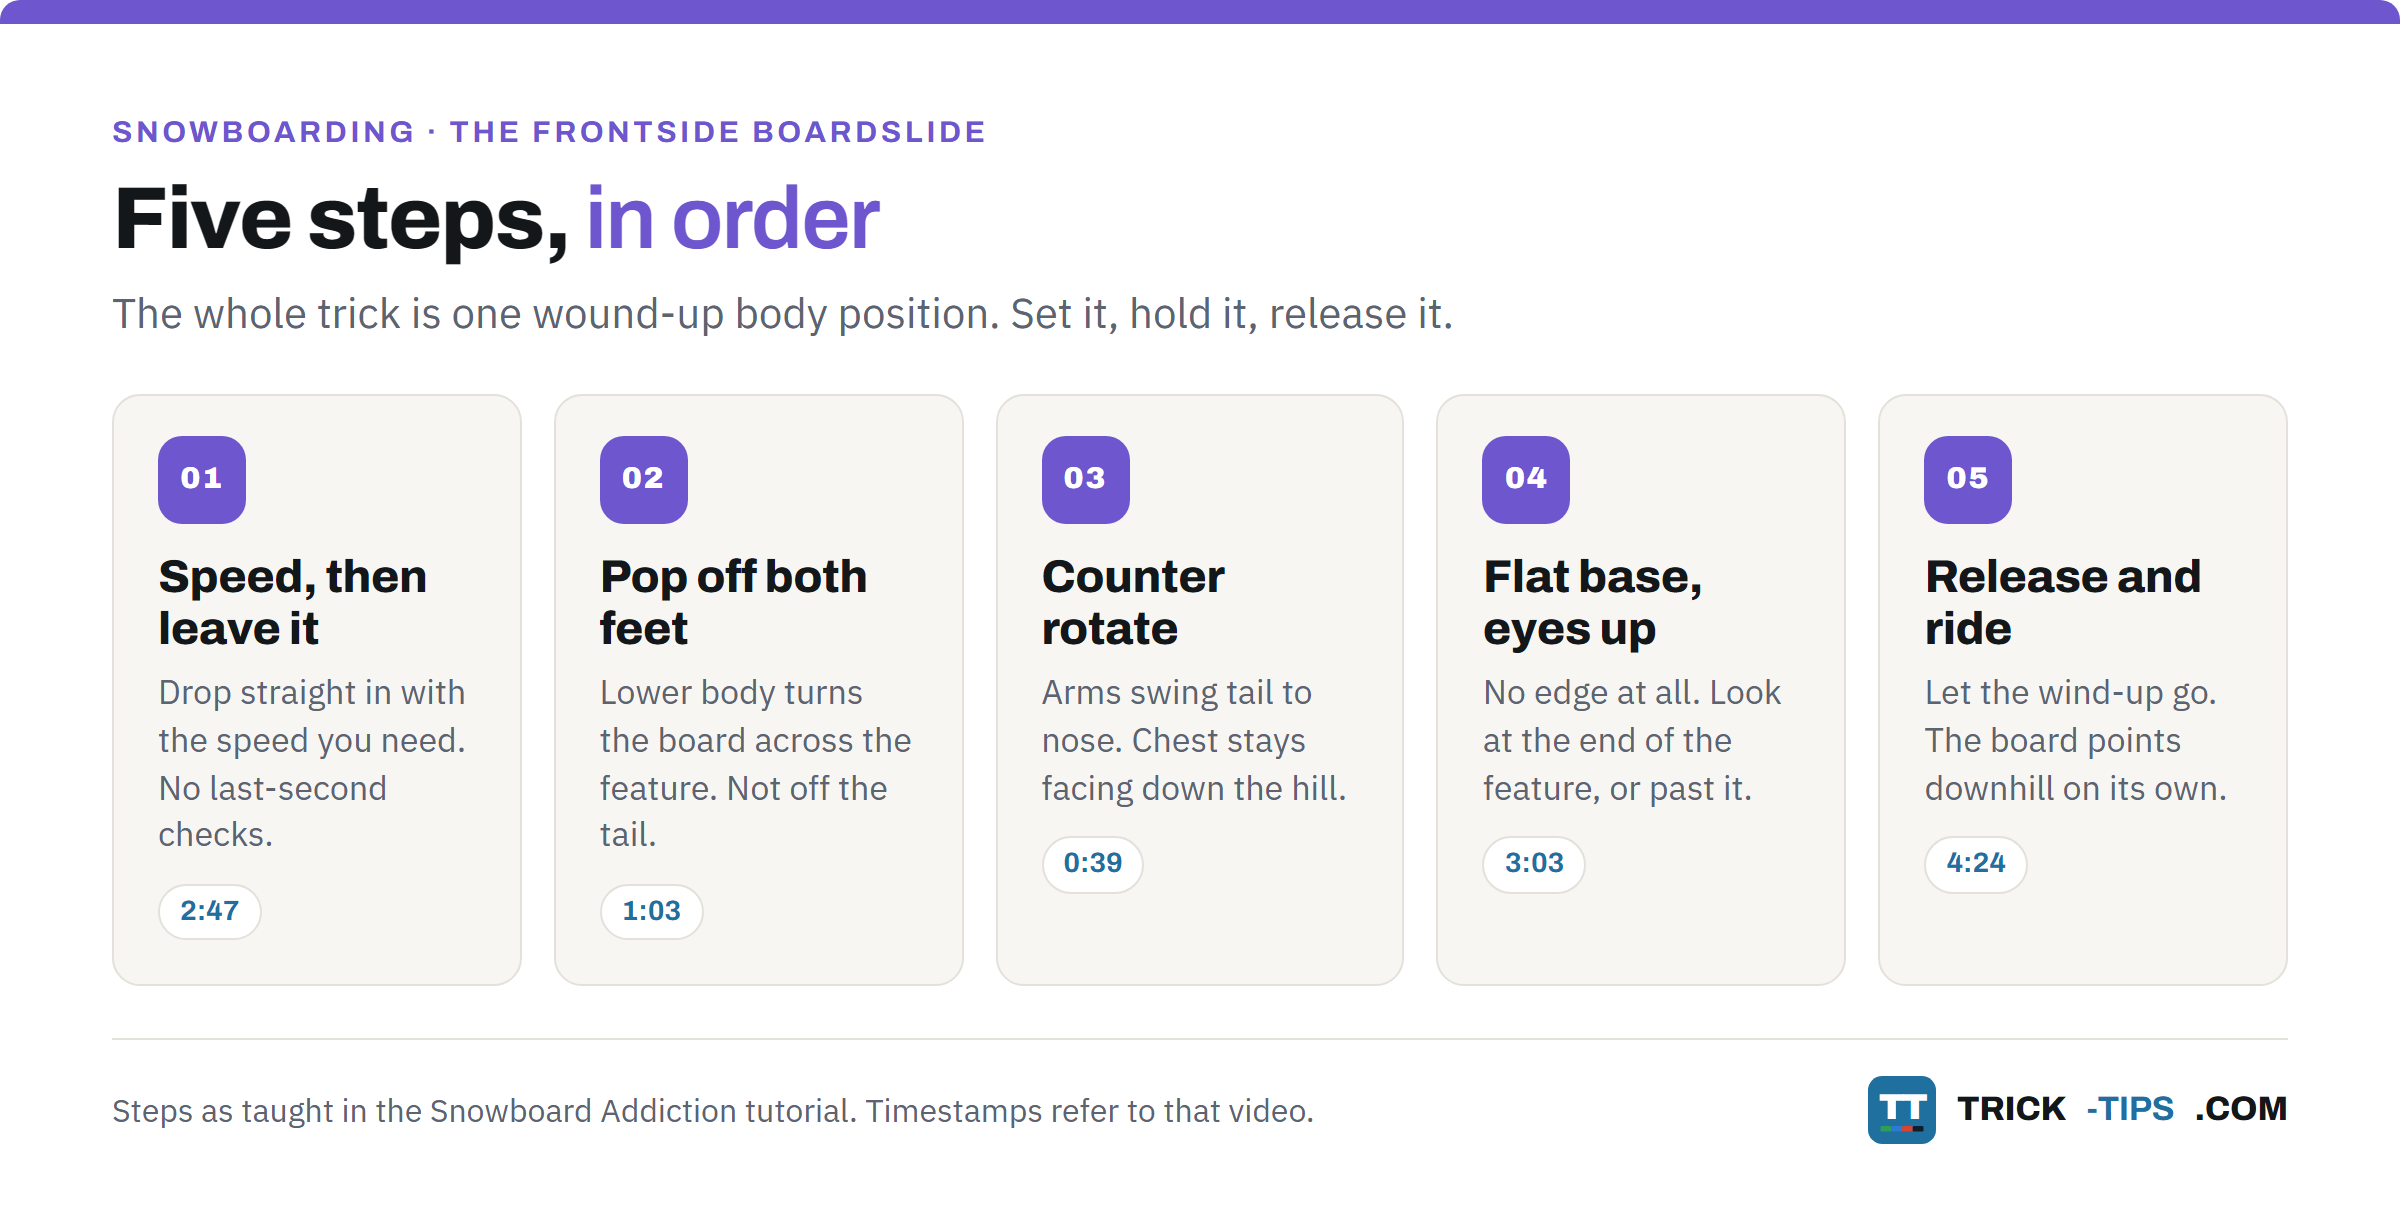
Here is the whole thing in order. These are Matt’s original tips from this article, expanded with what Nev shows in the video.
- Start on a small ride-on box. Low, flat and forgiving. Warm up on it first with a couple of mellow 50-50s and boardslides (2:40) so you know how it feels today.
- Find your speed and commit to it. At 2:47 Nev says to find a spot where you can drop straight in with the speed you need, and to avoid speed checks. A last-second scrub wrecks your concentration right when you need it.
- Pop off both feet. Not a wheelie off the tail, not a nose press. Both feet, at 1:03, turning your lower body into the front board direction.
- Counter rotate with your shoulders and arms. Arms swing from tail towards nose. Chest stays facing down the hill.
- Keep a flat base. This is the one that ends most attempts, and it gets its own section below.
- Look to the end of the rail, or past it. At 4:18 Nev says this is what helps you slide the whole feature rather than bailing halfway.
- Release and ride away. Let the counter-rotation go as you slide off the end (4:24), absorb the landing by flexing your knees (4:32), and ride off like you meant it.
The 50/50 shuffle, the drill that makes this easy
If you take one thing from the video, take this. It is at 3:19 and it is the reason this tutorial is better than the others.
Instead of trying to pop straight into a front board on your first go, you start in a 50-50 and shuffle the board round into the boardslide position while you are already sliding.
Then you work backwards along the box:
- First time, shuffle round right at the very end, so you are only front boarding the last half metre.
- Next time, start the shuffle a bit earlier.
- Then earlier again, until you are shuffling round almost as soon as you get on.
By the time you have done that a handful of times your body knows the position, and popping straight into it (4:02) is a small step rather than a leap of faith.
Nev makes the point at 4:05 that this is not just a beginner drill. Whenever you take front boards to a box you have not ridden before, you can start again with the 50/50 shuffle before jumping straight in. It is a safe way in on any new feature.
Before all of that, there is a free drill. At 2:12 Nev has you draw a box in the snow on a gentle slope and practise moving into the position with no consequences at all. Do it. It costs nothing and it is the difference between learning this in an afternoon and learning it over a season.
Common mistakes
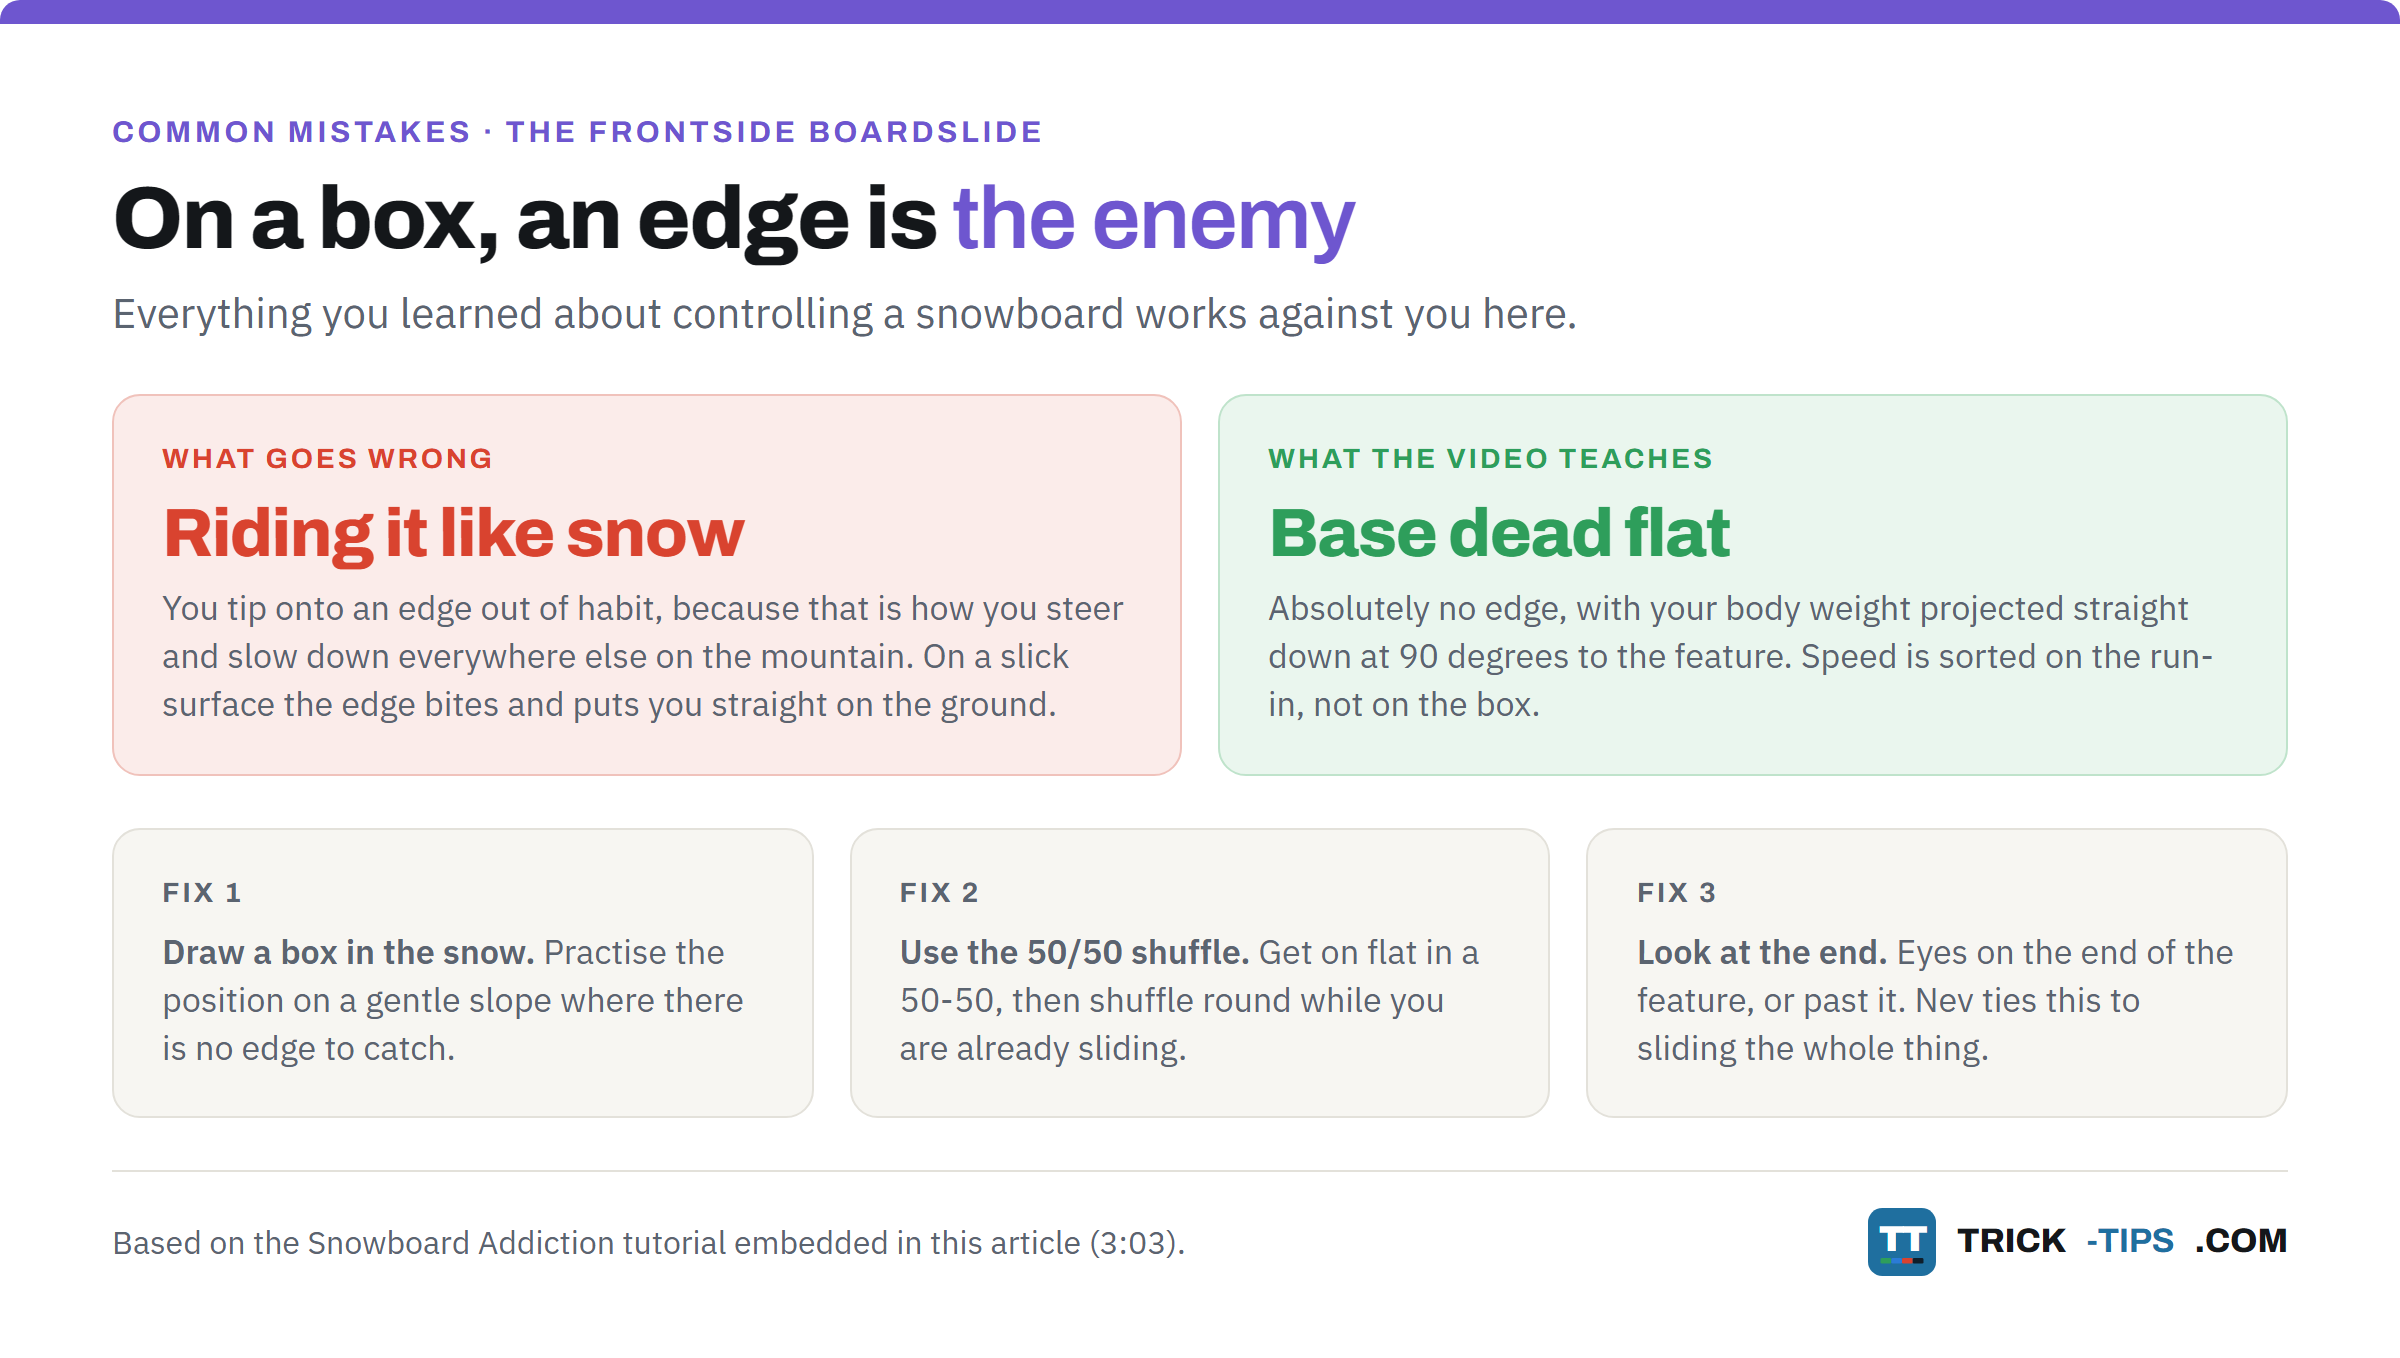
Riding an edge instead of a flat base. This is the big one, and it is worth understanding rather than just being told. On snow you control your speed with your edges. On a box, an edge is the enemy. At 3:03 Nev says the base must be completely flat with absolutely no edge, and your body weight projected straight down at 90 degrees to the box. Catch an edge on a slippery metal or plastic surface and it will put you on the ground instantly.
Turning your whole body. If your chest goes round with the board you are not counter-rotated, you are just riding sideways. You lose sight of the end of the feature, and there is no spring to release, so you have to fight your way out of it.
Looking down at your feet. Almost everyone does it when they are nervous. Nev’s instruction is to look at the end of the feature or past it, and he ties that directly to sliding the whole thing rather than coming off early.
Speed checking on the run-in. Sorting your speed early and then leaving it alone is worth more than getting the speed perfect.
Going too big too early. A front board on a low flat box and a front board on a down rail are the same movement with very different consequences.
Taking it to rails and kinks
Once the flat box version is comfortable, the video covers where it goes next.
Kinked features (4:41). The rule stays the same, but the feature moves under you. You need your weight at 90 degrees to whatever section you are on, so you have to adjust through the kink to keep that base flat.
Down rails (5:02). The 50/50 shuffle is much harder on a rail, so by this point you should be confident enough to pop straight on. Nev notes you generally jump on from the side rather than riding straight at it. The counter-rotation is identical.
There is a nice bit of history at 5:20 too. On a down rail, the feature sits in front of you on your frontside as you approach, and that is where the name comes from. It was borrowed straight from skateboarding, where riders were doing front boards long before snowboarders were.
Safety
Boxes and rails are hard, and they do not have much give. Wear a helmet. Check the feature before you ride it, and look for chips in the surface or bolts standing proud.
Look up the ramp before you drop in, every single time, and make sure nobody is already on the feature or sitting just past the end of it.
Start low. A slide that goes wrong on a flat box a foot off the snow is a bruise. The same mistake on a tall down rail is not.
[MATT: verify the safety lines above are what you’d actually tell a student before their first box session, and add anything I’ve missed. The video doesn’t cover safety at all, so this section is ours.]
What to learn next
Once you can front board a box consistently, the ladder opens up:
- Backside boardslide, if you have not already got it, so you have both directions.
- Cab 180 to 50-50 for spinning onto features.
- Backside 180 on a switch 50-50, switch frontside 360 out when you want to start linking things together.
- The video finishes at 5:36 with where front boards eventually lead: ollies and nollies onto the feature, and 270s out in either direction.
Getting a solid 180 dialled will help all of those, because every one of them is a rotation onto or off a feature.
Frequently Asked Questions
What is a frontside boardslide on a snowboard?
It is a boardslide where you pop onto the box or rail so your board sits across the feature and you slide with your body counter-rotated, chest still facing down the hill while the board points across. You are travelling backwards down the feature but still looking where you are going.
Do I need to boardslide before I learn a frontside boardslide?
Yes. The video is clear about this at 0:23. You want 50-50s and normal boardslides working on several different features first, so you already know how your board behaves when it is sideways on something slippery.
Why do I keep catching an edge on the box?
Because you are still riding it like snow. On snow you steer and control speed with your edges, but on a box the base has to be completely flat with no edge at all, and your weight pressed straight down at 90 degrees to the surface. Nev covers this at 3:03 and it is the single most common reason first attempts end on the ground.
Why do I spin off the side of the rail?
Almost always because your upper body turned with the board instead of staying put. Without the counter-rotation there is nothing holding the board across the feature, so it keeps rotating. Keep your chest and eyes pointing down the hill.
What is the 50/50 shuffle?
A drill from the video at 3:19. Instead of popping straight into a front board, you get on in a 50-50 and shuffle the board round into the boardslide while you are already sliding. Start by shuffling round at the very end of the box, then progressively earlier, until popping straight in feels like a small step.
Should I learn front boards on a box or a rail?
A box, and a low flat one. Nev recommends a small flat box with minimal consequences for your first one (2:31). Rails come later, and they need a different entry because you jump on from the side rather than riding straight at them.
In short
The frontside boardslide is a boardslide with your body wound up the opposite way to your board. Counter-rotate with your arms, keep the base dead flat, look at the end of the feature, then release and ride away.
Draw a box in the snow and practise the position first. Then find a low flat box and use the 50/50 shuffle rather than going straight for the pop-on. You will have it in a session or two.
Ask any questions in the comments below.