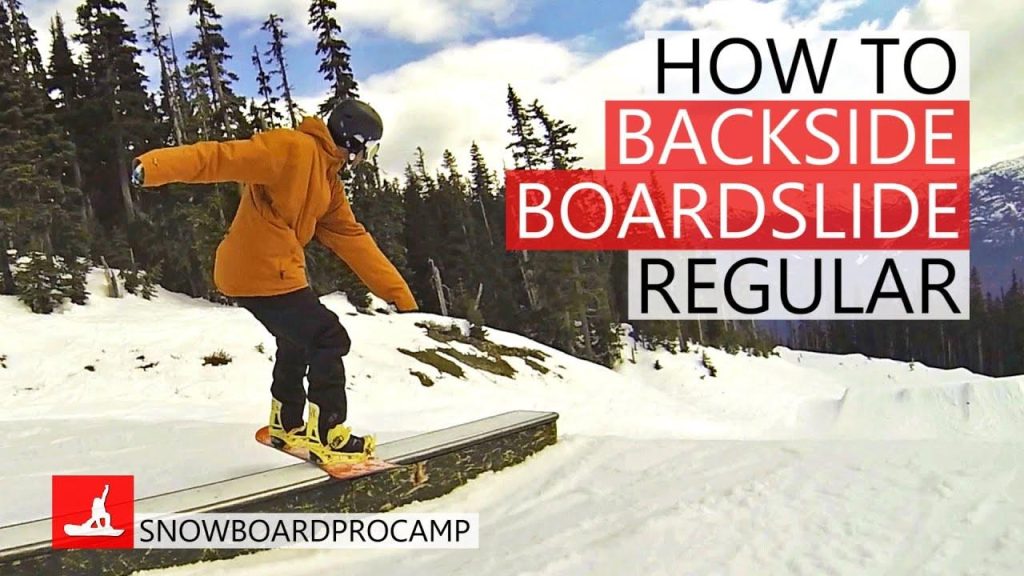
The name is longer than the trick. You backside 180 onto the rail, slide it switch, and come off with a switch frontside 360.
Here is the short answer. Ride in parallel to the rail and slightly on your toes. Pop a backside 180, looking back at the top of the rail as you go. Land with your legs in line with the rail and hold the 50-50 switch. Then bring your shoulders round to pre-rotate the 3 out, let the board follow, land flat and ride away.
It sounds complex written down. It is really two tricks you probably already have, joined by a slide.
Watch it first
Tom “Smithy” Smith rides it, filmed by Hemel Freestyle at Hemel Hempstead, and the clip runs just under three minutes.
Smithy makes it look considerably easier than it is, which is worth knowing before you compare your first attempts to his. Watch where he is looking, particularly on the way on.
What you need first
This is not a beginner rail trick, and the honest prerequisite list is long.
- A 50-50 you can hold without thinking, including switch. If sliding switch is new, that alone is the thing to go and practise.
- A backside 180 on snow, comfortably, because you are doing one onto a narrow metal object.
- A frontside 360 on snow, switch, or at least a switch frontside 180 you can extend.
Indoor slopes like Hemel are genuinely a good place to learn this. Short laps, consistent features, and no weather.
Helmet on. Rails are unforgiving and this one has you rotating blind onto one.
The steps
1. Ride in parallel, slightly on your toes
Ride parallel to the rail, slightly on your toes.
Parallel matters because a backside 180 on is a rotation into the feature. Approaching at an angle stacks an extra correction on top of a trick that already has enough going on.
Slightly on the toe edge sets you up to pop and rotate backside cleanly.
2. Pop the backside 180, looking back at the top of the rail
Pop a backside 180 and look back at the top of the rail.
That look is the whole of step two. A backside rotation takes your eyes away from the feature, so you have to deliberately find it again over your shoulder. If you do not, you are landing on a rail you cannot see.
Look for the top of the rail, where you want to land, not the middle and not the end.
3. Land with your legs in line with the rail
Keep your legs in line with the rail.
You are now switch, in a 50-50, and the usual rules apply. Board flat, no edge, weight centred, body aligned with the board.
Being in line is what stops you tracking off the side. Any angle across the rail at this point and you are off it.
4. Bring the shoulders round for the 3 out
This is where you set up the exit before you get to it.
Bring your shoulders round to start the pre-rotation for the 3 out, while your lower body stays locked in the 50-50.
That winds you up so the 360 releases as you leave the feature, rather than having to be generated from a standstill at the end of a rail. It is the same spring-loading principle as a simple 180 off the end, just wound further.
5. Bring the board round, land flat, ride away
Let the board follow the shoulders, land flat, and ride away.
Flat is the word to hold on to. Landing a 360 out on an edge, in the snow just past a rail, is how you catch and go down at the one moment you thought you were finished.
Don’t shin yourself
That is the video’s own warning and it goes in unedited, because it is the realistic failure mode.
If the backside 180 on comes up short or you land off-centre, the rail arrives somewhere other than under both feet. It hurts, and it is the reason to build this from its parts rather than sending the whole thing on day one.
Learn it as three separate pieces: backside 180 onto a low wide box, switch 50-50 all the way along, and switch frontside 360 off the end. Then join them up.
Where this sits
This is an advanced combination rather than a rung, and it assumes the ladder below it.
The foundation is the 50-50, which also covers 180s on and off the end and switch 50-50s, all three of which this trick uses. Frontside and backside boardslides are worth having too, and the spin itself is covered in 360s, 540s and 720s.
Frequently Asked Questions
How do you backside 180 onto a rail on a snowboard?
Ride parallel to the rail and slightly on your toes, pop the backside 180, and look back over your shoulder to find the top of the rail as you rotate. Land with your legs in line with the rail, board flat and weight centred.
Why do I keep missing the rail on a backside 180 on?
Because a backside rotation takes your eyes off the feature. You have to deliberately look back and find the top of the rail as you spin, otherwise you are landing on something you cannot see.
How do you set up a 360 off the end of a rail?
Bring your shoulders round while you are still sliding, with your lower body locked in the 50-50. That pre-rotation springloads you so the spin releases as you leave the feature instead of having to be generated at the end.
Should I learn this trick as a whole?
No. Build it from three pieces on a low wide box: the backside 180 on, the switch 50-50 along the length, and the switch frontside 360 off. Then join them.
What does landing flat mean here?
Landing with the board’s base flat rather than on an edge. Coming out of a 360 onto an edge in the snow just past a rail is the most likely way to catch and fall.
In short
Parallel and on your toes. Pop backside and find the top of the rail over your shoulder. Legs in line, board flat. Shoulders round early to load the three. Land flat.
Three tricks you may already have, joined by a slide. Build the parts, then join them, and mind your shins.
Ask any questions in the comments below.