So you can turn onto your heels and you can turn onto your toes. The trouble starts when you try to do one straight after the other, and you end up stopping, sitting down or sliding sideways between every turn.
Here is how to link turns on a snowboard, in short. Linking turns means doing one C turn and then another C turn without stopping in between. Between the two, the board runs straight down the hill for a moment, flat on the snow. You use that moment to get your weight onto your front foot, then your front knee steers you onto the next edge. Open the knee for your heels, close it for your toes.
That flat moment is the bit everyone tries to skip, and it is the bit that makes linking work. We will break it down, then cover how to control your speed once the turns start joining up.
Watch it first
The pick is from ALL aBOARD, and it is the last video in a short beginner series that goes falling leaf, J turns, C turns, then S turns. Because it sits at the end of that ladder, it teaches only the one new thing linking adds, in a little over four minutes of clear on-snow demos.
It also covers what you run into the day after you first link a few turns. Steeper slopes, too much speed, and how to change the shape of your turns to deal with it.
The S turn itself is from 0:16, the things to keep in mind from 1:21, steeper terrain from 2:30, and closed and open turns from 3:02.
Are you ready to link turns?
Linking is the last step of the beginner ladder, not the first. The video says plainly at the start that it follows edge slides, the falling leaf, J turns and C turns.
So before you try it, you want to be able to do these on a gentle slope:
- Side slip on your heel edge and your toe edge, and control your speed on both.
- A single turn in each direction, heels to toes and toes to heels, finishing across the slope.
If the toe turn is still the scary one, sort that first. Our guide to your first turns on a snowboard is the rung below this one, and it is all about getting past that moment of commitment.
What is an S turn?
As the video puts it at 0:19, an S turn is one C turn and another C turn, only this time you do not stop between them.
There is nothing new in it. Every movement is one you have already practised. What changes is that it all happens a bit faster, and there is no pause to reset in. That is why it feels harder than it is.
How to link turns on a snowboard, step by step
The video runs through the whole sequence in about twenty seconds, from 0:25.
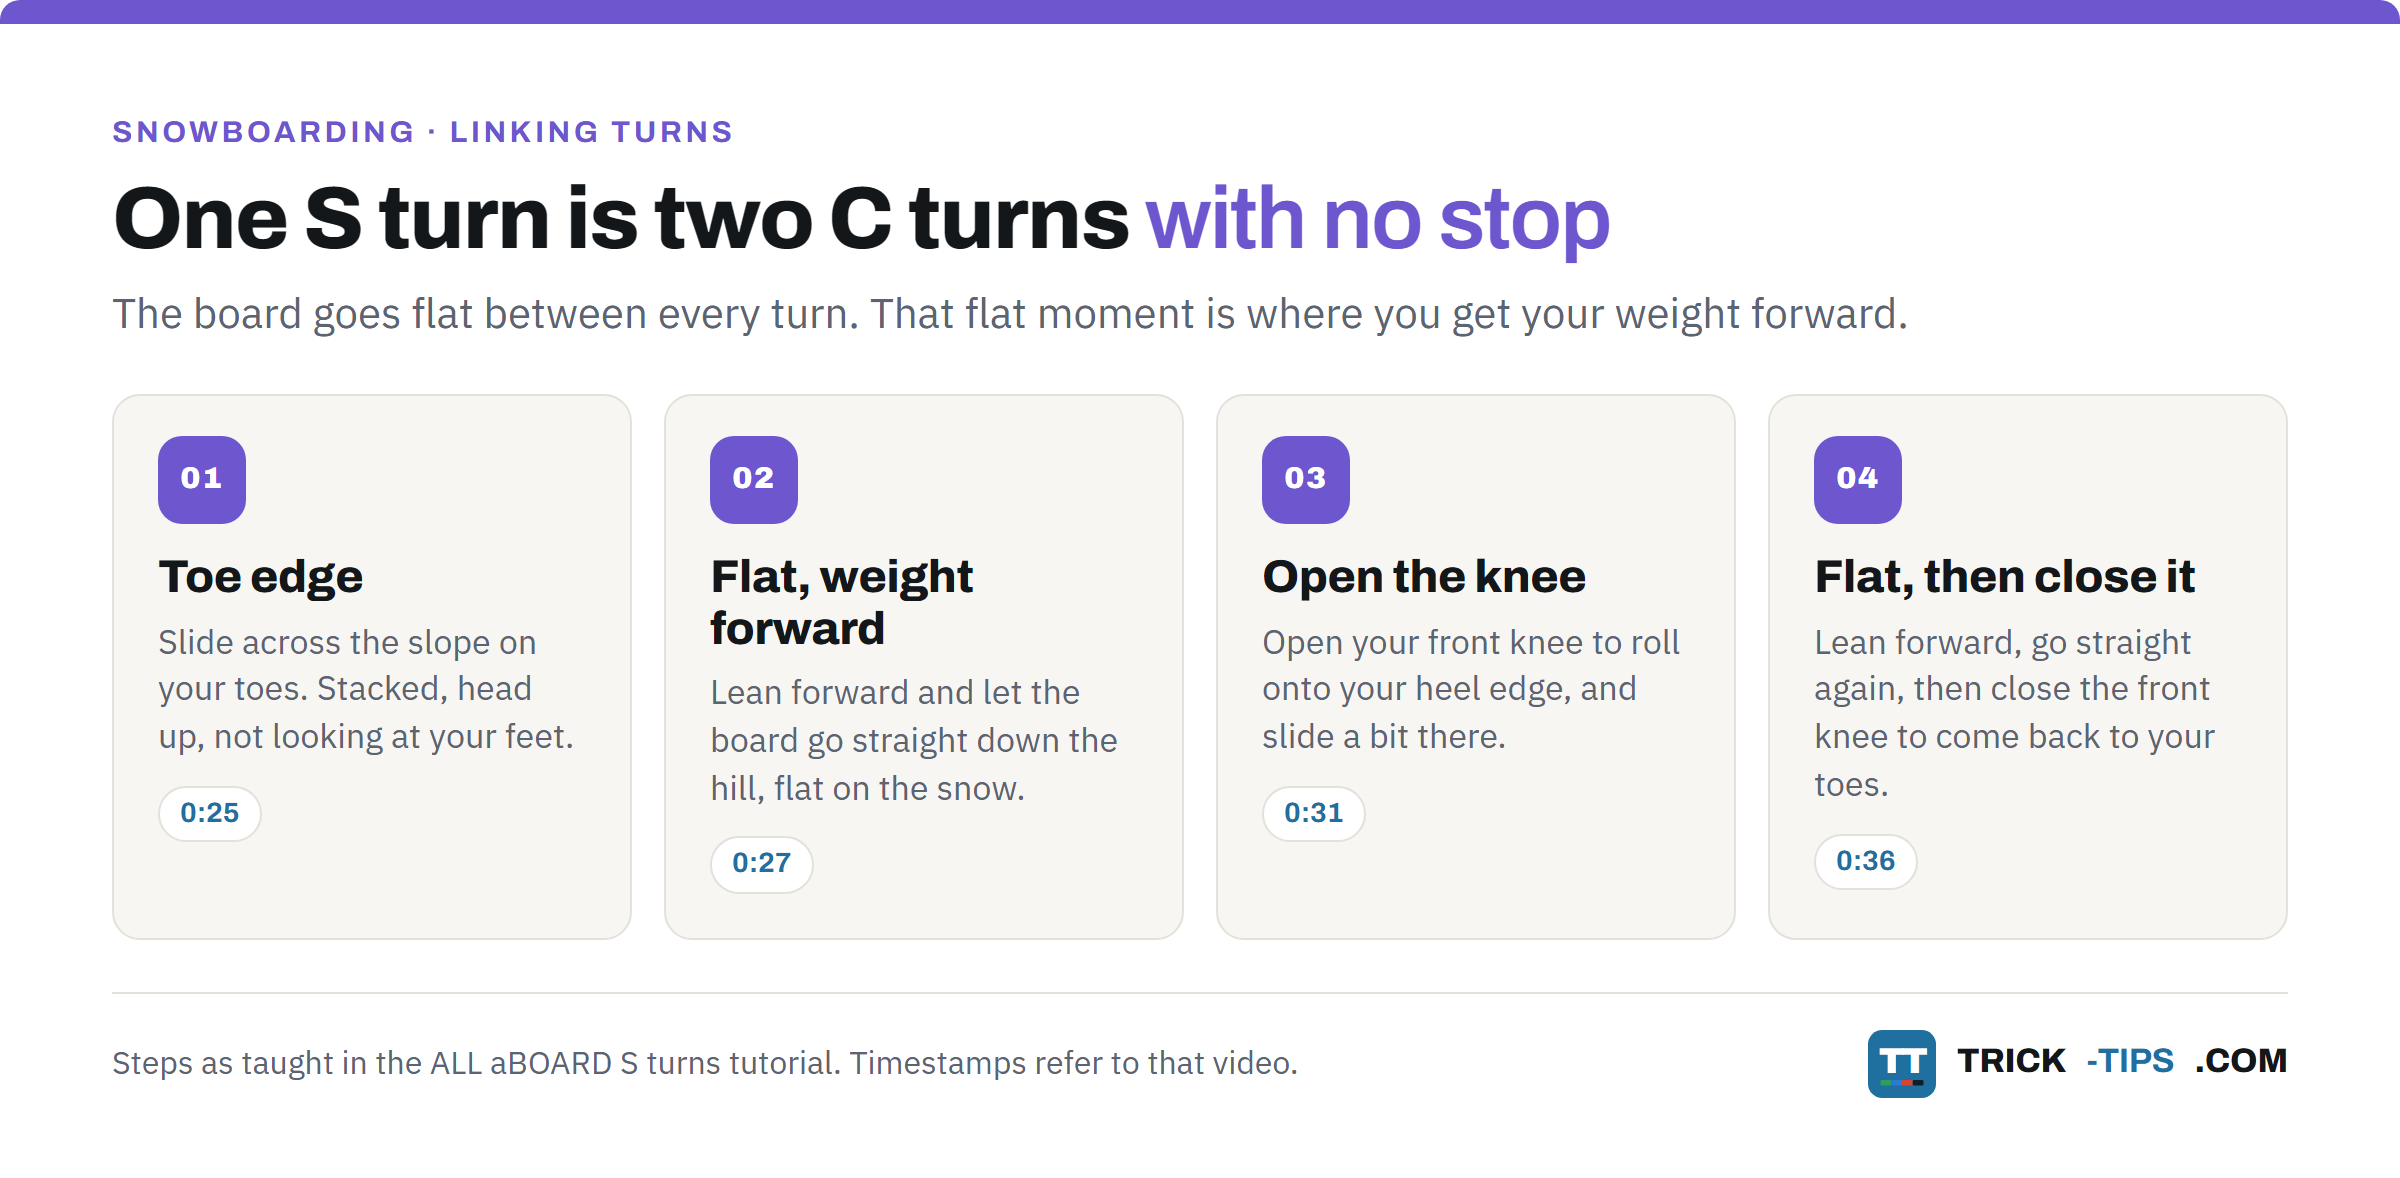
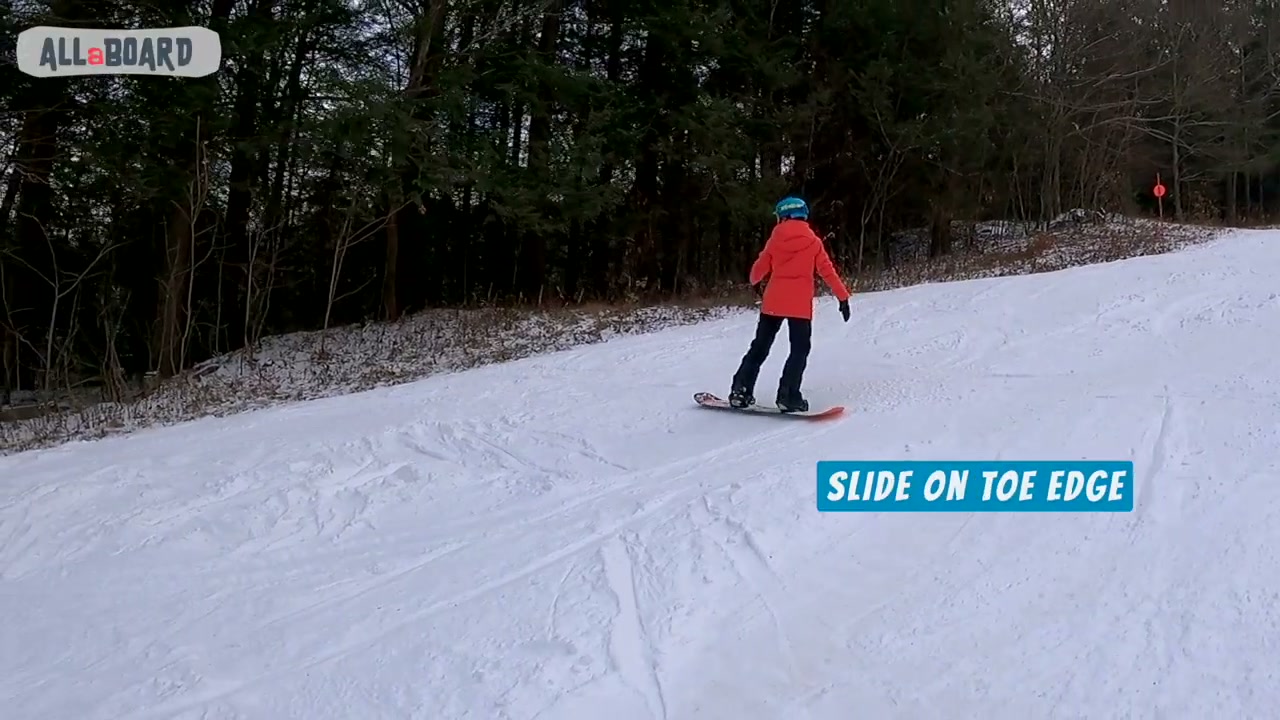
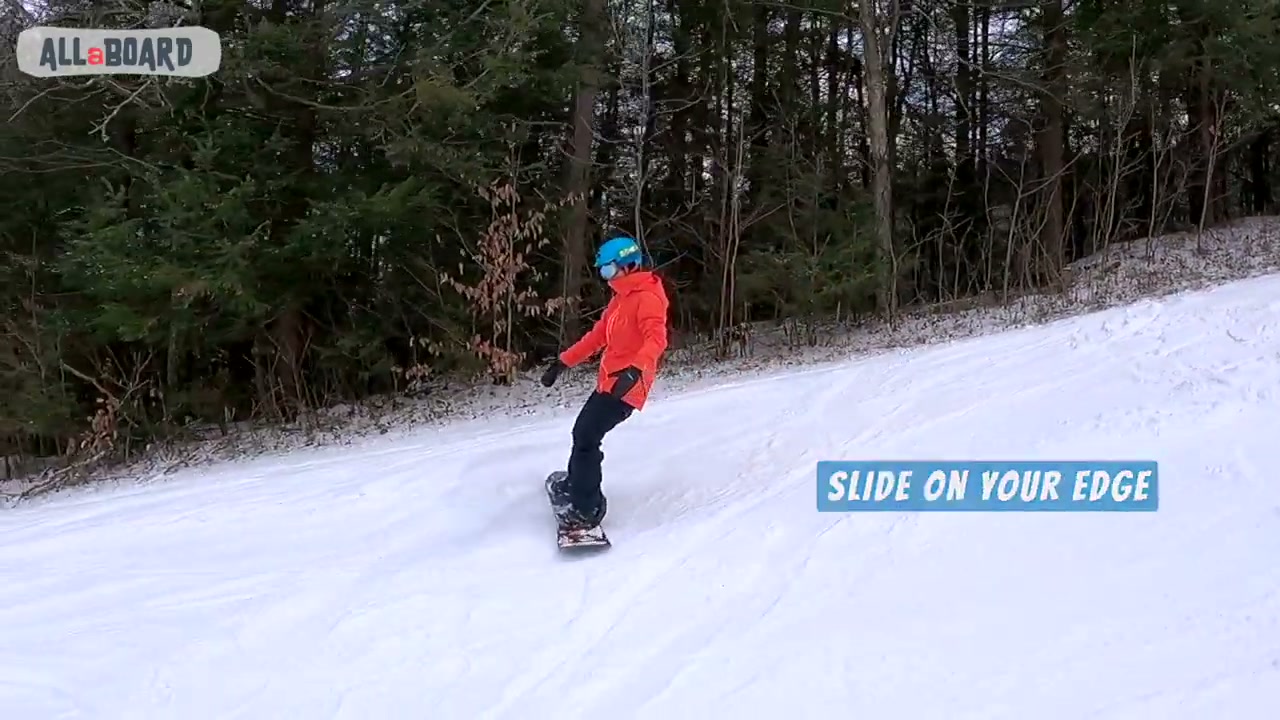
- Slide on your toe edge. You are travelling across the slope, facing up the hill, controlling your speed with the edge.
- Lean forward and let the board go straight. Get your weight onto your front foot and let the nose drop down the hill. The board should be nice and flat on the snow.
- Open your front knee to turn onto your heel edge. Slide a bit on your heels across the slope.
- Lean forward and go straight again, then close the front knee to come back onto your toe edge.
Then you just keep going. Toes, flat, heels, flat, toes.
Why does the flat bit matter so much?
Because it is where the next turn gets set up.
When the board is running straight down the fall line, you pick up speed. The video is honest about that at 1:46. But it is also your chance to move your weight forward onto your front foot and get the board flat on the snow, between the two edges. You cannot get from one edge to the other without passing through flat.
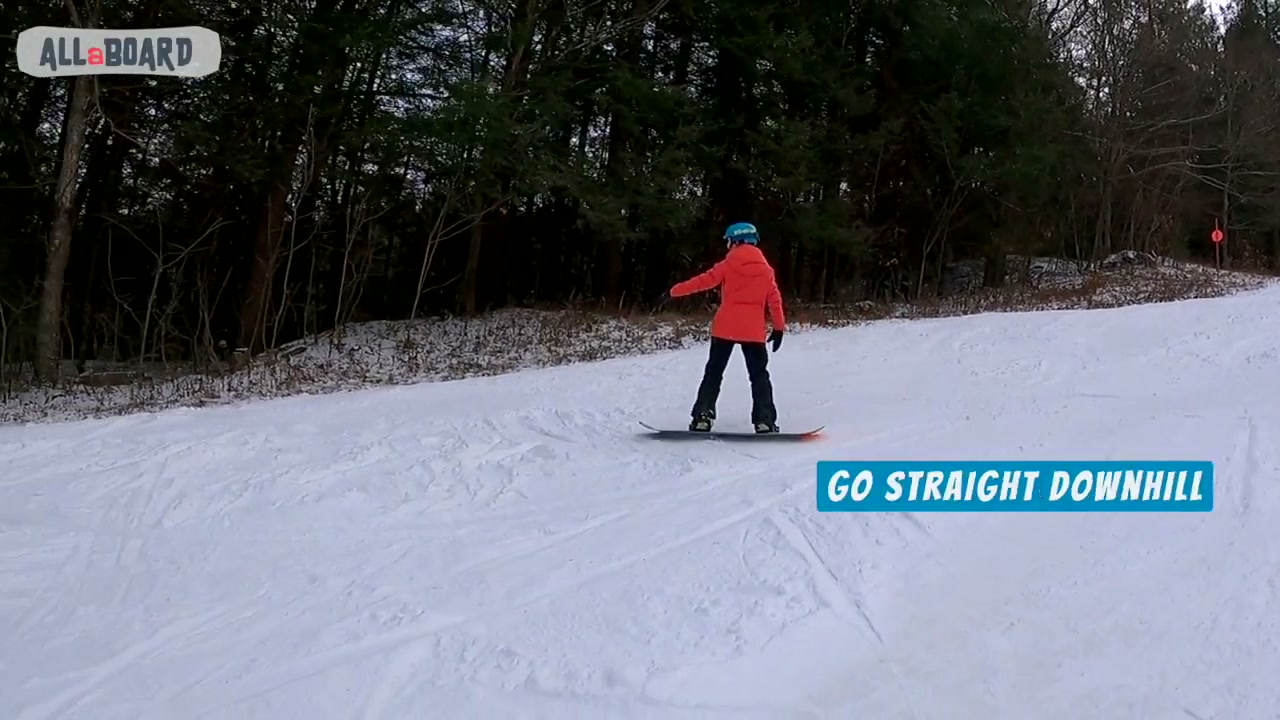
So the advice, at 0:53 and again at 1:57, is be patient and do not rush it. Use that slide to realign your body and get your balance back.
The good news is it does not stay long. As you get more confident, you shorten the time between the two C turns until they become one fluid movement. That happens on its own with miles. You do not have to force it.
What does the front knee do?
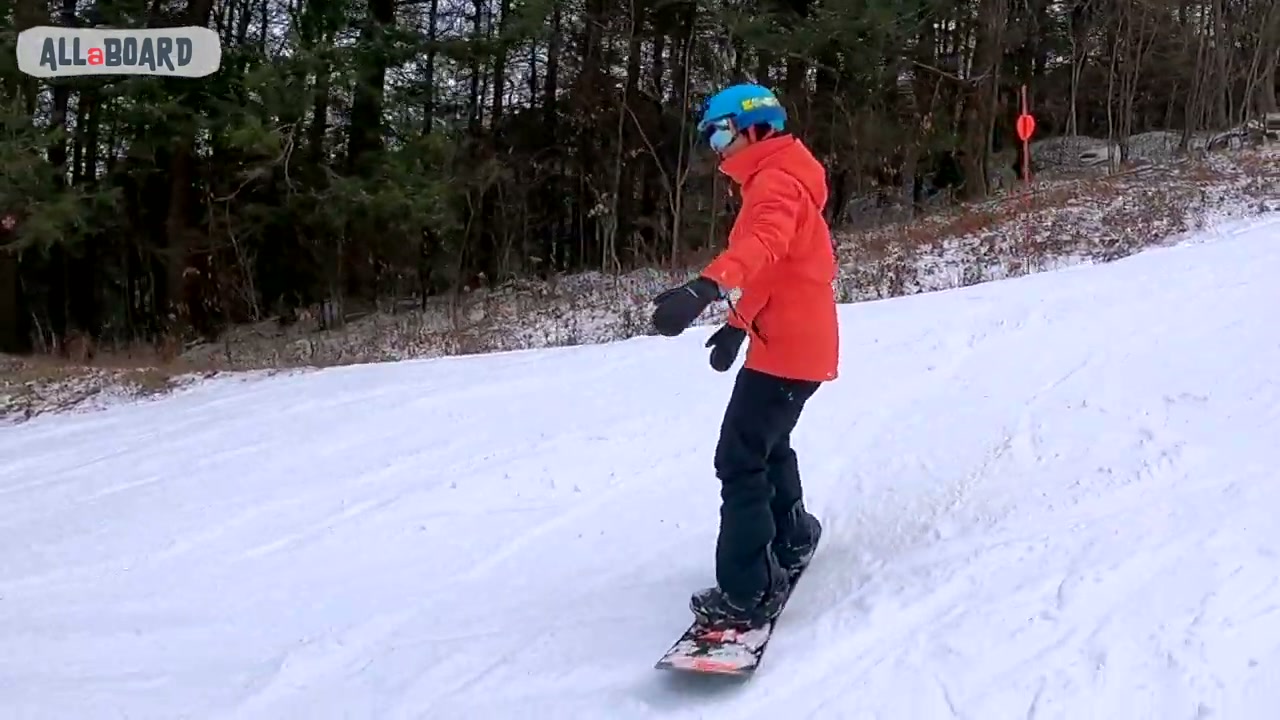
The front knee drives the whole change. The video makes this point at 2:03, and it is the cue to keep in your head while you ride.
- To go onto your heels, open the front knee. As the video explains at 2:05, opening the knee is what gets you to the heel side and starts the turn.
- To go onto your toes, close the front knee. The video’s cue is “squash that bug” (2:12), which presses the toes of your front foot down and starts the turn to the toe side.
Your back foot follows. Malcolm Moore, whose beginner film we come back to below, puts it simply at 33:30: the back leg follows through, and the front leg does all of the turning.
Three things to keep in mind
From 1:21, the video lists what to hold on to until it becomes muscle memory.
Stay stacked. Hips, shoulders and head up. Do not look down at your feet while you are on your edge slides.
Control speed with the edge, gently. Press the edge a little to scrub speed. Not too hard, just enough to keep the board under control.
Keep your eyes open. When you are moving from side to side you take up the whole width of the run. Find a quiet slope where no one is likely to ride into you.
How do you control your speed on steeper slopes?
Once you can link turns, you will want to go and explore. The first problem on a steeper slope, as the video says at 2:37, is how much speed you gain going straight down that middle bit.
So shorten the flat moment. But you cannot skip it. You still have to move through the middle and get the board flat before you can get onto the new edge. What changes is that the knee has to open and close faster.
The other tool is the shape of the turn, from 3:02.
Closed turns slow you down. Spend longer on each edge and traverse further across the hill, so you complete the full C shape. More time across the hill means less speed.
Open turns keep you moving. On a flatter section, make longer turns with less time across the fall line and more time down it. It looks more like a snake than a row of Cs.
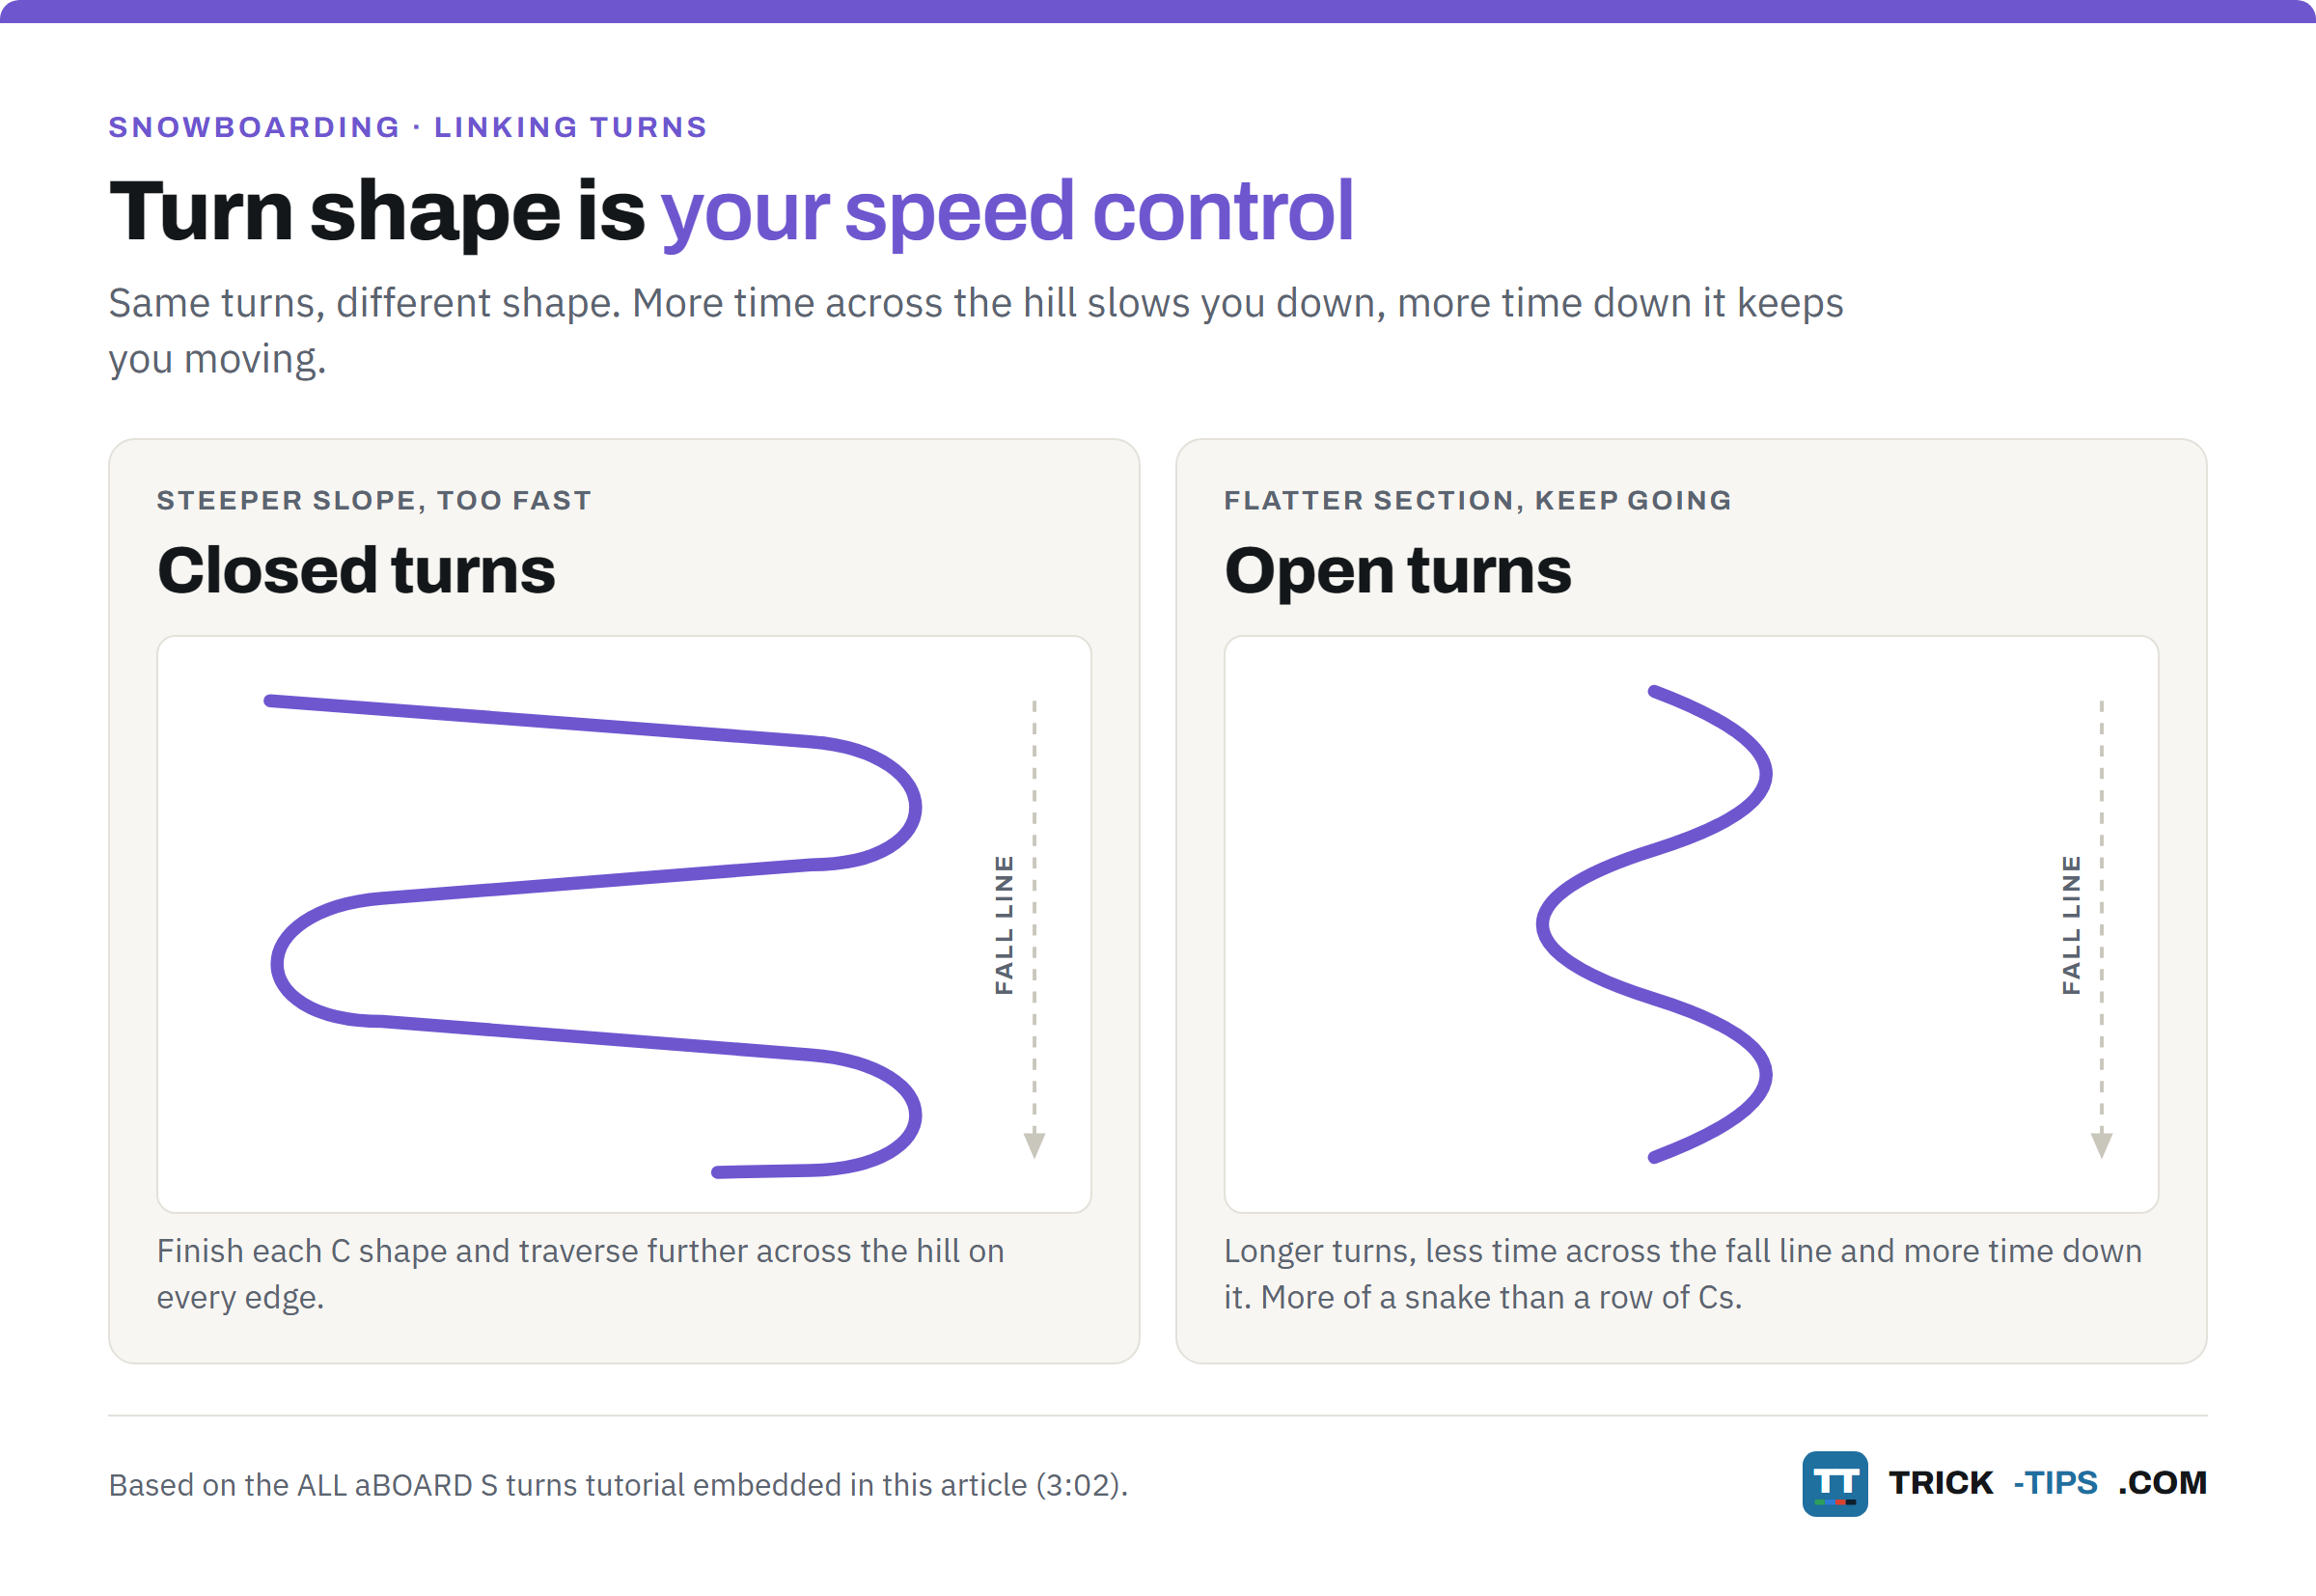
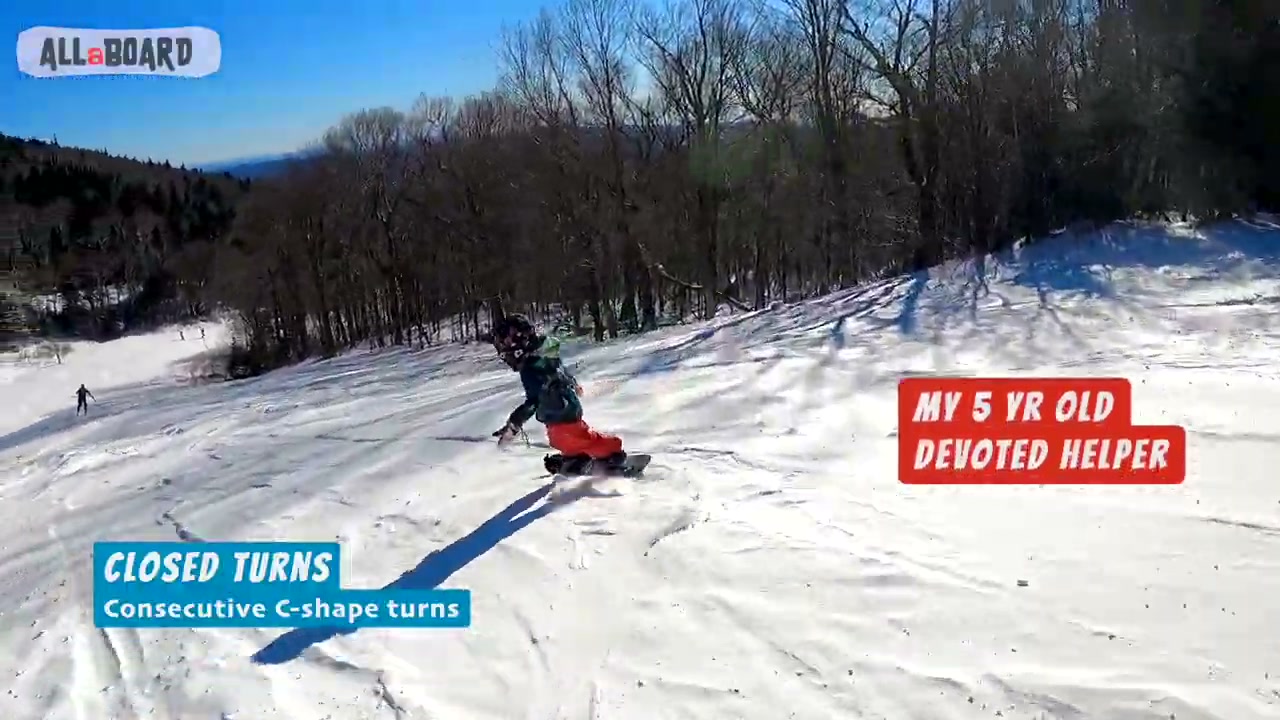
In short, turn shape is your speed control. If you are going too fast, close your turns up. If you are slowing to a stop on the flat, open them out.
Common mistakes when linking turns
The ALL aBOARD video shows the right way. For the wrong ways, Malcolm Moore’s beginner film is the one to watch, because it follows real learners through their first linked turns and diagnoses their faults on camera. His linking section starts at 25:20.
Rushing the flat bit. Trying to flick straight from one edge to the other. Be patient through the middle, as ALL aBOARD says at 0:53.
Going into a turn without traversing first. Malcolm makes this point at 29:53, pointing at the big C shapes his own board leaves in the snow. If you go into a turn without first traversing across the slope, you can easily catch an edge.
Weight on the back foot. At 32:19 one of his learners has too much weight on the back foot, and at 36:55 another over-rotates at the end of the turn for the same reason. Lead with the front leg.
Hips not crossing the board on the toe side. At 27:23 Malcolm points out a learner not bringing her hips forward across the board as she comes onto her toes, which makes the edge change hard and the toe edge hard to control.
Knees too close together. At 27:13 he wants both knees pushed out wide, as if there were a beach ball between them.
Looking at your feet. ALL aBOARD says it at 1:34 and Malcolm says it again at 38:18. Look where you are going.
Another good tutorial from Malcolm Moore
If the four-minute version is not landing, try Malcolm Moore’s beginner film from 25:20. It is a long film, 43 minutes covering the first days, but the linking section stands on its own and runs to about 39:15.
Two things in it are worth stealing. From 27:51 he walks on the inside of a learner’s turn and guides her round by the front hand, while she does all the work with her feet and knees. Keeping that hand out over the front of the board keeps her weight forward, which is the point of the exercise. And at 36:10 he sets a challenge for when your turns are coming together, linking them inside a narrow corridor so you have to make tighter turns.
The TruSnow video on linking turns is also good if you want a two-minute version that focuses on the front ankle and staying centred.
Beyond the video
A couple of things the videos do not cover, worth knowing before you start crossing the whole width of a run.
Look up the slope before you set off again. Linking turns means you swing right across the piste, often into the path of people coming down. The FIS rules for conduct, which ski areas across Europe and in the UK publish, say that anyone starting again after stopping must look up and down the slope first. They also say the person coming from above chooses their line so they do not endanger the people below. So the people above you are meant to give you room, but they can only do that if you have not set off straight into them.
Think about wrist guards. You will fall while you are learning this, and wrist injuries are among the most common snowboarding injuries, with beginners the group most at risk. A large Norwegian trial of around 5,000 snowboarders found far fewer wrist injuries in those wearing wrist guards than in those without.
What to practise
Pick a gentle, wide, quiet slope, the same one you learned your single turns on.
Start with a heel side slip, come across the slope, then let the board go flat and run down the hill with your weight on the front foot. Close the knee, onto your toes, across the slope. Flat again. Open the knee, onto your heels.
Do it slowly and take your time in the flat bit. If it falls apart, go back to a few J turns and C turns on their own and then try again, which is exactly what the video recommends at 3:48.
Before you go
If your kit is not sorted yet, our guides to stance width and binding angles and choosing boots that fit are the place to start.
And once you are linking turns, the terrain park starts to look tempting. Read up on terrain park etiquette before you drop in.
Frequently Asked Questions
What does linking turns mean in snowboarding?
Linking turns means doing one turn straight after another without stopping in between, going from your heel edge to your toe edge and back again. It is also called S turns, because the track you leave looks like a row of S shapes rather than separate Cs.
How do I go from heel edge to toe edge on a snowboard?
Let the board go flat and run straight down the hill for a moment, with your weight moved forward onto your front foot. Then close your front knee and press the toes of your front foot down, and the board comes round onto your toe edge. Do not try to flick straight from one edge to the other.
Why do I catch an edge when I link turns?
Usually because the edge change is rushed, or because you go into the next turn without first traversing across the slope. Let the board run flat between turns, come across the hill on each edge before you start the next turn, and keep your weight over your front foot.
Do I need to learn single turns before linking them?
Yes. Linking turns is the last step of the beginner progression, after side slipping, the falling leaf, and single turns in both directions. If the toe turn still feels scary on its own, practise that first, because linking only joins together movements you can already do.
How do I slow down when linking turns on a steeper slope?
Make closed turns. Spend longer on each edge and traverse further across the hill, so you finish each turn in a full C shape. You can also shorten the moment the board runs straight down the hill, but you cannot skip it, because the board has to go flat to get onto the new edge.
How long does it take to learn to link turns on a snowboard?
It varies a lot from person to person. In Malcolm Moore’s beginner film, his learners are linking turns at around four and a half to six hours in, spread over two days. Expect a few runs of it falling apart before it clicks.
In short
Linking turns is two C turns with no stop between them, and the flat moment down the fall line is where you get your weight forward and set up the next one.
Practise on a quiet, gentle slope. Be patient in the flat bit, let your front knee drive, and use closed turns to control your speed when the slope gets steeper.
Ask any questions in the comments below.