The first time you stand at the top of a park you are not really worried about the jump. You are worried about looking like an idiot in front of people who clearly know what they are doing, and about getting in someone’s way.
Here is the reassuring part. The park runs on an informal traffic system that takes about two minutes to learn, and once you know it you are one of the people who knows what they are doing. There are three things in it: how you claim your turn, where you are allowed to stop, and what everyone does when something goes wrong.
The video ends on the one line worth carrying up the hill with you. Respect people, and stay away from landings and take-offs. Nearly everything else follows from that.
Watch it first
Stomp It Tutorials is the pick, and the reason is the second half of the video. Plenty of park etiquette videos list the rules. This one also walks you through what to actually do when someone is hurt, including who closes the feature, what you say to the injured rider and what information the mountain rescue service needs when you ring them. That is the part everyone skips and the part that matters most.
It covers skiing and snowboarding together, because the rules are the same for both.
The drop-in signal is at 0:52, where you can safely stop at 1:30, what to do when you crash at 3:09, and the two crash-response sections at 3:47 and 4:25. The tactical half, inspecting features and getting your speed right, starts at 5:36.
One heads-up so it does not catch you out. From about 4:47 there is a staged reconstruction of an injury, with an actor describing a hurt knee. It is signposted in the video’s own chapter list and nothing is shown happening, but it is worth knowing it is coming.
Claiming your drop
There is a queue at the top of a park line, and it is run by voice and hand rather than by standing in order.
When it is your go, either shout “dropping” or hold your hand or a pole up. Both work. The thing people get wrong is thinking the signal is permission. It is not. You still have to look, because someone further up may already be moving, and the person you cannot see is the one you hit.
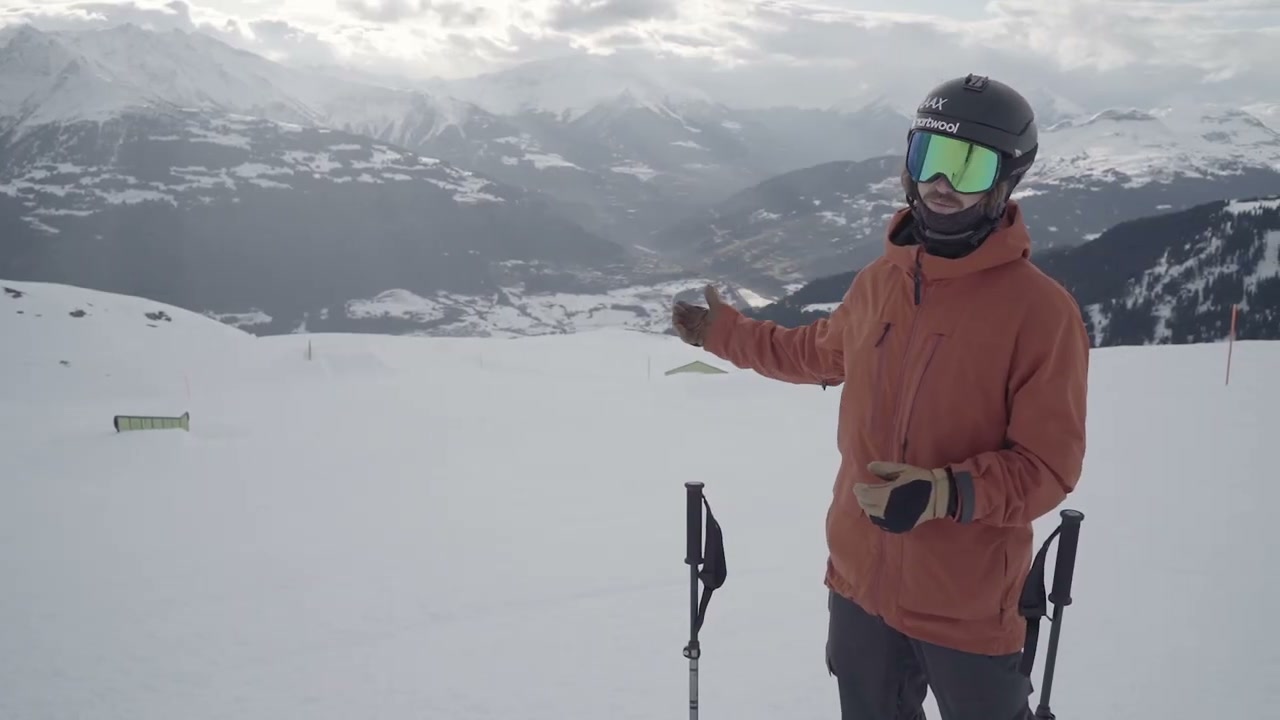
Right of way lasts as long as you keep moving. If you hit a rail and then carry straight on into the jump below it, that is one run and nobody should drop in on top of you. The moment you stop between features, you have given it up, and you have to look up and claim your turn again before you set off.
Where you can stop, and where you absolutely cannot
The rule is short. Never stop anywhere you cannot be seen from above, and never stop on a jump, a roller or a landing.
The reason it needs saying more carefully than that is the phrase “a landing to you”. The slope you have just landed on may be the take-off for someone hitting the same feature from further back and going a lot further. Your safe spot is somebody else’s flight path.
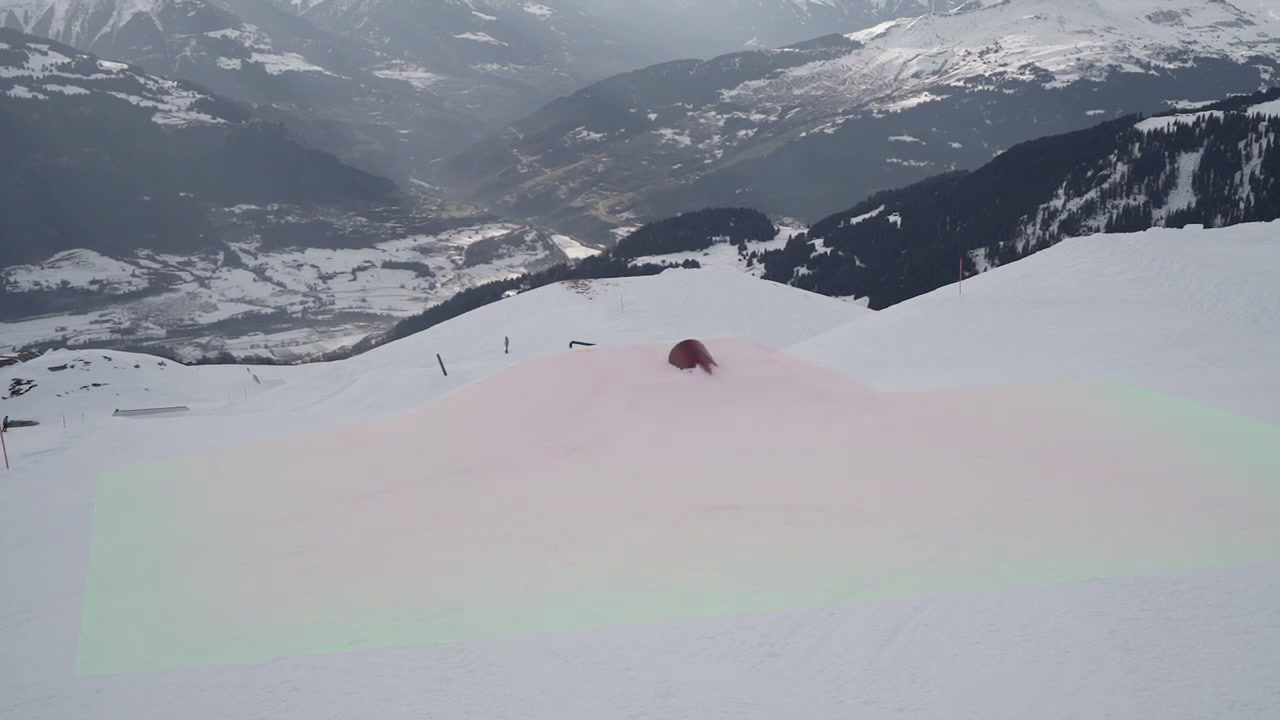
So the working version is this. Leave roughly 15 metres of clear space around any feature, and stop to the side of the line rather than below it, where the people at the top can see you.
And “to the side of the rail” is not automatically safe either. Most people slide a rail straight along it, but somebody may choose to jump clean over the side of it, and that is exactly where you were planning to catch your breath.
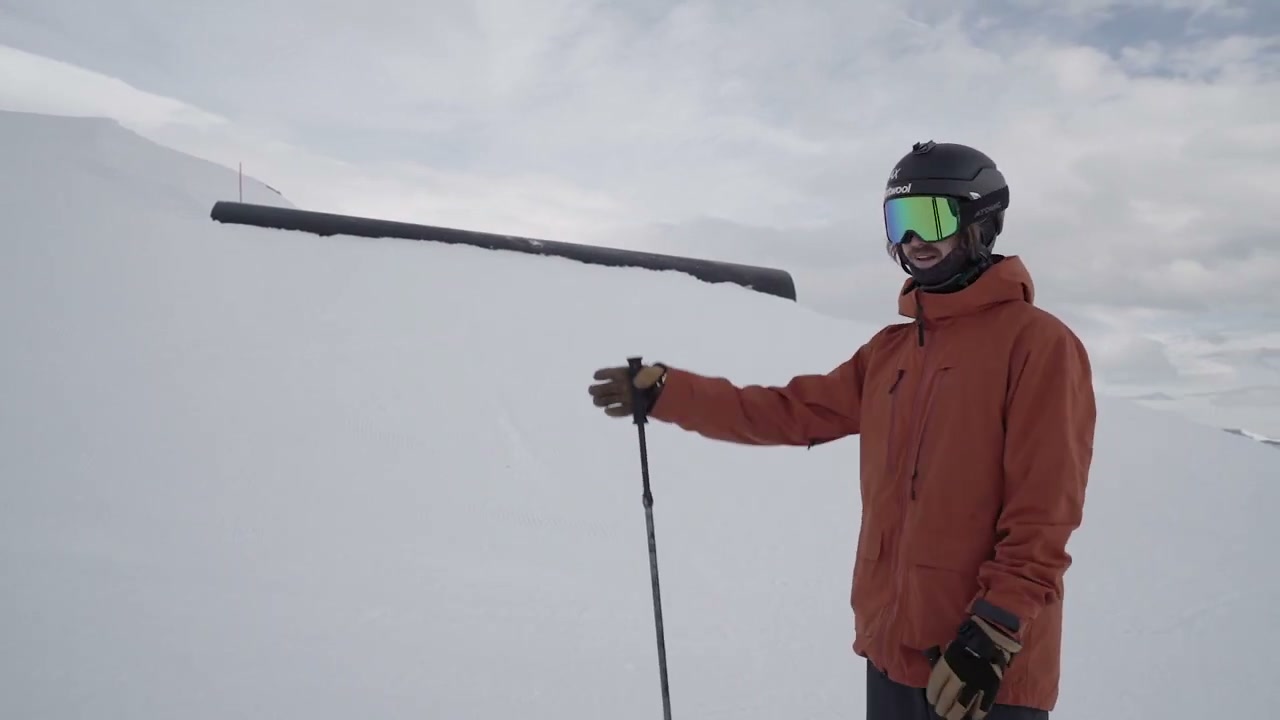
If the park is narrow and there is nowhere good to stop, the video’s suggestion is the sensible one. Do not stop at all. Ride the whole line through and sort yourself out at the bottom.
When it goes wrong
This is the part worth actually memorising, because it is the part you will have to use without thinking.
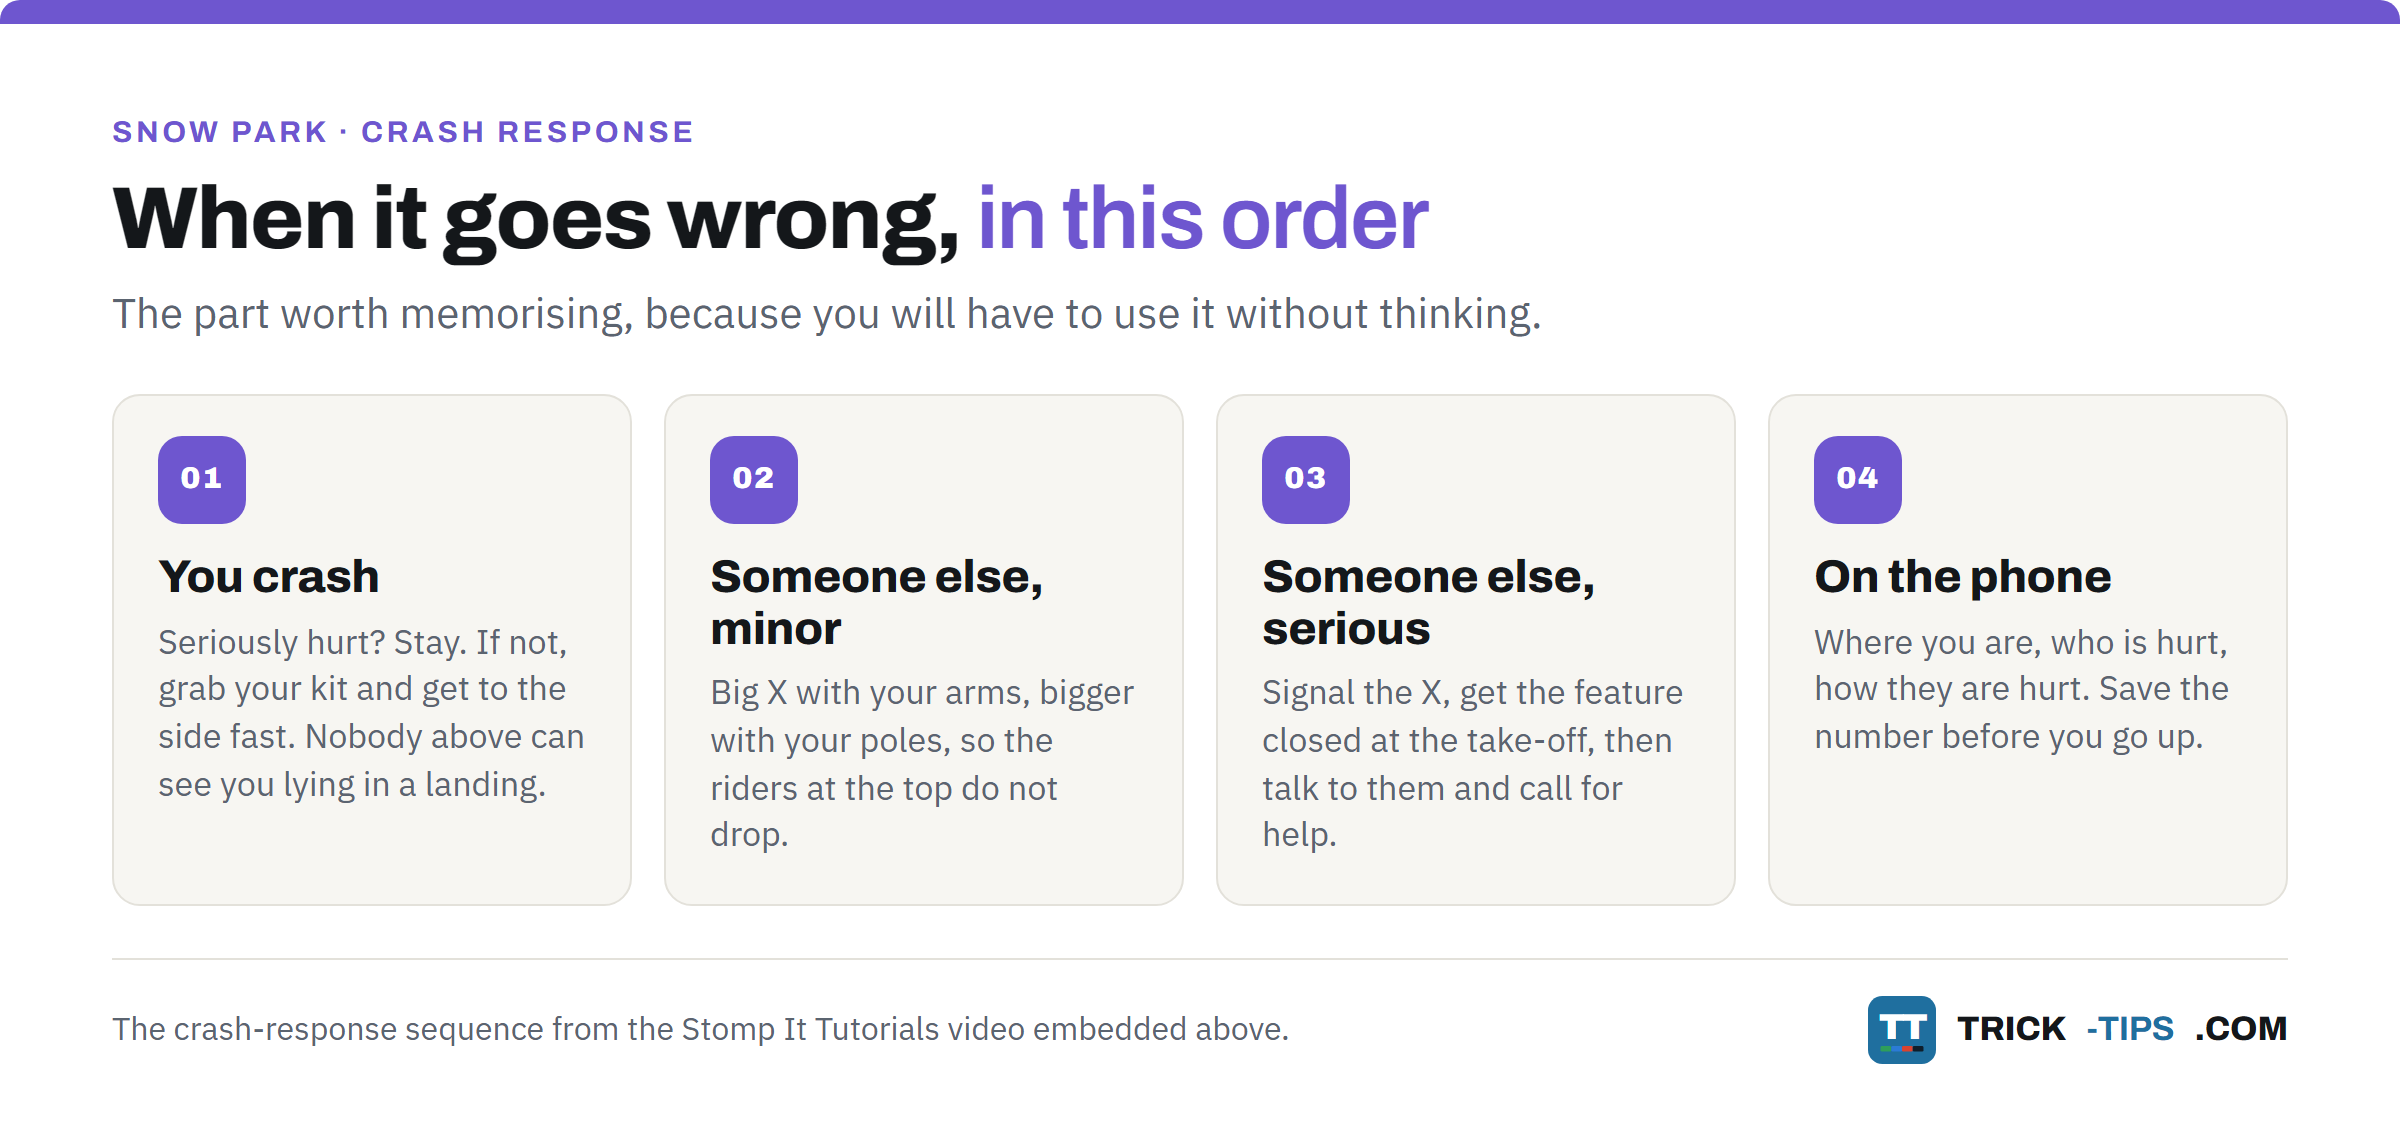
If you crash. Ask yourself one question first. Am I seriously injured? If the answer is yes, stay where you are. If it is no, get up, grab your skis, board, poles, goggles, whatever has come off, and get to the side as fast as you can. Somebody at the top cannot see you lying in a landing, and they may be coming in backwards.
If someone else crashes and is fine but their gear is scattered across the landing, get the attention of the riders at the top by making a big X with your arms, and make it bigger with your poles if you have them. That is the universal signal for “do not drop”.
This one cuts both ways. It is easy to stare at the feature you are about to hit and see nothing else, so lift your eyes and look down the line before you go. If you see an X and you cannot tell which feature it is for, respect it anyway.
If someone else has a serious crash, the video’s sequence is: signal the X and shout if that is not enough, then get someone to close the feature by standing at the take-off with their skis or board planted so nobody can hit it, then go to the injured person, talk to them, and call the mountain rescue service.
Two practical things there. Have the resort’s emergency number saved in your phone before you go up, not looked up in a panic. And when you call, tell them three things: where you are, who is hurt, and how they are hurt.
Before you hit anything new
The second half of the video is the bit that stops you needing the first half.
- Look at the feature before you ride it. Stand somewhere you are not in anyone’s way and actually look at it.
- Ask about the speed. The intimidating-looking regulars at the top are, in the video’s words, cool-looking softies, and they are happy to tell you how the jump is running today. Better still, ask if you can follow one of them in.
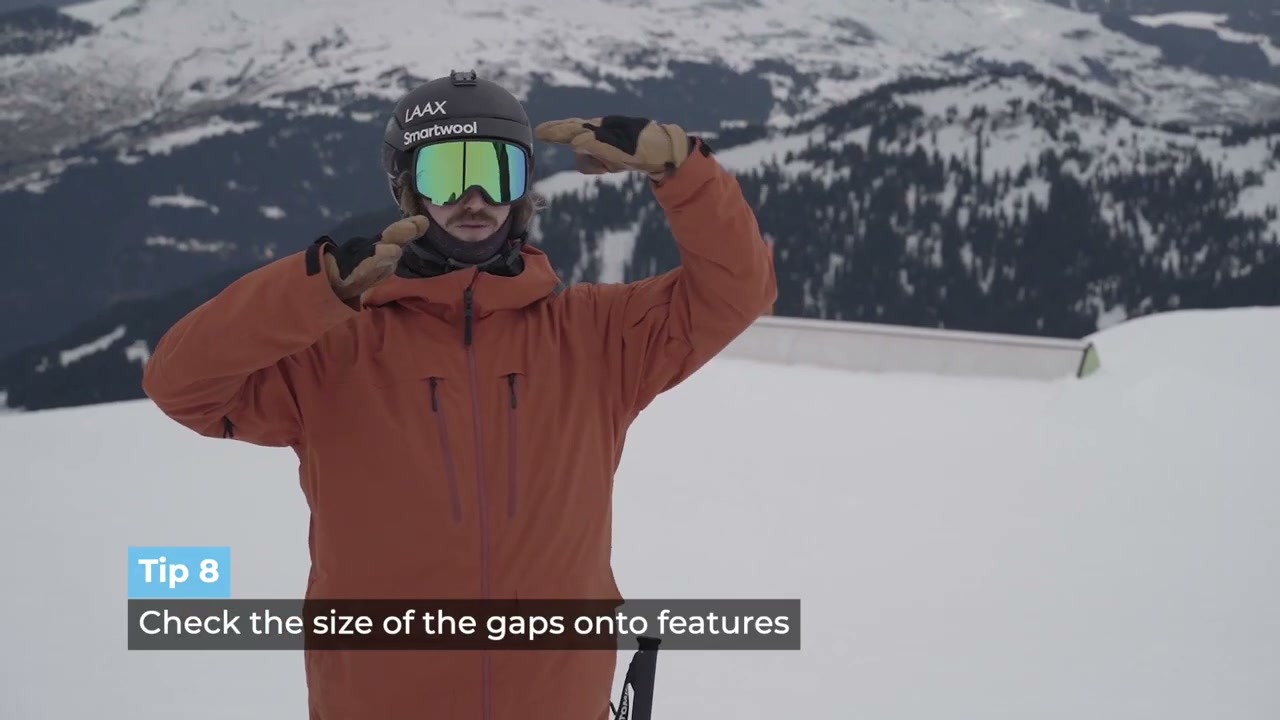
- Check the gap. Some boxes and rails have a gap between the run-in and the feature. Ride straight at one of those and your tips go into the end of it rather than onto it. Look from the side to see where the feature actually starts.
- Check the height. If you cannot tell how far the drop off the end is, jump alongside the feature rather than onto it and look down from the same height.
- Start at ten or twenty per cent of what you can do. Warm up with the easy stuff, a 180, a straight slide, a small pop, and build from there. Your first hit on a new feature is not the place to find your limit.
The mistakes that actually cause the crashes
Treating the hand signal as permission. It announces you. It does not clear the run. Look first, every time.
Stopping just past the landing to check if anyone saw you. That is the single most common way beginners get hit, and the person coming has no way of avoiding you.
Standing beside a rail rather than well clear of it. Someone will jump over the side of it eventually.
Fixating on your own feature. Lift your eyes on the way in. The X you did not see is the one that mattered.
Going for the trick before you have looked at the feature. Gaps and drop heights are not things to discover mid-air.
Not having the emergency number saved. It takes ten seconds at the car park and it is useless to sort out at the moment you need it.
Beyond the video
- The rules are the same indoors and on a dry slope, which is where most people in the UK will have their first park session. The features are smaller and the run-ins are shorter, which makes the stopping rules matter more rather than less, because there is less room to get out of the way.
- Helmet, obviously, and consider wrist guards and padded shorts. The video assumes a helmet without saying so. The falls you take learning rails are onto hard objects rather than snow.
Where this sits
This is the rung below every trick on the site. Once you are comfortable in the park:
- How to 50-50 on a snowboard and the ski version are the first box trick on either set of planks.
- Frontside boardslide is the next rung after that.
- Detuning your edges and setting up your bindings are the two jobs worth doing before a park day.
- The ollie is underneath all of it.
Frequently Asked Questions
How do you claim a drop in a terrain park?
Shout “dropping” or hold up your hand or a pole so the people around you know you are going. Then look up the run before you set off, because the signal tells people your intention, it does not clear the slope.
Where can you safely stop in a terrain park?
To the side of the line, well clear of any feature, and somewhere the riders at the top can see you. Leave around 15 metres of space around a feature, and never stop on a jump, a roller or a landing.
What does an X with your arms mean in a snow park?
It means do not drop in. It is the signal for a blocked or dangerous feature, usually because someone has crashed or their gear is spread across the landing. If you see one, stop, even if you cannot tell which feature it is about.
What should I do if someone crashes in the park?
Signal an X to the riders above and shout if they have not seen it. If it is serious, get someone to close the feature by standing at the take-off, then go to the injured person, talk to them and call the mountain rescue service with where you are, who is hurt and how.
How do I know if I have enough speed for a jump?
Ask the people at the top of the park, who ride it every day and know how it is running. Asking to follow one of them in is even better, because you can match their speed instead of guessing it.
What should I try on my first park lap?
Something at about ten or twenty per cent of what you can already do. Straight airs, a straight box slide, a small pop. Look at every feature before you hit it and build up from there.
In short
Claim your drop with your voice or your hand, then look anyway. Stop to the side, in sight, and nowhere near a landing. Learn the X. Save the mountain rescue number before you ride. And look at any feature before you commit to it, because gaps and drop heights are not things to discover in the air.
Do a lap without hitting anything on your first run. Just ride through, look at everything, and see where people are stopping. It is the most useful run of the day.
Ask any questions in the comments below.