Right. If you only get one thing right in your whole setup, make it the boots.
Here is the short answer. Go to a shop and try on as many pairs as you can, lace each one all the way up before you judge it, and look for three things. Toes just brushing the front when you stand tall and releasing when you flex into your stance. No hot spots anywhere. No heel lift.
And here is the bit that catches nearly everyone out. Boots pack out, which means the foam compresses and the boot gets bigger over a season. So a pair that feels comfortably roomy in the shop will be too big by February. More people end up with boot problems because their boots are too big than too small.
Watch it first
Search of Snowboarding is the pick, and this is the second time this channel has won a vetting round here, after the bindings setup article.
Shane Serrano presents it from Radio Board Shop in Aspen, so he sells boots for a living, and that is worth knowing up front. What he does not do is put a discount code or a list of affiliate links under the video, and the single strongest message in it is one a shop would rather you did not hear, which is that nobody can tell you the best boot because it depends entirely on your foot.
Twelve minutes, chaptered, and it goes well beyond sizing into liners, footbeds and what your money actually buys.
If you want to skip around, trying boots on in person is at 0:30, measuring your foot at 1:18, lacing up before you judge at 2:05, the actual fit test at 3:00, pack out and downsizing at 5:40, pricing at 7:01, flex at 9:07, and liners and footbeds at 10:08.
Why the boots matter more than the board
Boots are arguably the most important component of your whole kit. If your feet hurt, it does not matter what board you are on or what bindings you are in. You will have a miserable day and you will blame the wrong thing.
That is a different way of thinking about a budget from the one most people arrive with. The board is the exciting purchase. The boots are the one that decides whether you enjoy the week.
Go and try them on
The video’s first instruction is the one worth taking most seriously. Go to a snowboard shop and get your feet into as many boots as you can.
Everyone’s feet are different, which sounds obvious until you notice what it means for advice. If you ask a mate, or a bloke in a shop, what the best boot is, they will tell you the best boot for their foot. That is not them being unhelpful. It is the only honest answer to a question that does not really work.
If there genuinely is no shop near you, buying online is what it is, and the rest of this article is about what to look for when you cannot get your foot into the thing first.
One warning if you buy the same model online year after year. Boot fits change between model years. If you have not tried the new one on, you may open the box to something that no longer fits the way you are used to.
Measure your foot properly
Before anything else, know your actual size.
If you cannot get to a snowboard shop, go to any shoe shop and get your foot measured on the metal foot gauge, the Brannock device. If you are in a snowboard shop, make sure they measure your foot rather than just asking what size you wear.
Use European sizing. UK and US numbers drift between brands, so you can be a 10 in one boot and a 10 and a half in another. European sizing, the numbers in the 30s and 40s, is the most consistent across brands, so it is the one to work from.
The fit test
Lace it all the way up first
This is the mistake almost everyone makes in a shop.
You slide your foot in, your toes jam against the front, and you immediately say it is too small. It is not too small. It is not laced. Doing the boot up properly pulls your foot back into its actual position in the boot. Only then can you judge the size.
What a good fit feels like
Stand up tall in the laced boot. You should feel your toes right at the front, touching, but not crushed or uncomfortable.
Now get into your snowboard stance. Bend your knees, flex forward into the front of the boot, keep your feet flat on the floor. Your toes should release off the front.
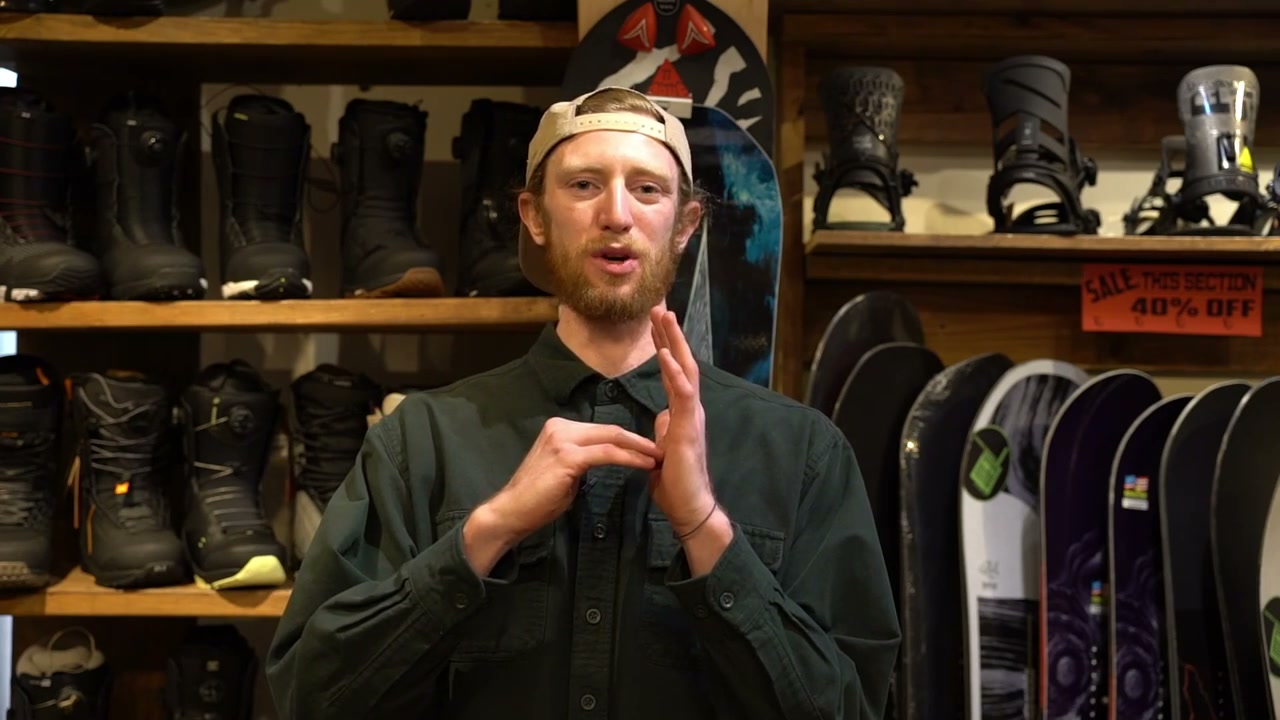
That is the whole test. Toes on the front standing, toes off the front flexing.
No hot spots
Beyond the toes, you want the most comfortable boot you can find for your foot. No pressure points. Nothing that feels odd anywhere.
A hot spot in a shop is a blister in a lift queue.
No heel lift
Flex into the boot the same way and check that your heel stays locked down. Walk around the shop in them. You are watching for the heel sliding up and out as you move naturally.
One useful detail here. Do not deliberately try to yank your heel up out of the boot to test it, because you cannot make that movement once you are strapped into a binding. Judge it on natural walking and flexing instead.
Pack out, and why snug now is right
This is the part that separates people who get boots right from people who buy a comfy pair and regret it.
Boots are made of foam, and foam packs out. The more you ride, the more it compresses, and the boot effectively grows through the season.
So a boot that fits like a comfortable trainer on day one is a boot that is too big by the middle of the season. And a boot that is too big is worse than one that is slightly too small, because your foot slides around inside it, which is exactly how you get blisters.
For most people, the video’s advice is to come down about half a European size, or a full one. Measure to a 40, start trying 39s.
How far you take that depends on how much you ride. Shane rides over a hundred days a winter, measures a 44, and rides a size 9. He is completely explicit that this is not a recommendation: “I wouldn’t suggest anybody to downsize their boot like I do.” That is a fit for someone whose boots have to survive a full season of daily use.
If you get seven or fifteen days a winter, you do not need to jam your toes in. Go for the most comfortable fit you can while still allowing for some pack out.
What more money actually buys
The video puts the line at around $350, and the figure matters less than what changes as you cross it. Four things get better.
The sole. Cheaper boots have more slippery soles with worse grip. Spend more and you get rubber compounds like Vibram or Michelin, or a dual or triple density sole with different hardnesses in different places. That is what you notice hiking the pipe, walking an icy car park, or booting up a line.
How long it lasts. Cheaper boots use softer materials that break down faster.
The lacing, and this is the big one. A budget boot often has a single Boa, which tightens the whole boot as one zone. The problem is that one zone can loosen off as you flex. What you want is two independent tightening zones, an upper and a lower, whether that is a twin Boa setup or speed laces with separate upper and lower pulls. Two zones means the boot holds its shape when you are working it.
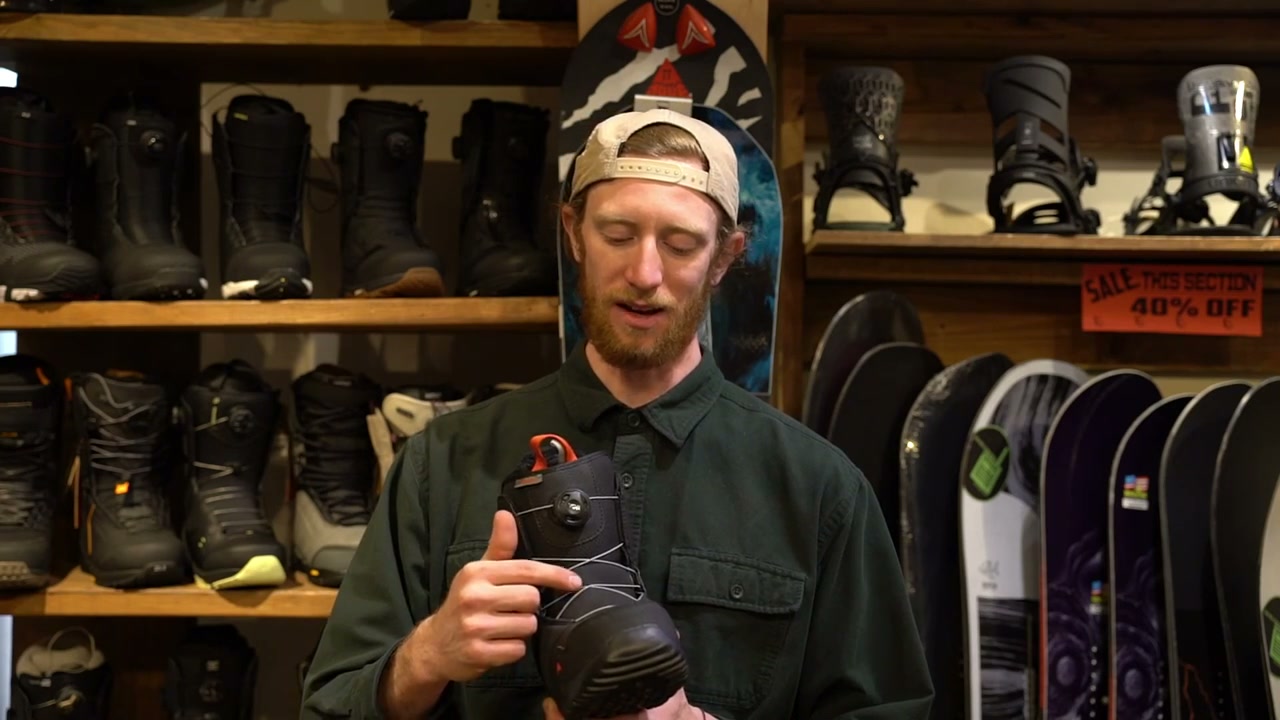
The option of a stiffer boot. More on that next.
Flex, and what to do if you are new
Stiffness is genuinely personal, and the video is refreshingly honest about it.
The usual line is that softer boots suit rails and stiffer boots suit charging. Shane rides the stiffest boot he can find and still rides rails, park, pipe and powder in it. So treat the usual line as a starting point, not a rule.
If this is your first pair, ignore flex ratings and buy comfort. Stiff boots are not comfortable straight out of the box, and softer ones feel better the moment you put them on. You can go looking for stiffness once you know what you actually want from a boot.
Pull the liner and the footbed out
The last check, and almost nobody does it.
Take the liner out of the boot and look at it. You are looking for heel hold shaping and a firmer back stay, the things that keep your heel where it should be.
Take the footbed out too. A good one has thicker foam under the heel, thinning towards the toe, often with firmer rubber around the heel for support.
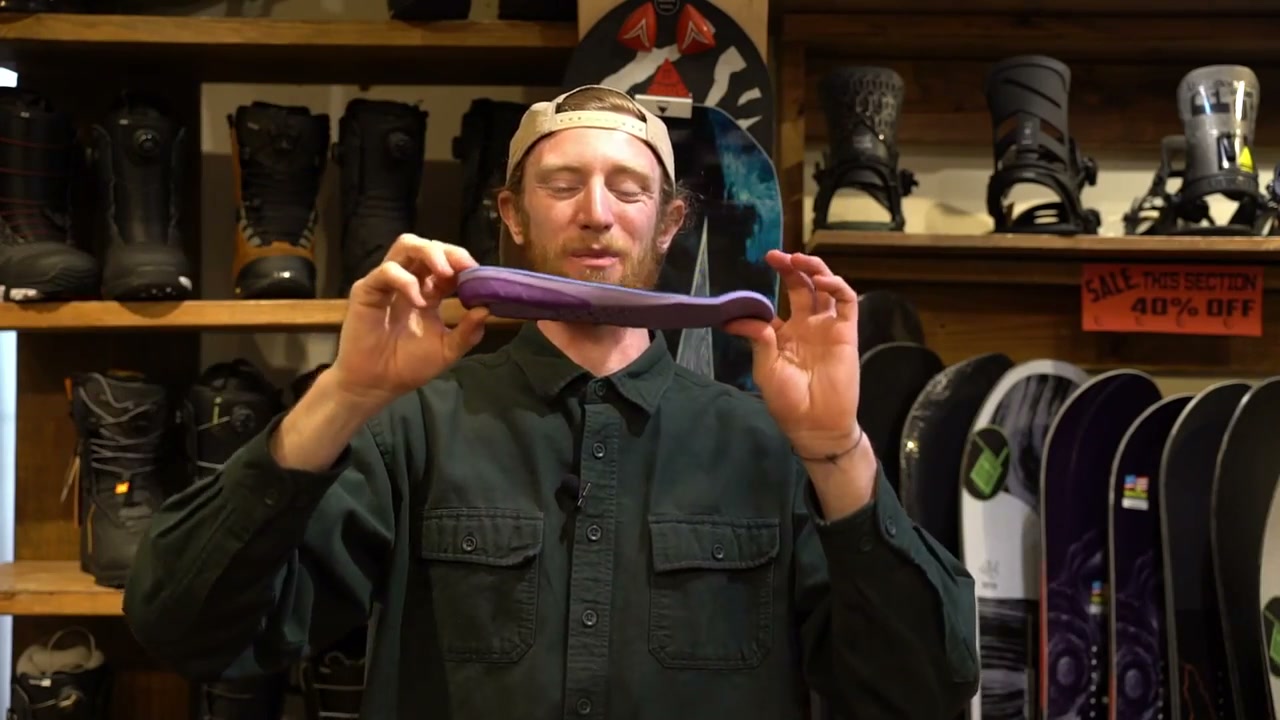
This is genuinely useful when you are stuck between two boots that both fit. The liner and footbed can be the thing that decides it. And if you are buying online, product photos often show both, which is one of the few real checks you can do from a laptop.
Where this sits in your setup
Boots first, because everything else adapts to them and they do not adapt to you.
Then set your bindings up around the boots you have actually bought, since stance and strap position depend on the boot. Then the board maintenance, which is waxing and, if you are heading for rails and boxes, detuning the edges.
Do it in that order and nothing has to be redone.
Frequently Asked Questions
How should snowboard boots fit?
Laced all the way up, standing tall, your toes should just touch the front of the boot. When you bend your knees into your snowboard stance and flex forward, your toes should release off the front. There should be no hot spots and no heel lift when you walk or flex.
Should snowboard boots be tight or loose?
Snug. Boots are made of foam that packs out and compresses with use, so a boot that feels roomy in the shop will be too big by the middle of the season. Boots that are too big cause more problems than boots that are slightly too small, because your foot slides around and blisters.
What size snowboard boots should I buy?
Get your foot measured, work in European sizing because it is the most consistent across brands, and then come down about half to a full European size to allow for pack out. If you measure a 40, start trying 39s.
Why do my toes jam at the front when I try snowboard boots on?
Almost always because the boot is not laced up. Sliding your foot in leaves it sitting too far forward. Doing the boot up all the way pulls your heel back into the heel pocket, and only then can you judge the size.
Are expensive snowboard boots worth it?
What you gain going up a tier is a better sole with more grip, materials that last longer, the option of a stiffer boot, and, most usefully, two independent tightening zones instead of one. A single Boa tightens the whole boot as one zone and can loosen off as you flex.
Should I buy stiff or soft snowboard boots?
It is personal preference, and the common advice that soft suits rails and stiff suits charging is a starting point rather than a rule. If it is your first pair, buy on comfort. Stiff boots are not comfortable out of the box; softer ones feel right immediately.
In short
Try on as many as you can, lace them fully before you judge, and check toes at the front standing, toes off the front flexing, no hot spots, no heel lift. Then size down about half a European size for pack out.
Nobody can tell you your best boot, including this article. What we can tell you is the test, and the test is the same in every shop.
Go before the season starts, when the shops have full size runs and the staff have time for you. Trying on eight pairs in October is a much better afternoon than trying on two in a panic the week you fly.
Ask any questions in the comments below.