Flagging is using a free leg as a counterbalance so you can pull on a side pull without swinging off the wall. There are three versions, and the useful part is knowing which one to reach for. Draw an imaginary line straight down from the handhold you are pulling on. If there is a foothold on that line or slightly ahead of it, you want an outside flag. If the only foothold is a long way ahead of the line or noticeably higher, use a back flag instead. That one rule covers most of it.
Why this video is the one to learn from
There are dozens of named body positions in climbing and trying to memorise them all is a miserable way to learn. What makes this Movement for Climbers video worth your time is that it teaches a principle instead of a list. Once you can see the vertical line, you stop guessing which flag to use and start reading the holds.
Fair warning so you know what you are clicking on. This video is part two of a four part series and the rest of that series sits behind a paid membership on the creator’s own site, so there is a sales pitch at the start and a longer one at the end. The teaching in the free video is complete and stands on its own, which is why we have used it, but skip from about 7:05 to the end unless you want the pitch.
What is flagging, and why does it work?
Side pulls are directional. They only give you anything if you pull against them, which means the moment you weight one your body wants to rotate away from the wall. That is the barn door swing everyone knows.
The fix is a point of counter-pressure, and the simplest form of that is a foothold you can push against in opposition to the hand that is pulling. Flagging is what you do with the other leg, the one that is not on a hold. Instead of letting it dangle, you extend it out to shift your centre of gravity and stop the rotation.
The vertical line, or how to pick the right foothold (1:22)
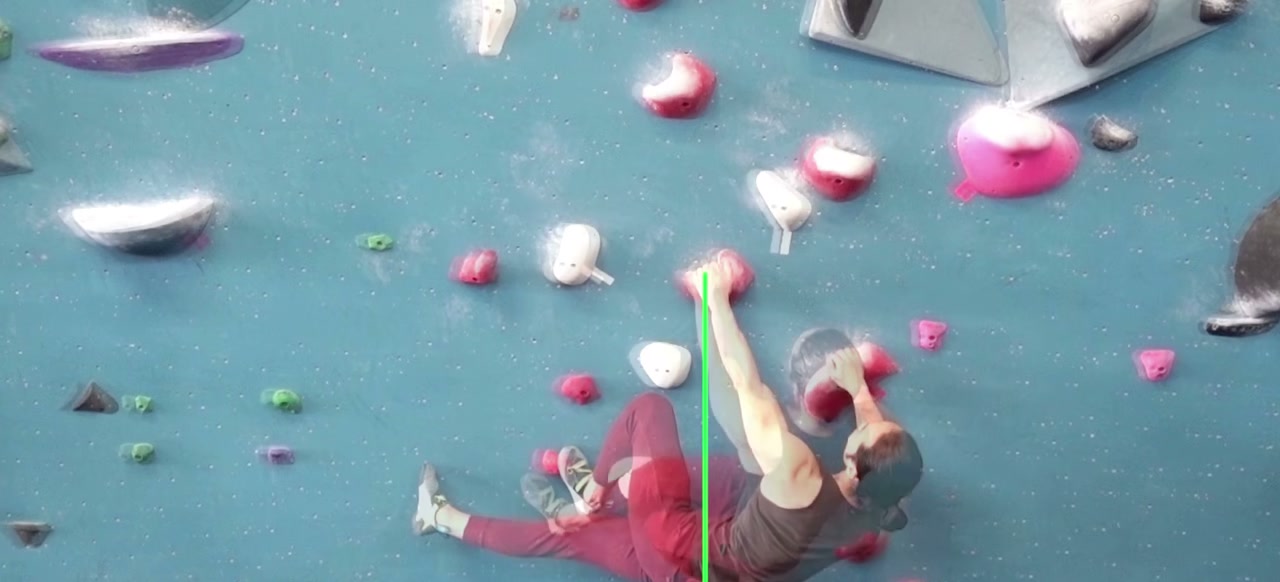
Right, here is the actual principle. Take the handhold you are going to pull on and imagine a line running straight down from it. Now look for a foothold.
- On the line, or slightly ahead of it. This is the good one. Once you factor in the length of your extended arm in a layback, this gives you the most comfortable position with push and pull evenly balanced.
- Behind the line. The position will not work. Do not waste energy trying to force it, look for something else.
- Far ahead of the line, or noticeably higher. An outside flag is still technically possible but it becomes fiddly and expensive. This is where the back flag earns its place.
The three flags
The outside flag (1:59)
Opposite hand and foot, so right hand pulling and left foot on the hold, with the free leg flagged out across behind or beside you. This is the one you will use most, and the one to default to, because using opposite hand and foot is inherently stable.
It works when the foothold is on the vertical line or slightly ahead of it. It keeps working as the foothold moves further ahead, it just gets less comfortable the further out it goes.
The back flag (2:29)
Same side hand and foot, with the free leg swept behind you and your hips square to the wall. Reach for this when the foothold is too far ahead of the handhold, too high, or both. You could still contort into an outside flag from there, but it costs you time and energy you would rather spend elsewhere.
Worth knowing that a back flag is less stable than an outside flag. It is more a point of balance than a point of tension, so it does not want to be your default.
The inside flag (3:07)
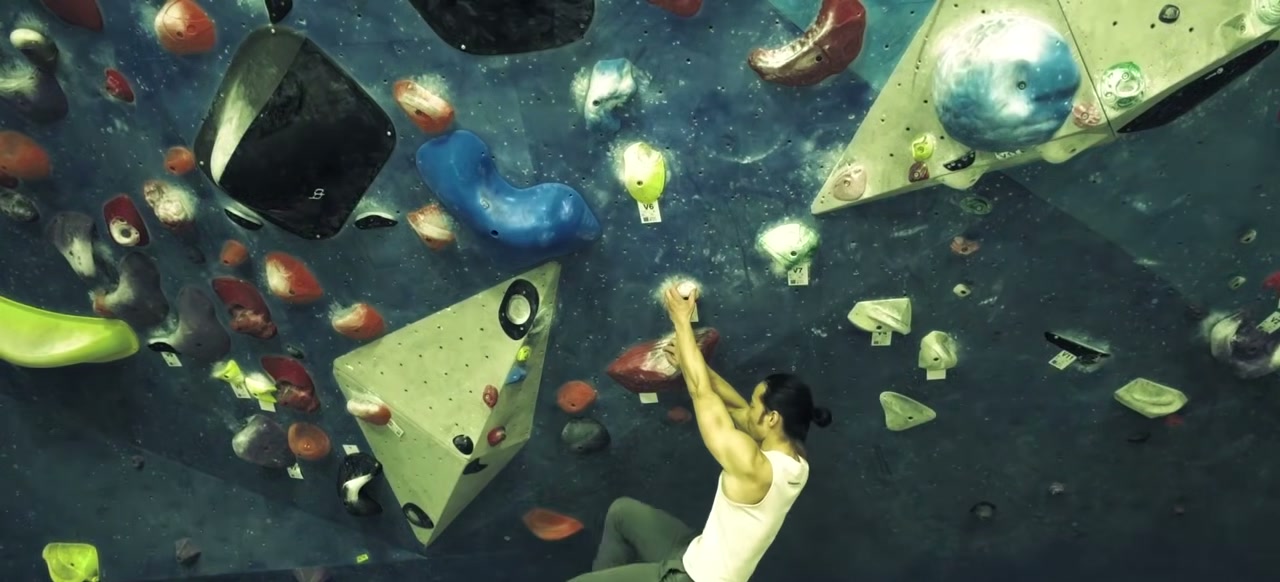
Same side hand and foot again, but this time with the hip turned in. It is a bit of a mix of the other two, and it wants the same thing from the vertical line as an outside flag, so a foothold on the line or slightly ahead.
This is the least common of the three and it is fiddlier to execute, so most people just use an outside flag instead. The situation where it genuinely earns its keep is when getting into an outside flag would mean doing a foot swap. If that swap is awkward, an inside flag lets you skip it entirely.
Quick reference
| Flag | Hand and foot | Use it when the foothold is | Stability |
|---|---|---|---|
| Outside | Opposite | On the vertical line or slightly ahead | Most stable, the default |
| Back | Same side, hips square | Far ahead of the line, too high, or both | A point of balance, less stable |
| Inside | Same side, hip turned in | On the line or slightly ahead, and you want to avoid a foot swap | Trickiest, least used |
How it changes with the angle of the wall (4:19)
- Slab and vertical. You generally want to avoid turning a hip in at all here, because it pulls your body away from the wall and that is the last thing you want on poor feet. If you have to, keep it simple with an outside flag, or a back flag. The holds are usually too poor to risk an inside flag.
- Gently overhanging. The friendliest terrain for technique. It is not so flat and fiddly that your options are limited, and not so steep that everything has to be rationed for energy. All three flags are on the table.
- Steep ground. Efficiency becomes everything. You will usually want hips square, on your toe or inside edge, driving your knees in towards the wall. On a side pull, a drop knee gives you that extra point of contact, or keep it simple with an outside flag. Back flags are less common here because they bring your hips away from the wall. Inside flags are fine if the holds are good and the movement is simple.
Two drills to actually get it
Reading about flags will not do much on its own. Both of these come from the video and both fit into a normal warm-up.
- The flag circuit. Get on a spray wall, training board or a quiet bouldering wall with plenty of overlapping problems. Climb into a position where you can comfortably hold an outside flag, then move somewhere else and flag on the other side. Do the same with back flags, one on each side, then finish with inside flags. Order does not matter as long as you do each flag on both sides. Up to three rounds.
- Same side, opposite side. Pick a climb well inside your warm-up grade. Climb it once using opposite hand and foot, which is the standard way and will force outside flags. Come down, then climb it again using same side hand and foot. That second version feels deliberately off balance and it is what trains back flags and the occasional inside flag. Up to three climbs.
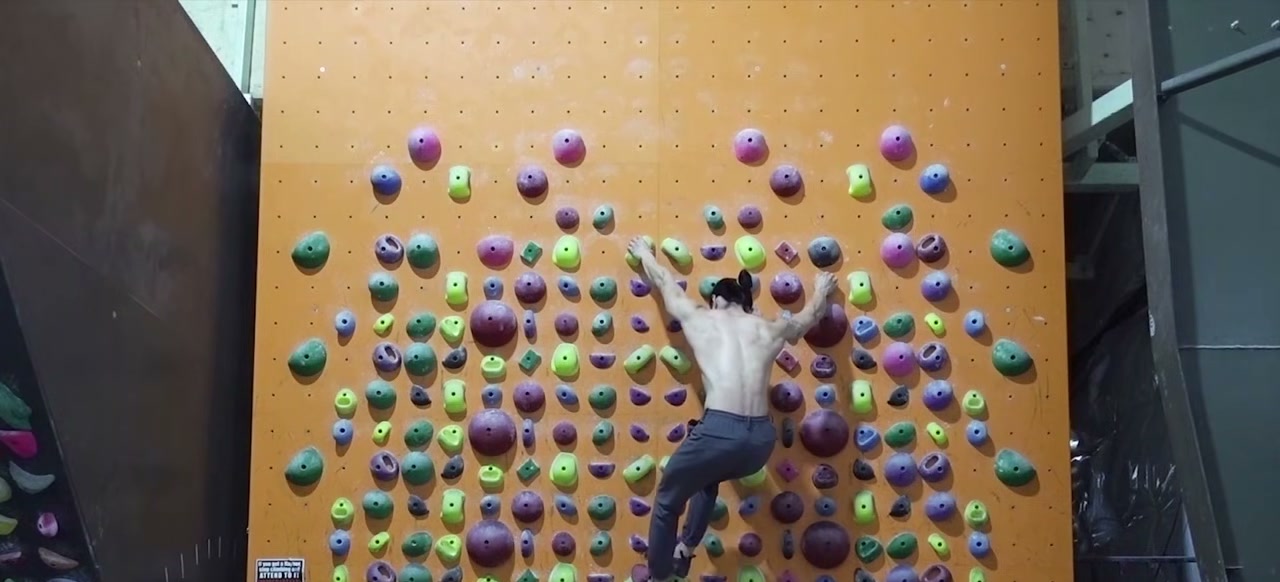
Do these low down on a bouldering wall with mats, not roped and not at height. You are deliberately putting yourself in off-balance positions, so expect to come off.
What should you learn next?
This is the first movement piece on the site, so the honest answer is that more is coming. In the meantime, technique sessions reward a proper warm-up more than most climbing does, because you are asking your hips and shoulders for positions they are not used to. Our guide to warming up and stretching for climbing is worth ten minutes before you start. If you want to understand why counter-pressure works at all, the forces section of our climbing gear guide covers the same idea from the other direction.
Flagging FAQs
What is flagging in climbing?
Using a leg that is not on a foothold as a counterbalance. You extend it out to shift your centre of gravity and stop your body rotating away from the wall when you pull on a directional hold like a side pull. It is one of the cheapest ways to make a hard move feel easy.
How do I know which flag to use?
Imagine a line running straight down from the handhold you are pulling on. If there is a foothold on that line or slightly ahead of it, use an outside flag. If the only foothold is far ahead of the line or noticeably higher, use a back flag. If it is behind the line, the position will not work and you should look for a different foot.
What is the difference between an outside flag and a back flag?
An outside flag uses opposite hand and foot, which makes it naturally stable, and it is the one to default to. A back flag uses the same side hand and foot with your hips square to the wall, and it is more a point of balance than of tension, so it is less stable. Use the back flag when the foothold sits too far ahead or too high for a comfortable outside flag.
Why do I keep barn dooring off side pulls?
Because you have no point of counter-pressure. A side pull only works if something opposes it, usually a foot pushing in the other direction. Find a foothold on or slightly ahead of the vertical line below your hand, then flag the free leg out to stop the rotation.
Should I flag on a slab?
Sparingly. On slab and vertical ground you generally want to avoid turning a hip in, because it takes your body away from the wall, which is the opposite of what you want when your feet are on small holds. If you do need to flag there, keep it to a simple outside flag or a back flag rather than an inside flag.
When would I use an inside flag?
Mainly when the alternative is an awkward foot swap. An inside flag uses the same side hand and foot with the hip turned in, and it wants a foothold on the vertical line or slightly ahead, the same as an outside flag. It is trickier to execute, so most climbers use an outside flag unless the foot swap is genuinely a problem.
So, next session, spend your warm-up doing nothing but flags. Look for the line under the hold before you move your feet, and pick the flag that suits what you find. It is the sort of thing that feels like homework for a week and then quietly makes everything easier. Ask any questions in the comments below.