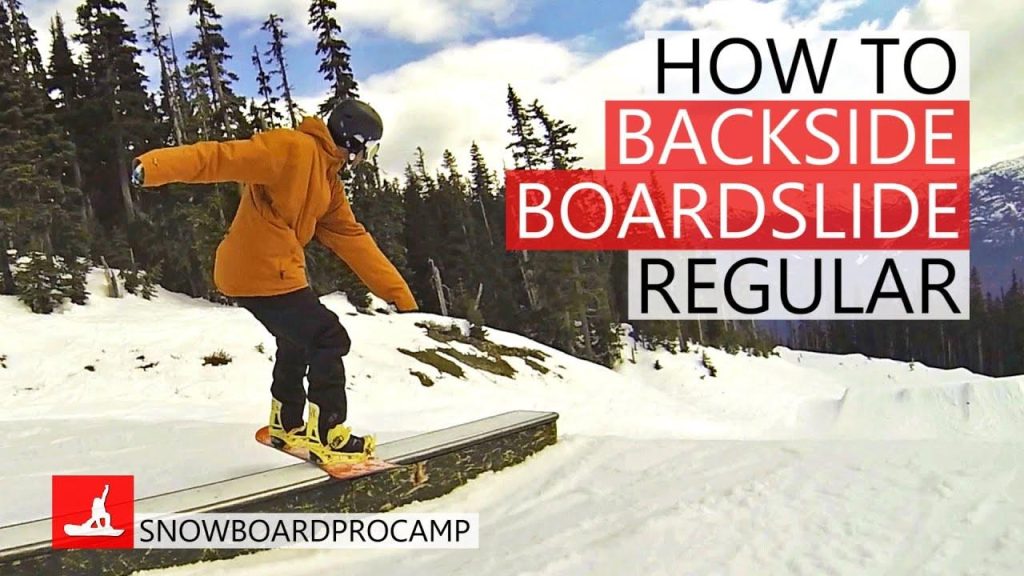
Your board comes out of the wrapper sharp all the way round, and the first time you try to slide a box it grabs, stops and puts you on your hip. Detuning is the fix, and it takes about ten minutes on a kitchen table.
Here is the short answer. Detuning means deliberately blunting the edge in the places where a sharp edge does nothing useful and can catch. You take a file, hold it at 45 degrees against the edge, and work along the board rather than sitting in one spot. Ten to twenty passes is usually plenty. Then you test it with your fingernail.
The part most guides skip is where not to do it. Get that wrong and you have traded away your edge hold on hard snow for nothing.
And a caveat before you pick up a file. You do not have to detune at all. Plenty of people ride their boards exactly as they came, and the man in the video below says so himself in the first minute.
Watch it first
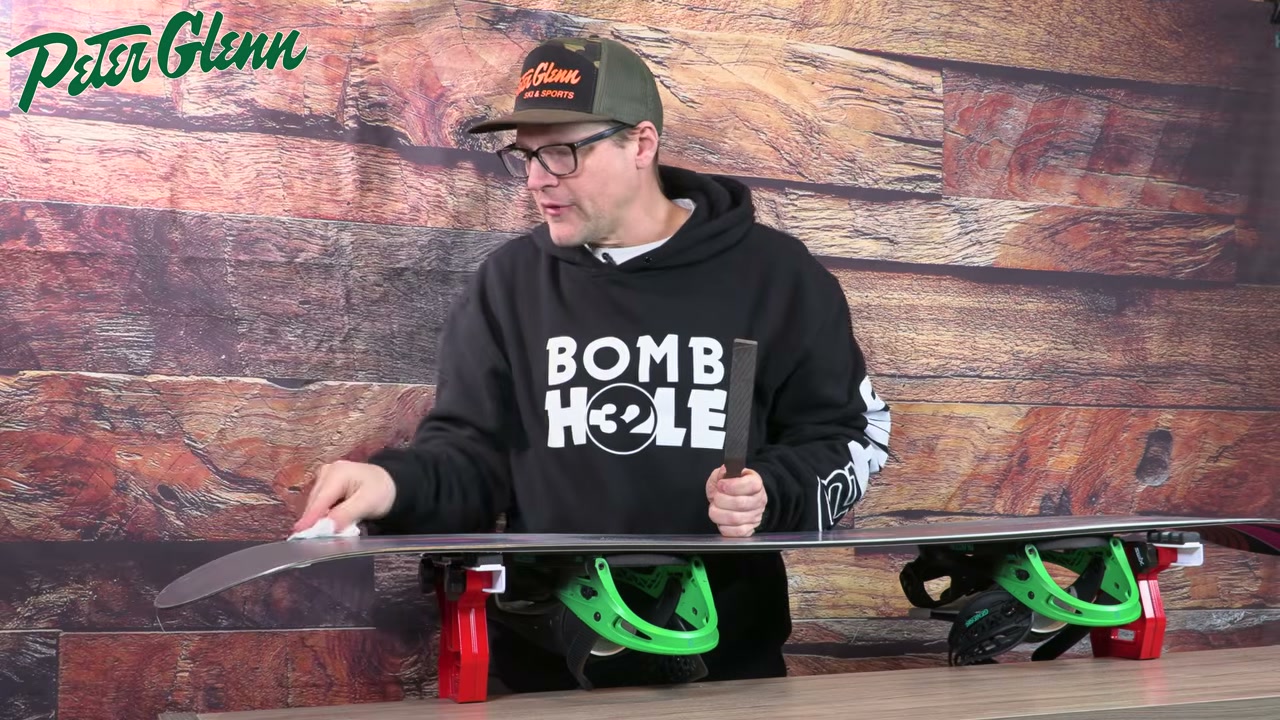
The best tutorial on this is from Peter Glenn Ski & Sports, and it earned the pick by being honest. It opens by telling you that you do not have to detune anything, then covers the tools, the zones, the technique and a self-check, in about nine minutes, with proper close-ups of the file on the edge. Peter Glenn is a retailer and the video ends with a plug for their shop, so treat the last minute as an advert and everything before it as the tutorial.
At 0:17 he explains what tuning and detuning actually are. At 0:44 he says plainly that you do not have to do it. The tools are from 1:00, the zones from 2:16, the filing technique from 4:39, and the fingernail test at 5:38. The tips and contact points are from 7:27.
What detuning actually is
Tuning a board means cleaning up the base and, mostly, sharpening the edges. Detuning is the opposite. You take a sharp edge and round it off on purpose, in specific places.
A factory edge is sharp the whole way round, and on hard, icy snow that is exactly what you want, because a sharp edge cuts in and a round one cannot. The trouble is that a sharp edge also bites on things that are not snow. A metal rail, a plastic box top, the lip of a feature. When you are sliding sideways across a box, an edge that catches stops the board while the rest of you keeps going.
So detuning is not a maintenance job you do because boards need it. It is a trade, and you only want to make it where the sharp edge was not earning anything.
Do you actually need to?
Ask what the board is for.
- Mostly piste and carving. Leave it alone. You want the bite.
- Park and jibbing, some piste. Detune the section between your bindings and leave the rest factory sharp. That is the middle ground, and it is what the Peter Glenn video does on camera.
- A dedicated jib board. You can take the whole running edge back, contact point to contact point. Your edge hold on hard snow will suffer, which does not matter if that board never leaves the park.
- Brand new board, nervous about catching an edge. The tips and tails alone are a safe start, and there is no downside to it.
If you are unsure, do less. You can always take more off. Putting it back is the hard direction.
What you need
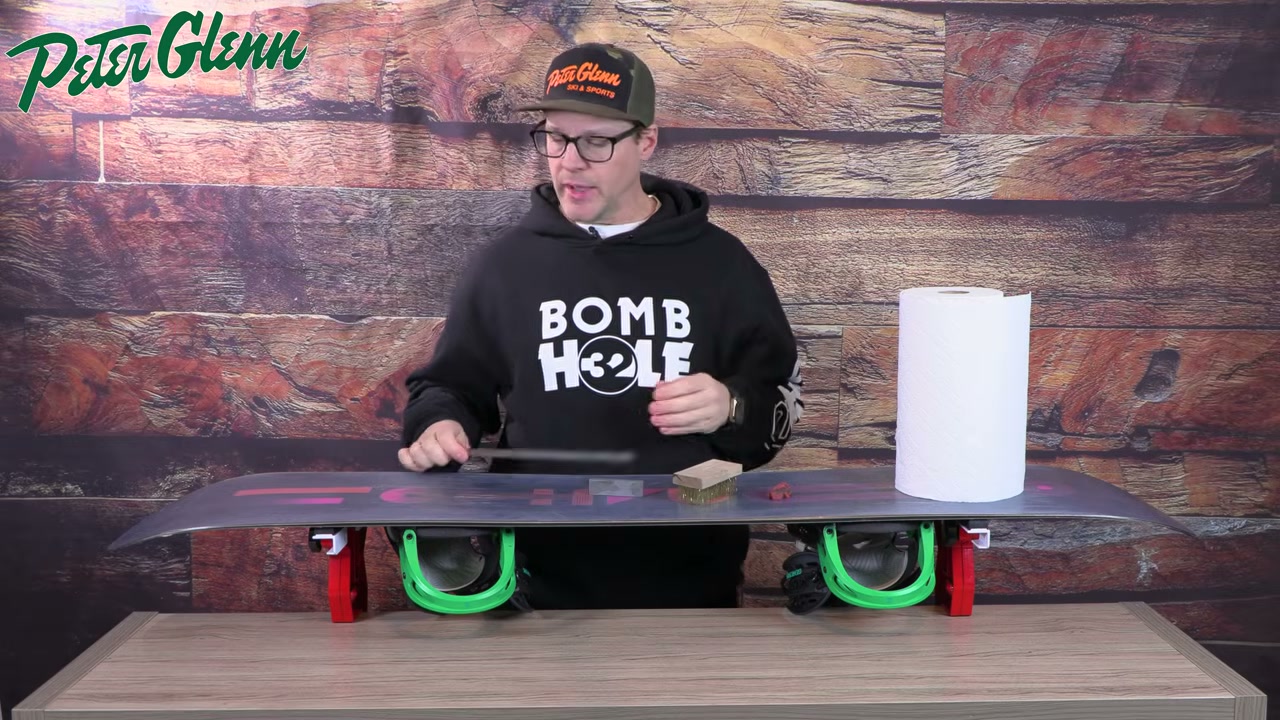
- A file. Nothing special. If you own one of those pocket edge sharpeners, the file pulls out of it and will do. A bigger file just gives you a longer stroke and gets it done faster.
- A gummy stone, if you have one. It cleans rust off edges, and after filing you run it along the edge to take the burrs off.
- A wire brush to clear the metal filings out of the file’s teeth.
- Kitchen roll if you have neither, for wiping the edge clean between passes.
That is the whole kit. If you would rather take less off with each pass, use a finer tool. The Board Archive tutorial does the same job with a diamond stone, and the Angry Snowboarder one makes the same point about picking a fine file over an aggressive one.
Where to detune, and where to leave it sharp
This is the part worth getting right. The rule underneath it is simple. Most of your pressure goes through the board under your feet and at the contact points, so those are the places a sharp edge is doing work.
| Part of the board | What a sharp edge does there | Detune it? |
|---|---|---|
| Between the bindings | Very little. This is the section that catches on rails and box tops | Yes, for park riding |
| Under the toes and heels | Most of your weight goes through here. This is where your grip on hard snow comes from | Leave sharp, unless the board is park only |
| Contact points, at the widest part of the board | Where your carve starts and finishes | Leave sharp |
| The tip and tail, beyond the contact points | Nothing. You never carve on the tips | Yes, no downside |
Table: Where a sharp edge earns its place, and where it does not.
Finding the contact points is easier than it sounds. Lay the file flat against the sidewall and slide it towards the nose. Where the board is at its widest, the file stops sitting flat against it. That is the contact point, and that is where your carve begins. Mark it, do the same at the other end, and detune outside those marks rather than through them.
For the section between your bindings, work out where the bindings actually sit and file from roughly halfway under one foot to halfway under the other.
How to detune, step by step
- Get the board somewhere steady, on a bench, a table or a pair of chairs, with the edge you are working on facing you.
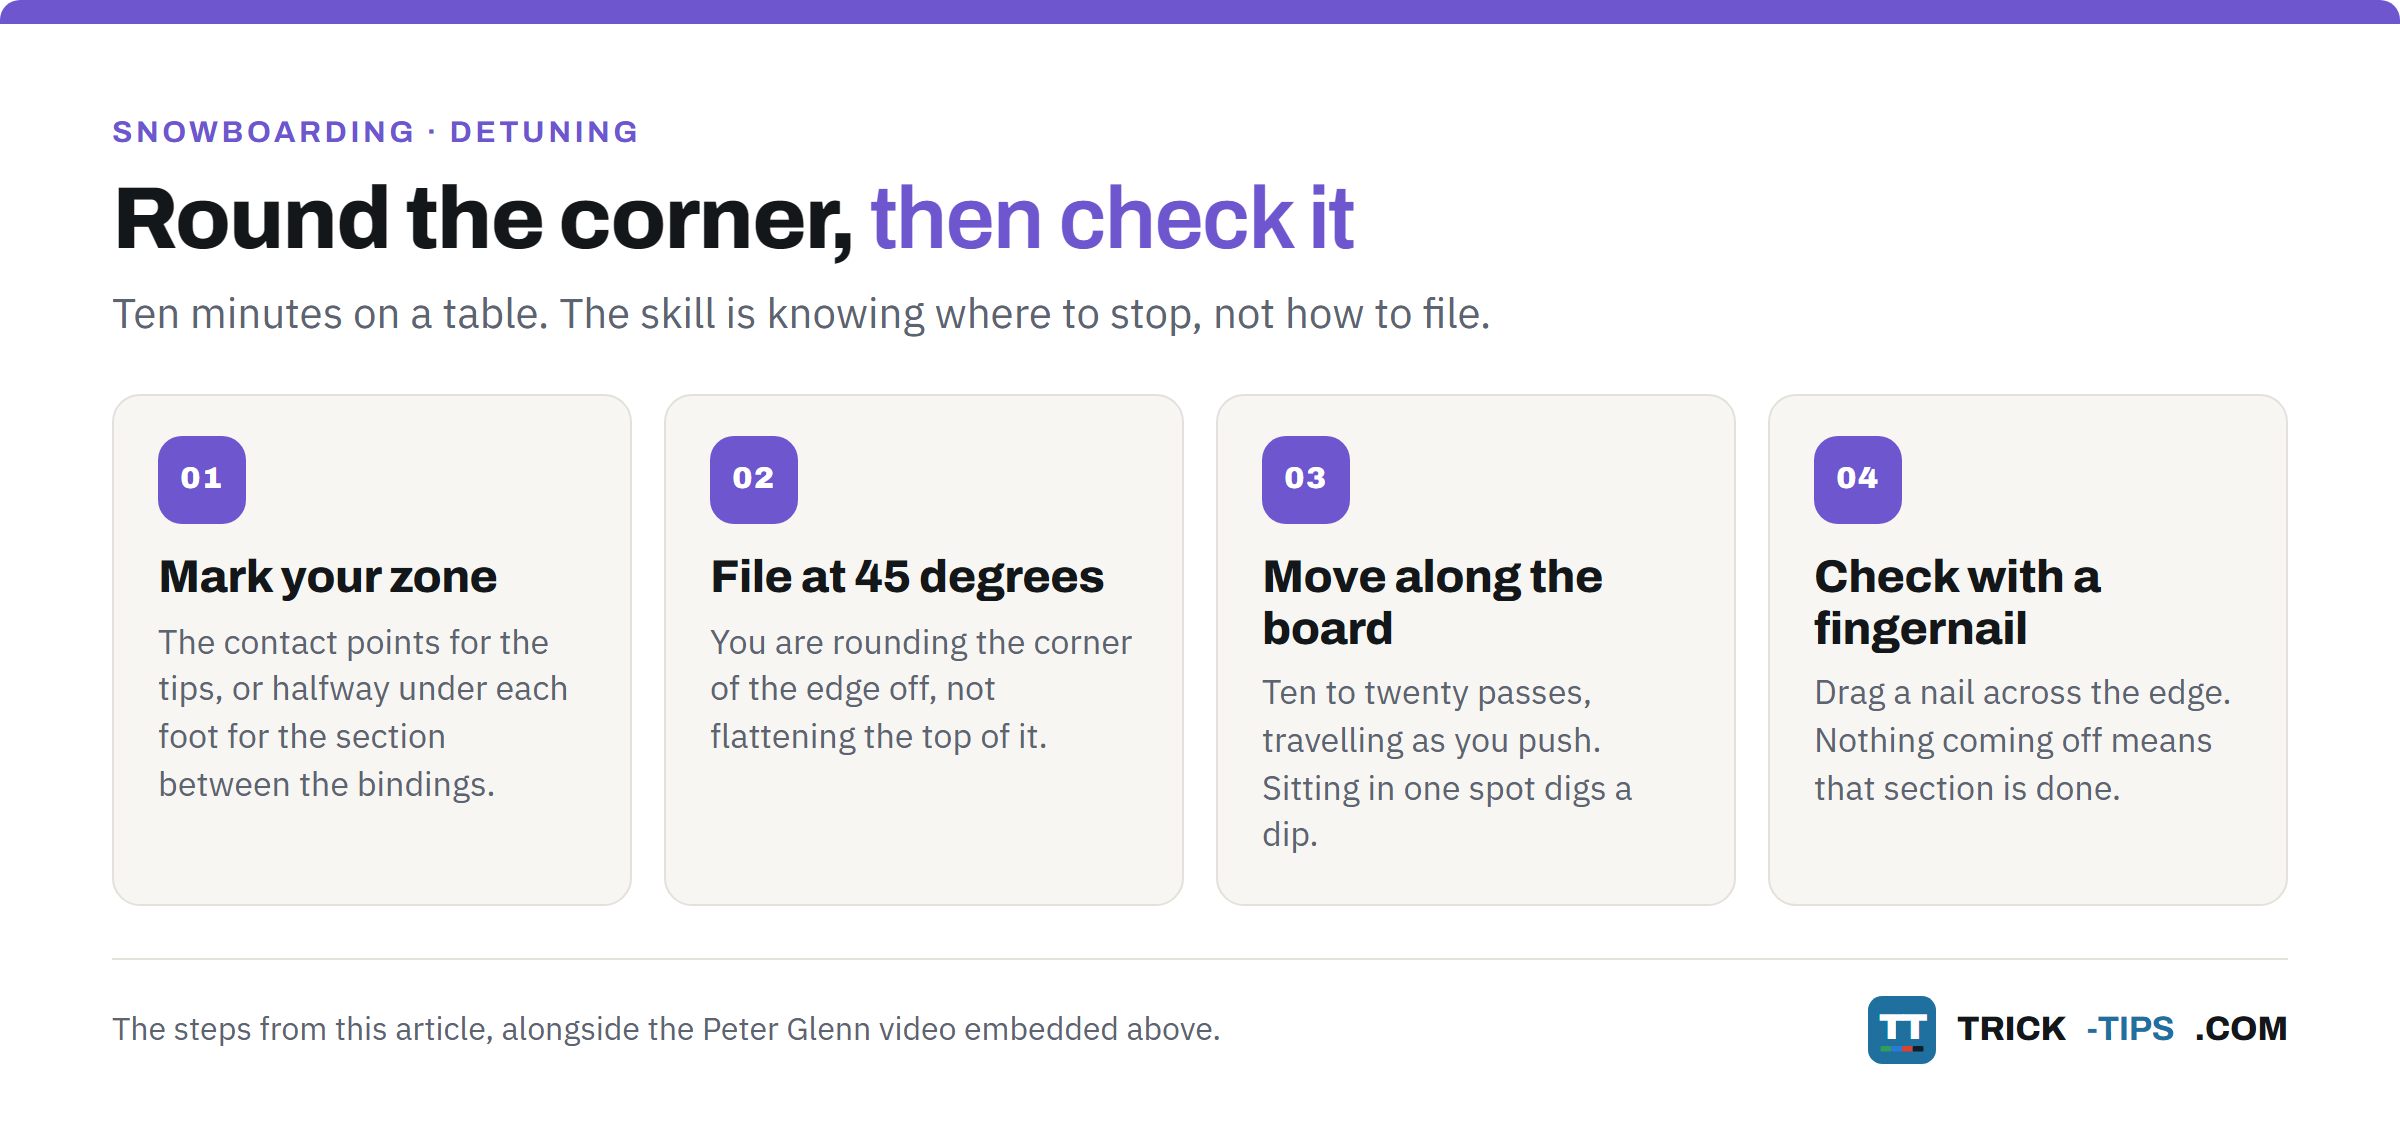
- Mark your zone. Contact points for the tips, or halfway under each foot for the section between the bindings.
- Hold the file at about 45 degrees to the edge so you are rounding the corner off rather than flattening the top of it.
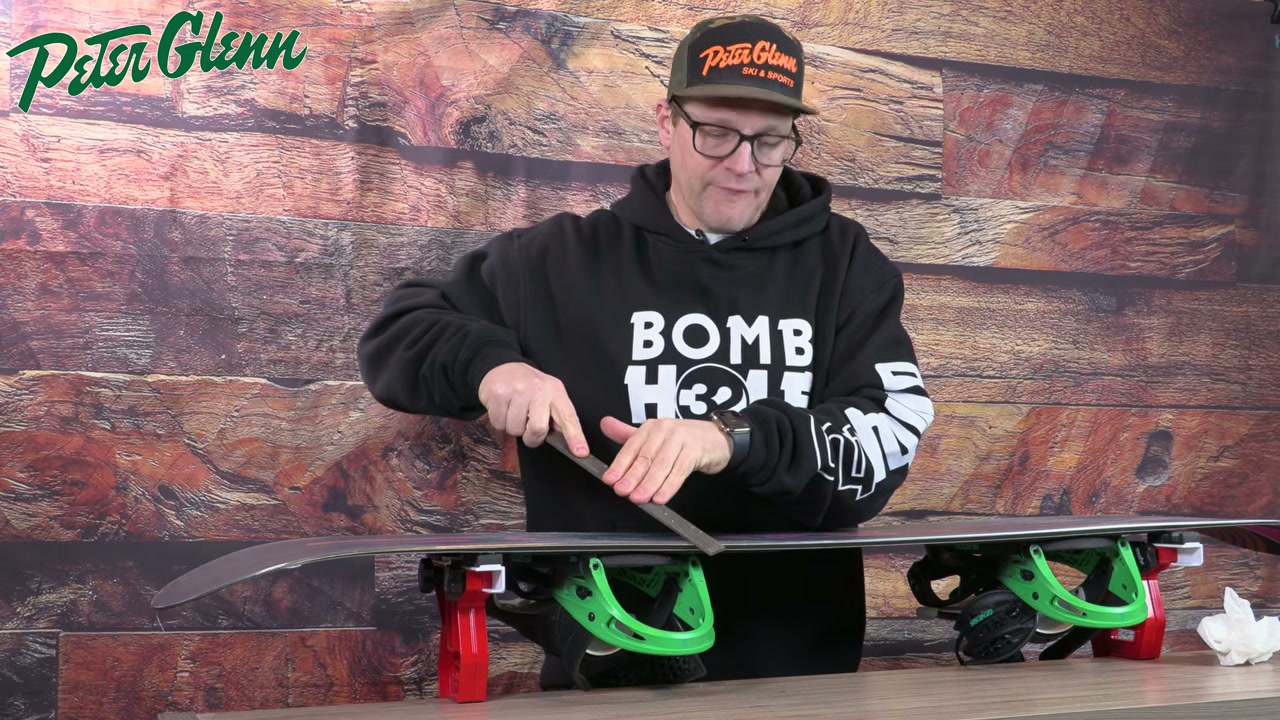
- Push the file along the length of the board as you go, not up and down in one place. Staying in one spot makes the edge uneven and leaves a dip.
- Do ten to twenty passes, then stop and look. You can see the shine change where the edge has rounded off.
- Wipe the edge and test it with your fingernail, as below.
- Do the other side. Both edges, both zones.
- Finish with the gummy stone along everything you have filed, to take off the tiny burrs. This is partly so you do not end up with metal splinters in your fingers next time you pick the board up.
The fingernail test
This is the bit that turns guesswork into a check, and it costs nothing.
Wipe the filings off, then drag your fingernail across the edge at about 45 degrees and look at your nail. If there is a little shaving of fingernail on the edge, it is still sharp. If your nail slides across and nothing comes off, that section is detuned.
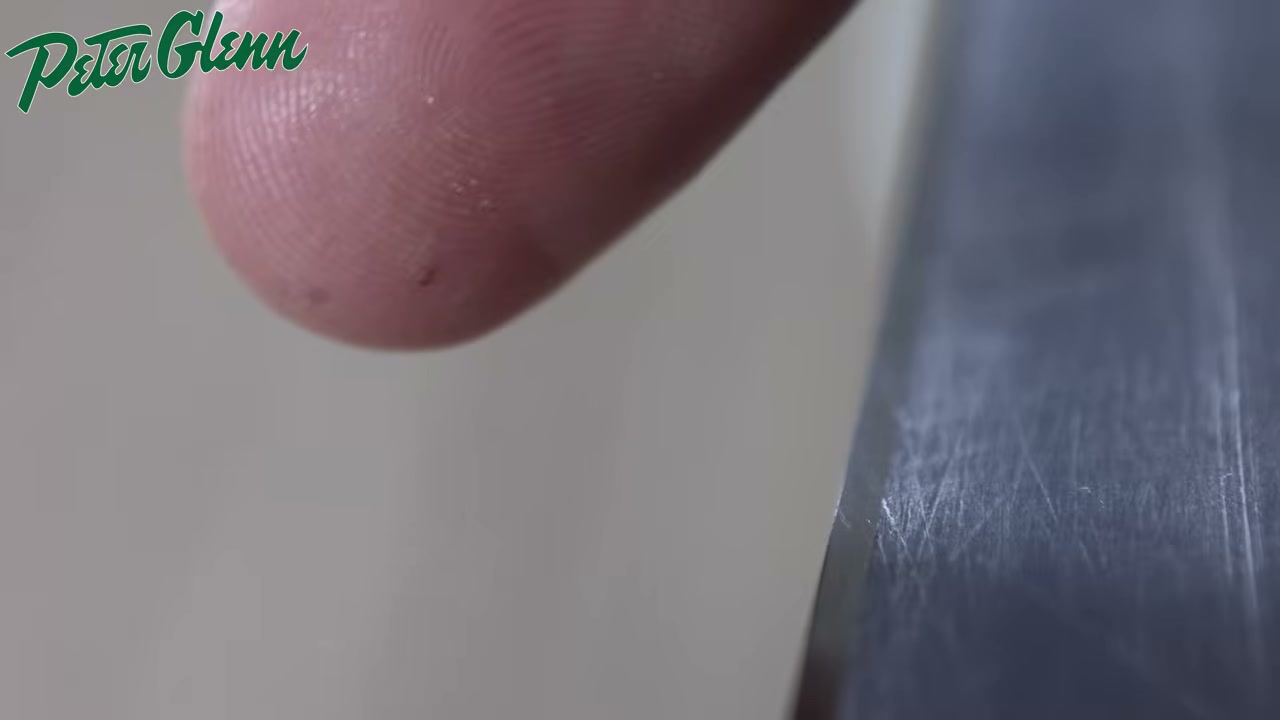
Use it as you go rather than at the end. That way you stop at detuned instead of discovering you have gone well past it.
Common mistakes
Filing in one spot. It digs a dip into the edge. Keep the file moving along the board through every stroke.
Going too far. The more you round the edge, the less chance you have of ever getting it properly sharp again. If there is any chance you will want that edge back, or you might sell the board on, take off less than you think.
Detuning under your feet on an all-mountain board. That is where your grip on hard snow comes from. Blunt it and you will find out on the first icy morning.
Doing it flat instead of at 45 degrees. You want to round the corner of the edge, not take the top off it.
Forgetting the second edge. Toe and heel both catch on a box. Do both sides, and both ends.
Bare hands, no care. A factory edge is genuinely sharp and you are scraping metal off it. Take your time and keep your fingers off the working edge.
Beyond the video
A few things the video does not cover, worth knowing before you start.
- Boards with a serrated or wavy edge (Magne-Traction, grip tech and the like) have extra contact bumps along the sidecut, and the Angry Snowboarder tutorial notes those may need detuning too if you want the board to stop grabbing. They are not in the same places as a normal board’s contact points, so look at your own edge before you decide where to work.
- Detuning is not permanent, but it is not free to undo. Both the Peter Glenn and Board Archive tutorials make the same point from different directions: getting a rounded edge back to sharp means taking off more material still, and there is only so much edge on a board.
- Board manufacturers do a light version themselves. Never Summer’s own tutorial detunes two to three inches at each tip and tail so the board does not catch on groomers, which is a useful sense of the minimum rather than the maximum.
What this sets you up for
A detuned board is the quiet half of learning rails. The other half is the technique.
- 50-50 is the first box trick and the one where a catchy edge shows up soonest.
- Frontside boardslide and backside boardslide put you across the feature, which is exactly the position a sharp edge between the bindings does not like.
- Setting up your bindings is the other job worth doing before a park day, and it is the one that changes how the board feels most.
- The ollie is the skill underneath every one of those.
Frequently Asked Questions
Do I have to detune a new snowboard?
No. The tutorial in this article says so in its first minute, and plenty of riders never touch their edges. It is worth doing if you are riding rails and boxes, or if you keep catching an edge on a brand new board.
Where should I detune my snowboard for park riding?
The section between your bindings, from roughly halfway under one foot to halfway under the other, plus the tips and tails beyond the contact points. Leave the edge under your toes and heels and at the contact points sharp unless the board never leaves the park.
What tool do I need to detune snowboard edges?
A file is enough, including the one that pulls out of a pocket edge sharpener. A gummy stone finishes the job by taking the burrs off, and a diamond stone is a gentler alternative if you would rather remove less at a time.
How do I know when I have detuned enough?
Drag your fingernail across the edge at about 45 degrees. If a sliver of nail comes off, it is still sharp. If nothing comes off, that section is done.
Can you undo detuning?
Only by sharpening, which means removing more material again. That is why it is better to take too little off than too much, particularly on a board you might want sharp later or sell on.
Will detuning ruin my carving?
Only if you do it in the wrong places. Rounding the tips and tails costs you nothing, because you do not carve on them. Rounding the edge under your feet and at the contact points is what takes the bite away.
In short
Detuning is a trade, not maintenance. Round the edge off between the bindings and beyond the contact points, where it only ever catches, and leave it sharp under your feet where your grip comes from. File at 45 degrees, move along the board, ten to twenty passes, then check with your fingernail and stop.
If you are doing this for the first time, do the tips and tails only, ride it, and see whether you want more. That one is reversible in the sense that matters, because you have not touched anything you were using.
Ask any questions in the comments below.