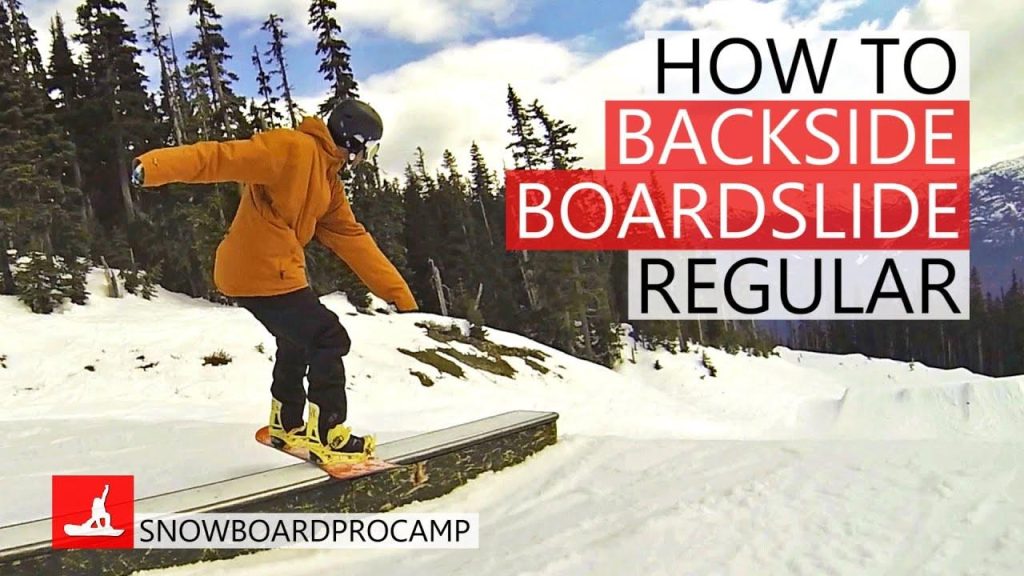
Most people’s first box goes the same way. You ride at it, wobble, and the board shoots out sideways before you are halfway along.
So how do you ride a box on a snowboard? Here is the short answer. A box has no grip, so whatever direction you are travelling when you get on it is the direction you keep until you get off. Ride onto the smallest box in the park dead straight, with your base completely flat and your body stacked over the board, then hold that position to the end. No edges, no last-second braking, no steering.
That one idea about grip explains nearly every fall on a first box, and once it clicks the rest is a handful of baby steps you can practise on plain snow before you go near a feature.
Watch it first
Snowboard Addiction is the pick, with Taevis presenting. We looked at six first-box tutorials, and this is the only one that starts with why people slip out rather than going straight to what to do. Everything after that follows from the explanation, and each step comes with a check you can do on your own without a box. It is five minutes long, filmed in 4K and split into chapters.
If you want to skip around, the stacked position starts at 0:55, speed at 2:24, the drop-in point at 2:56, the takeoff at 3:32, the flat-base test at 4:14 and the recap at 4:53.
One thing to know. The video’s description sells the channel’s paid course platform, and Taevis suggests a jib bar for practising at home as an optional extra. Neither shapes the teaching, and you need neither to do anything in this article.
So why do people slip off boxes?
As the video points out at 0:29, rails and boxes are non-grippy surfaces. On snow you steer and slow down with your edges. On a box there is nothing for an edge to hold, so you lose any ability to change your momentum once you are on.
That means the momentum you carry onto the feature is the momentum you have for the whole of it. Hit a box with a bit of sideways drift and that drift carries you off the side (0:42).
Here is the part that puts people on the floor. At 0:47 Taevis explains that most falls happen because the rider tries to move against that momentum. The board keeps going one way, the body tries to go another, and they part company.
So the whole job is to get onto the box going the right way, and then stop fighting it.
What do you need before your first box?
You do not need any tricks. You do need to be comfortable doing three things on an ordinary piste.
- Ride straight with a flat base. Not traversing, not on your heel edge, but pointing down a gentle slope and letting the board run. Onyx Snowboarding’s version of this lesson, filmed at the Snow Centre in Hemel Hempstead, sets the bar at riding straight and flat for at least twice the length of the box.
- Stop when you choose to. If you can turn and stop on both edges, you have this. If you cannot yet, start with how to make your first turns on a snowboard.
- Know how the park works. Where to wait, how to claim your go and where never to stop. Two minutes with terrain park etiquette covers it.
It is also worth thinking about your edges. Plenty of riders detune their edges before they start on boxes and rails, and that article explains when it makes sense.
How to ride a box on a snowboard in four steps
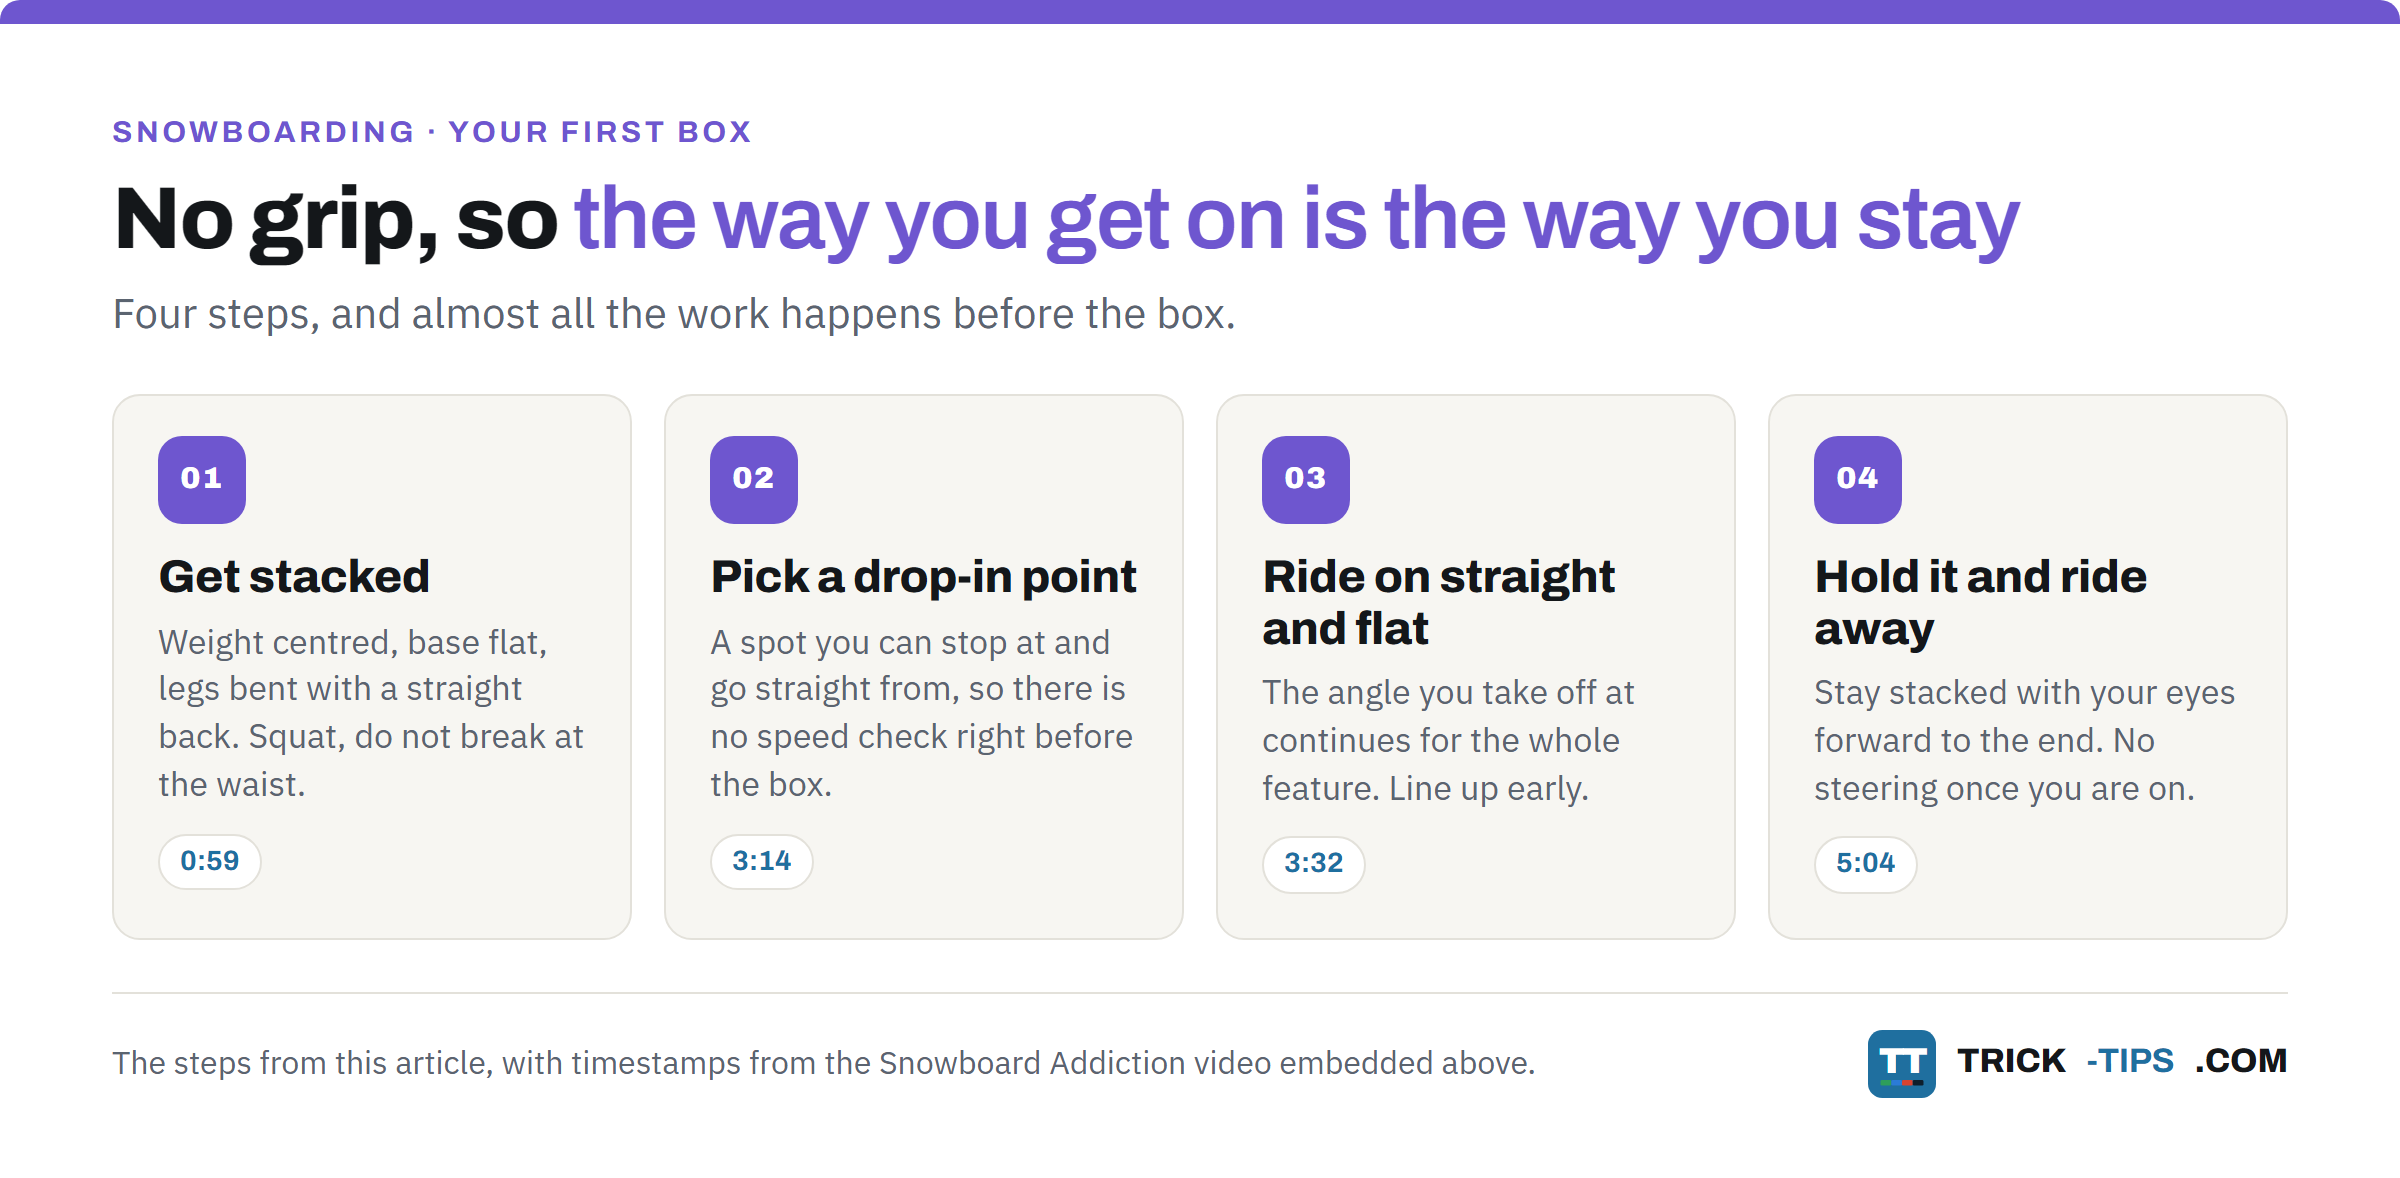
The video’s recap at 4:53 puts the whole thing in one line. Find a drop-in point, get stacked, ride in straight with a flat base, and hold it to the end. Here is each of those in turn.
1. Find your stacked position
A stacked position is your weight centred, over the balls of your feet as Taevis puts it, with the board completely flat (0:59). You get there with a slight bend in your legs and your body lined up with the board.
The bit people get wrong is how they bend. The more you bend your legs, the more you have to balance it out, and you do that by keeping a strong core and a straight back and squatting properly (1:14). Your chest comes forward together with your hips.
That is very different from breaking at the waist, where your upper body hinges forward on its own, like someone trying to touch their toes (1:30). Break at the waist and your weight is no longer over the middle of the board.
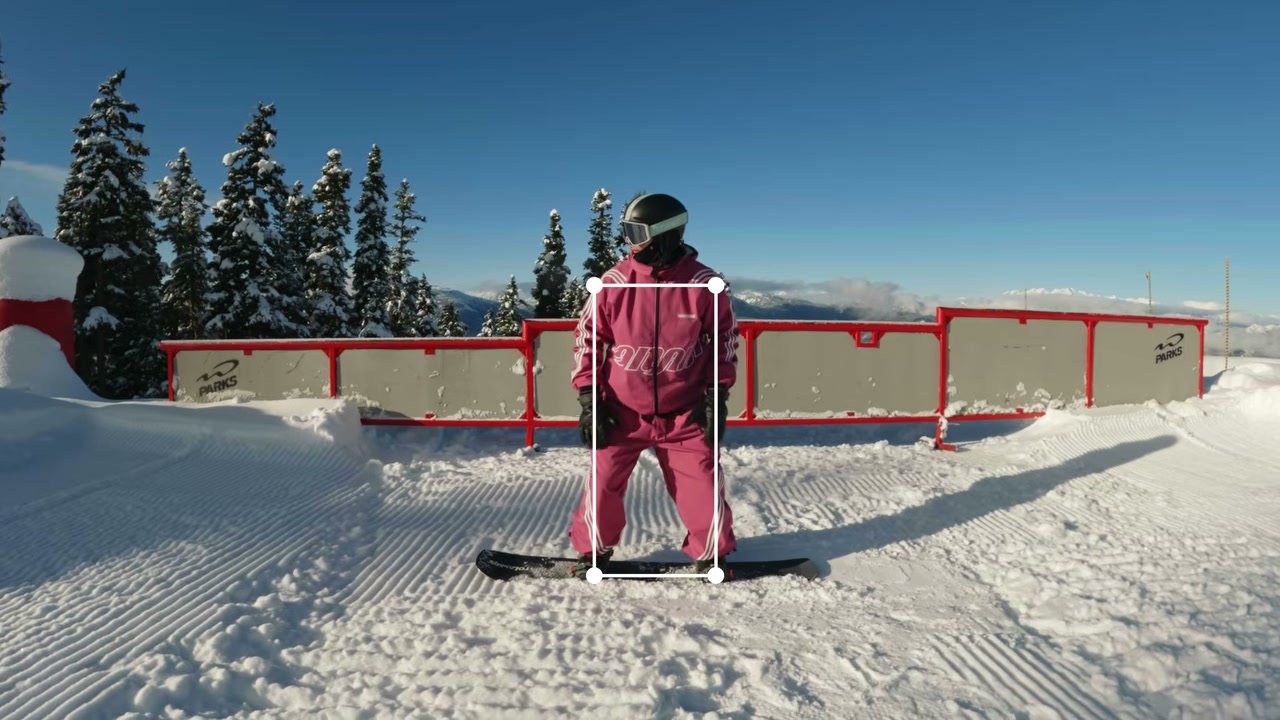
You can practise this standing still. Squat down and come back up, keeping your weight over that centred point, until you have a comfortable range of movement that stays lined up all the way through (1:37).
One adjustment for later. On a down box, your stacked position tips forward to match the angle of the feature (2:11). On your first box, which should be flat, you can leave that for another day.
2. Pick a drop-in point
This step is about speed, and it is the one that saves the most first attempts.
At 2:24 the video makes a point that takes the pressure off. Your stacked position works at any speed. Too fast and you are more likely to lose it; too slow and you just spend longer on the box. If you do run short of speed, stay stacked and relaxed until you ride off the end or come to a stop (2:41). Going a bit slow or a bit fast is not a big deal as long as you stay stacked.
What really messes you up is the last-second speed check (2:56). You come in, decide it feels quick, and swap edges to slow down right before the box. That throws you onto an edge just as you need the base flat.
The fix is a drop-in point (3:14). That is a spot above the feature where you can stop, and then go straight from. Find it by testing a few starting spots and riding past the feature, beside it rather than on it, until the speed feels right (3:25). Then use that spot every time and forget about speed altogether.
3. Take off straight, with a flat base
Ideally your momentum carries you in a straight line from the start of the box to the end (3:32). The angle you come in at decides that. Come in at an angle and that angle continues for the whole feature (3:44), which with no grip means off the side.
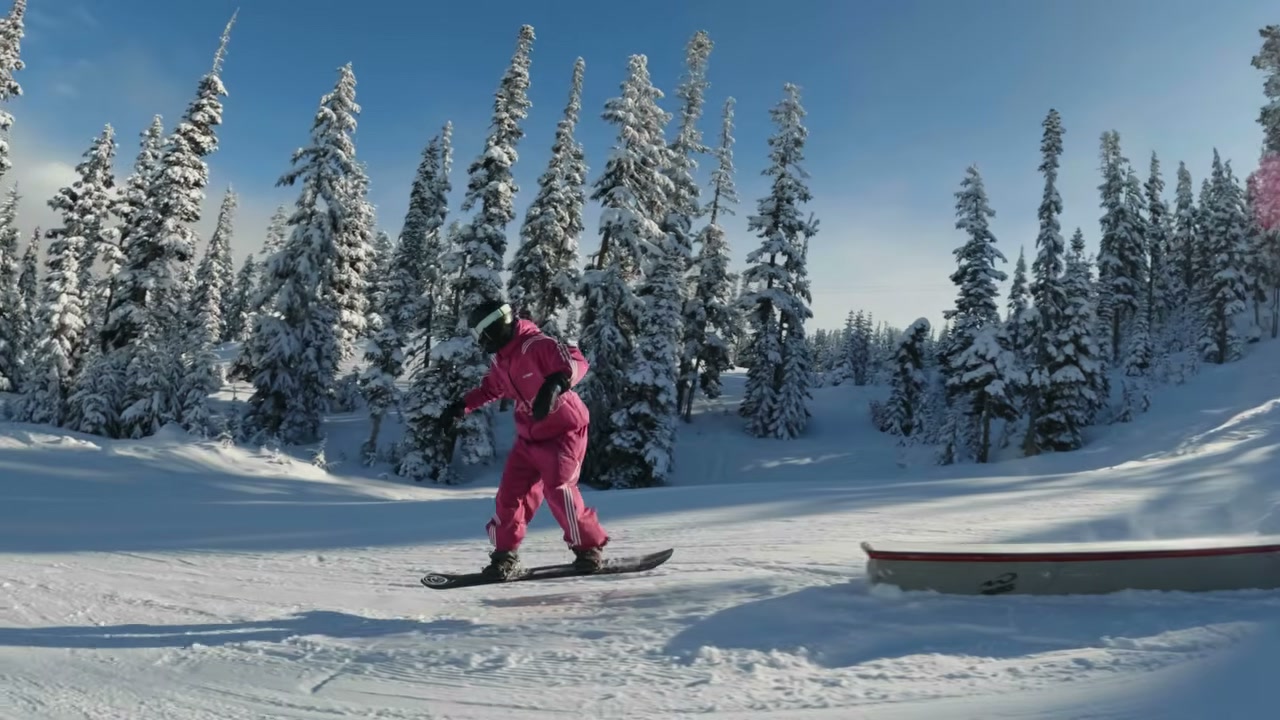
So hit the box as straight as you can, stacked, with the base completely flat (3:48). Line yourself up from your drop-in point, not in the last few metres.
4. Hold it, eyes forward, and ride away
Once you are on, there is nothing to do except keep doing what you were already doing. Hold the stacked position for the length of the feature with your eyes forward (5:04), ride off the end and ride away.
Do not try to correct anything halfway along. If the board is drifting, that drift started at the takeoff, and the fix belongs on your next run in.
How can you tell if your base is really flat?
This is the best part of the video, because you can do it on any quiet slope.
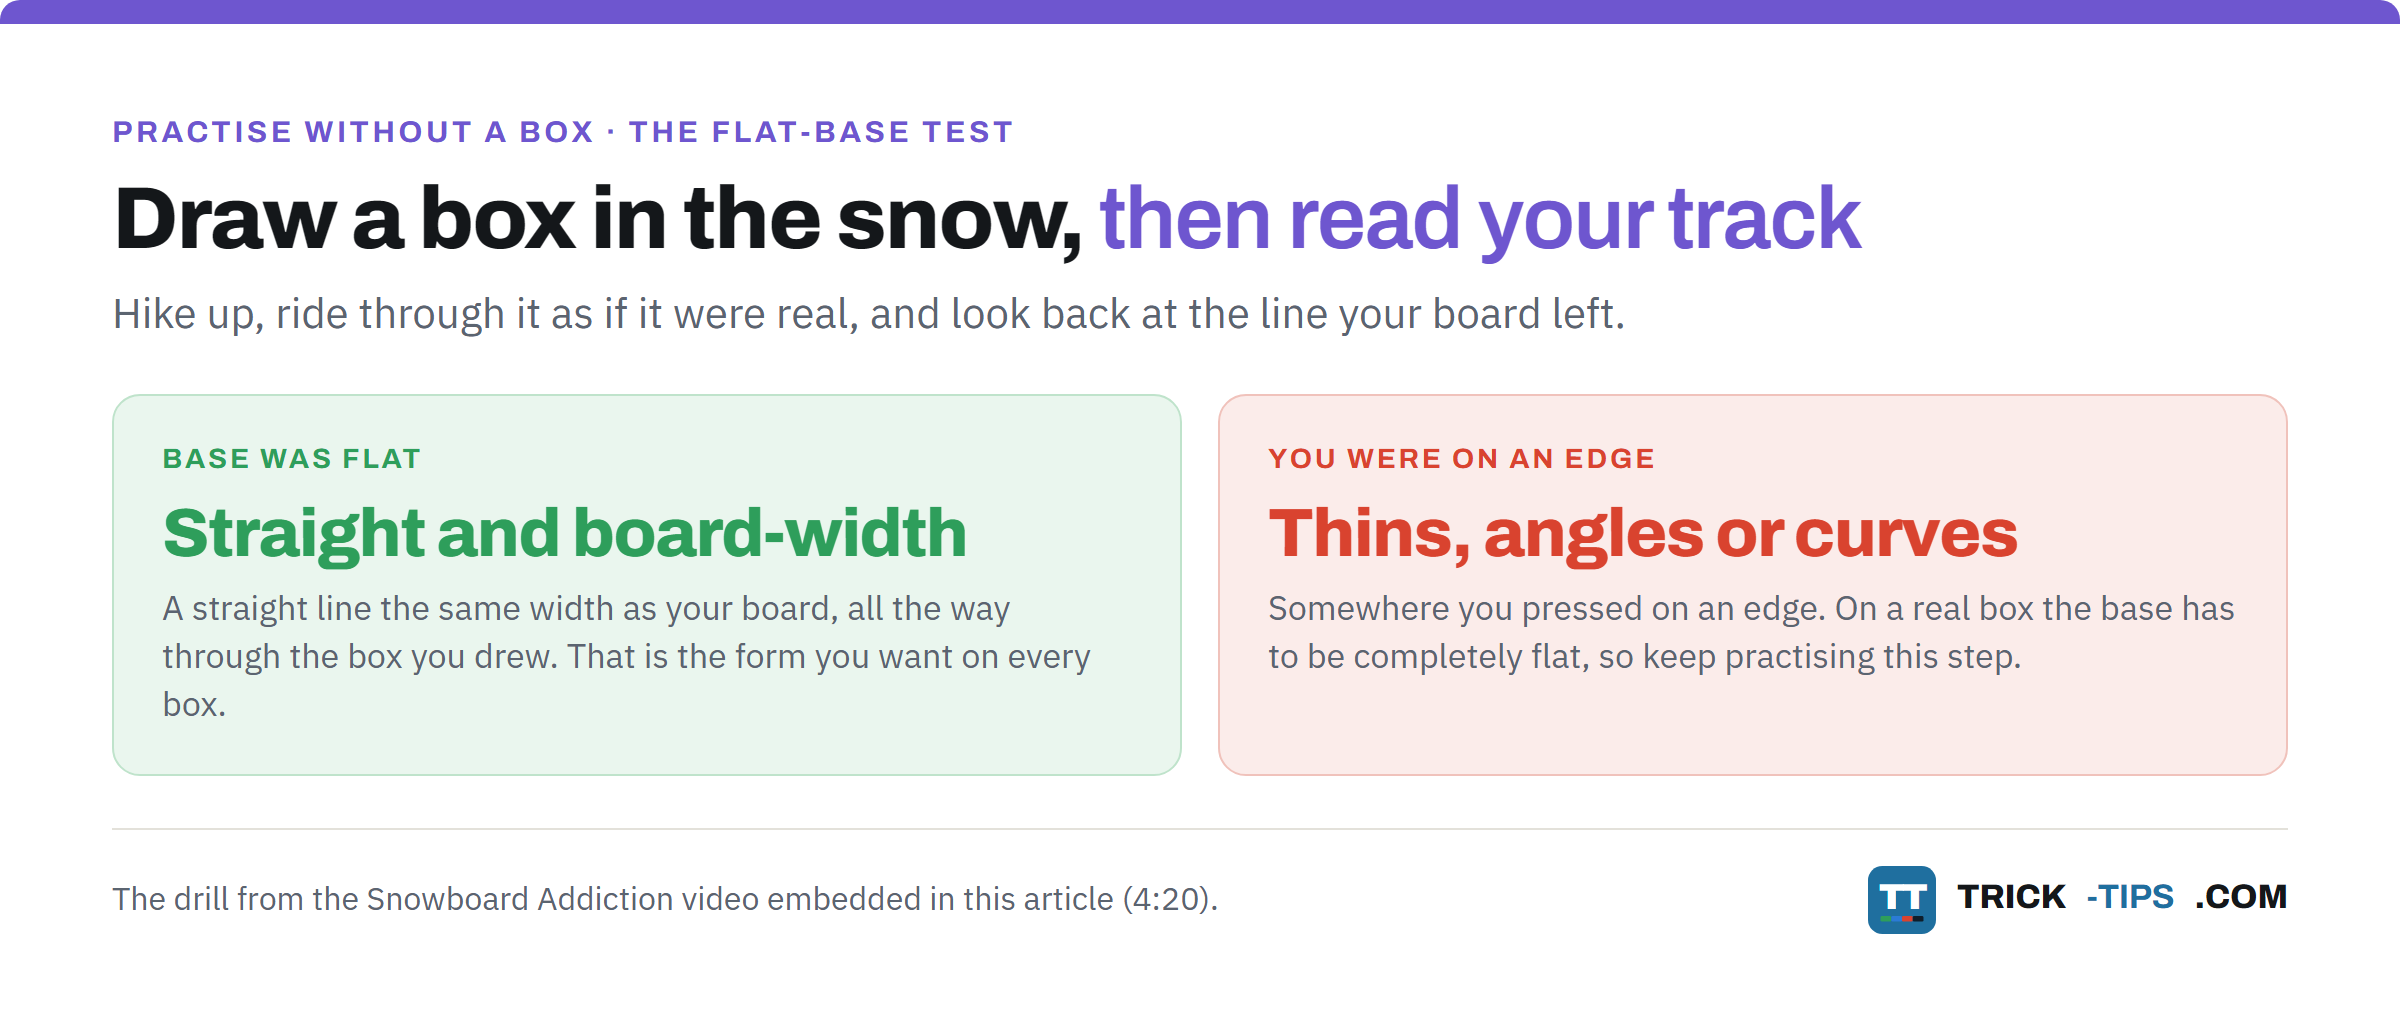
First, at 3:57, find an empty slope and practise going from a side slip into riding straight, holding a straight line with the base as flat as you can. Then look back up at your track. It should be an evenly spread, straight path.
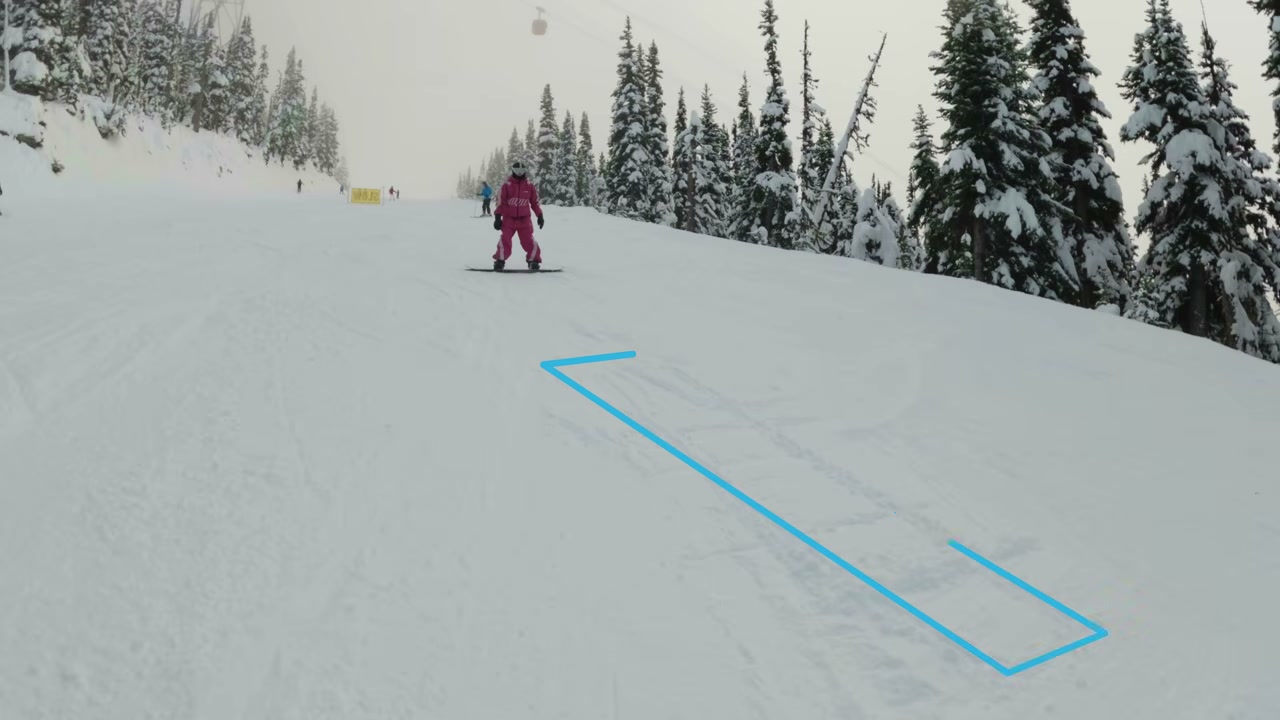
You are training this because your base has to be completely flat when you are on the feature (4:15). Then the box drill (4:20). Draw a box in the snow, hike up and ride through it as if it were a real one. Now read your track.
- A straight line the same width as your board means you kept the base flat.
- A line that gets thinner, angles off or curves means you were pressing on an edge somewhere, and that step needs more practice.
The video closes the section with the reason to bother (4:43). This is the same form you want on every jib feature, so time spent here pays off on every box and rail after it.
Which box should you start on?
The smallest, easiest one in the park. In practice that means a low, wide, flat box with a ride-on, so you roll straight onto it from the snow rather than having to ollie up or cross a gap. Onyx Snowboarding adds very little drop-off at the end, and SnowboardProCamp’s tip is to take it to the easiest feature you can find first.
Onyx also gives a useful distance. Get set and lined up at least four board lengths before the box, and once you are off the end, ride out about the same distance before you skid to a stop.
The mistakes that put you on the floor
Braking right before the box. A last-second speed check puts you on an edge exactly when you need to be flat. Sort your speed at the drop-in point instead.
Coming in at an angle. The angle you take off at is the angle you keep. Line up early and ride in straight.
Fighting the slide. If the board is drifting off the side, trying to wrestle it back is what splits your body and board apart. Stay stacked and go with it.
Breaking at the waist. Bending forward from the hips like you are touching your toes takes your weight off the middle of the board. Squat with a straight back instead.
Starting on something too big. Your first box should be the most boring feature in the park. Build up from there.
How do you stay safe on your first box?
A first box is small and low, but if you fall on it you are falling onto something hard rather than snow, so a few things are not optional.
- Wear a helmet. A meta-analysis of studies on skiers and snowboarders found helmet use cut the risk of head injury by about a third, with no sign of extra neck injuries.
- Look after your wrists. The wrist is one of the most common injury sites in snowboarding, and beginners are at higher risk of breaking one than experienced riders. Research on wrist guards has found they reduce wrist injuries, and one Australian study recommends them strongly for novices.
- Go with the slide. SnowboardProCamp’s bonus tip is the one to remember. If you feel yourself sliding off the box, go with it rather than fighting it. That is the same idea as Taevis’s point about momentum, and it is how you avoid the bad crash.
- Never stop in the landing. Ride well clear of the end of the box before you stop, and stop to the side where people at the top can see you. Terrain park etiquette has the rest.
This article and the video are a starting point, not a substitute for a lesson. A coach watching your first few runs is the quickest way to spot an edge you cannot feel.
Beyond the video
- Read the park signs. Many resorts mark their parks and features by size, usually small, medium and large, and some add an extra small for beginners. Those sizes are relative to that resort, so a small somewhere new may not match the small you are used to. Start with the smallest and work up.
- Hike it. Rather than one go per lift ride, SnowboardProCamp hikes the small features a few times and calls it the best way to get comfortable with boxes. On a first session that means more goes on the same easy box while the feeling is fresh.
What to learn next
Riding straight along a box is the start of the whole rail ladder.
- How to 50-50 on a snowboard is the next rung. Riding a box straight is a 50-50, as the video says at 4:51, and that article takes it on to longer and narrower features, down boxes, ollieing onto rails and 180s off the end.
- Backside boardslide and frontside boardslide come after that, once the 50-50 is dull.
- If you ski as well, the 50-50 on skis is the same first box on two planks.
Frequently Asked Questions
How do you ride your first box on a snowboard?
Pick the smallest flat ride-on box in the park and choose a drop-in point you can go straight from. Ride on dead straight with your base completely flat and your body stacked over the board, then hold that position to the end and ride away.
Why do I keep slipping off the side of the box?
Because you came onto it at an angle or on an edge. A box has no grip, so the direction you are travelling as you get on is the direction you keep. Line up earlier, keep the base flat, and stop trying to steer once you are on.
Do I need to be able to ollie before riding a box?
No. Your first box should be a ride-on box that you roll straight onto from the snow, so no ollie is needed. You need to be able to ride straight with a flat base and stop when you choose to.
How fast should I go onto a box?
Fast enough to reach the end, but the exact speed matters less than staying stacked. Find a drop-in point by riding past the box a few times until the speed feels right, then go from the same spot every time so you never need a speed check right before the feature.
How can I practise riding boxes without a park?
Draw a box in the snow on a quiet slope and ride through it as if it were real. A straight line in the snow the width of your board means your base was flat. A line that thins or curves means you were on an edge.
Should I wear wrist guards for boxes?
Yes, if you can. The wrist is one of the most common snowboarding injuries, especially for beginners, and studies have found wrist guards reduce wrist injuries. Wear a helmet as well.
In short
A box has no grip, so the way you get on is the way you stay. Get stacked, come in from a drop-in point, ride on straight and flat, and leave it alone until the end.
Before your next park day, find a quiet slope, draw a box in the snow and ride through it until your track comes out straight and board-width every time. Then go and find the smallest box in the park.
Ask any questions in the comments below.