Your board still looks fine, your boots feel comfier than ever, and your bindings have never let you down. So do you actually need anything new this winter?
Here is the short answer on when to replace snowboard gear. Boots wear out first, bindings last the longest, and the board is the hardest one to call. The video we have picked puts boots at roughly 50 to 100 riding days, depending on how hard you ride. Bindings have no set number of days, though the presenter would not go more than five seasons without upgrading them. A board has no set lifespan at all, with one exception. A crack across the top sheet means it is broken.
Everything else comes down to a few checks you can do at home before the season. We will go through each piece of kit in turn, then look at when a repair makes more sense than a new one.
Watch it first
This is the fourth time Search of Snowboarding has won a vetting round here, after setting up bindings, choosing boots and choosing a board. The reason is the same each time. It gives you rules you can use, with the reasoning behind them, rather than one number for everyone.
It covers all three pieces of kit in nine minutes. It counts lifespan in riding days rather than years, and it gives you a check for each piece. It is also straight with you where there is no good check. On the board, the presenter says plainly that neither of his tests is a sure thing (8:44).
It is worth knowing up front that this is a shop’s view. The presenter talks about the riders he has seen in the shop (6:27), and he is open about loving new boards (8:49). The video description also carries affiliate links to the bindings and board he rates most, and a discount code for an outerwear brand, so the channel earns if you buy. That shop view shows most in the advice about upgrading for new technology, so we flag it where it comes up, and we have added a second opinion from a rider who argues the other way.
Boots are from 0:33, bindings from 3:42 and the board from 5:49.
How long does snowboard gear last?
Here is the video’s answer for each piece, in one place.
| Kit | How long, as the video puts it | The main sign it is done | The check |
|---|---|---|---|
| Boots | 50 to 100 riding days (1:42), the shortest of the three | Less support, and feet cramping mid-season | The squeeze test (2:56) |
| Bindings | No set number of days, the longest of the three (3:48) | Straps and footbeds crushed and creased | Look at the foam straps and footbeds |
| Board | No set number of days (6:01) | A crack across the top sheet | Look along the top sheet, then ollie and flex it |
Those figures come from one experienced rider, not a lab. The bigger point he makes, for boots and boards alike, is that how hard you ride changes the number (1:45, 8:08).
When should you replace snowboard boots?
Boots go first. As the video points out at 0:35, you put more miles on them than on anything else. You wear them for the hike, the whole day on the hill, the après and the long walk back to the car park.
The other reason is what they are made of (0:49). The soft foam and fabric that make a snowboard boot so much more comfortable than a ski boot are exactly what breaks down. So boots have the shortest lifespan of all your kit (0:59).
Why a worn-out boot can feel more comfortable
This is the bit that catches people out. The first sign is a lack of support (1:03), and yet the more you ride a pair of boots, the more comfortable they can feel (1:08). So it is easy to hang on to a pair that feels great but has stopped supporting you.
The video’s case for a new pair is about what you get back (1:25). Better support, so your legs do not tire as quickly. And more response, so you can control the board more quickly. The presenter says that every time he has changed boots, he wished he had done it sooner (1:21).
How many days do snowboard boots last?
The video’s easy answer is 50 to 100 days of riding (1:42). The real answer depends on how you ride those days.
- Riding hard, fast and with big impacts on jumps and rails, around 50 days (1:48).
- Cruising green and blue runs and keeping it mellow, closer to 100 (2:05).
- Somewhere in between, riding all terrain a bit harder without pushing it every run, about 75 (2:30).
To put that in seasons, the video’s example is a cruiser riding every weekend (2:14). That is about 30 days a winter, so their boots might last about three seasons. Someone in that middle group riding four days a week would probably get one season out of a pair (2:38).
So count days, not winters. Lots of season passes come with an app that counts them for you (2:45).
The boot squeeze test
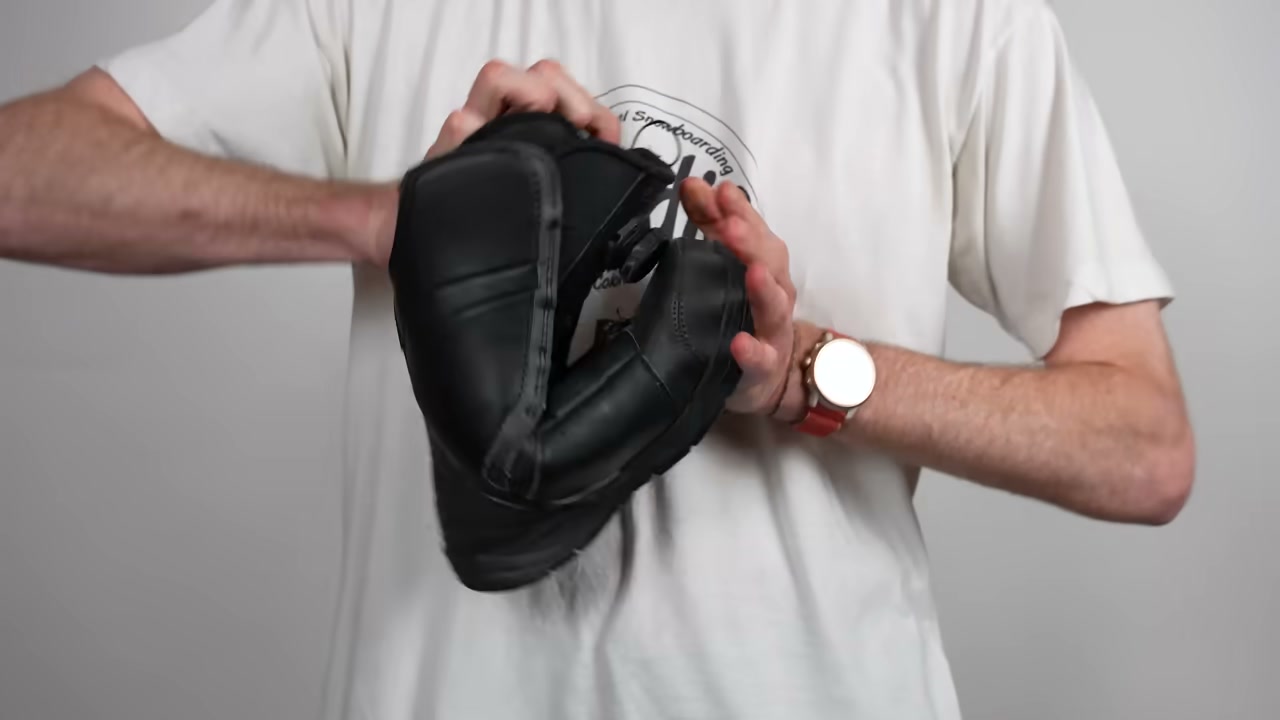
When you think your boots are getting close, the video’s check is the squeeze test (2:56).
- Hold the boot and fold the upper part of the ankle forwards, towards the toe.
- Feel how much it resists, and watch how far it goes.
- If it folds over with no resistance, it is time for a new pair (3:12).
In the video he compares his own 50-day boots with an unridden pair of the same model (3:00).
When your feet start cramping
The other boot sign is pain (3:14). The muscles in your feet tense up and cramp, and in the video’s words it feels like they are caught in some kind of torture trap.
That is normal at the start of a season, when your feet have not ridden for months, or on a trip where the runs are much longer than you are used to (3:25). But if it starts in the middle or end of the season, and nothing else about your riding has changed, your boots are packed out (3:34).
When you do buy new boots, remember they start packing out again from day one. That is why the fit test in our guide to choosing snowboard boots has you buying them snug.
When should you replace snowboard bindings?
Bindings are the opposite of boots. There is no set number of days they last, and they last longer than any other piece of kit (3:48). The video gives two reasons.
First, the parts are easy to replace (3:57). A broken ladder or a lost strap is an easy fix, and some brands sell highbacks and heel cups as spare parts. Second, they are made of hard-wearing stuff (4:10), like injection-moulded plastic, aluminium and carbon. Newer straps made by 3D injection moulding are lasting longer than ever, too (4:22).
The signs your bindings are done
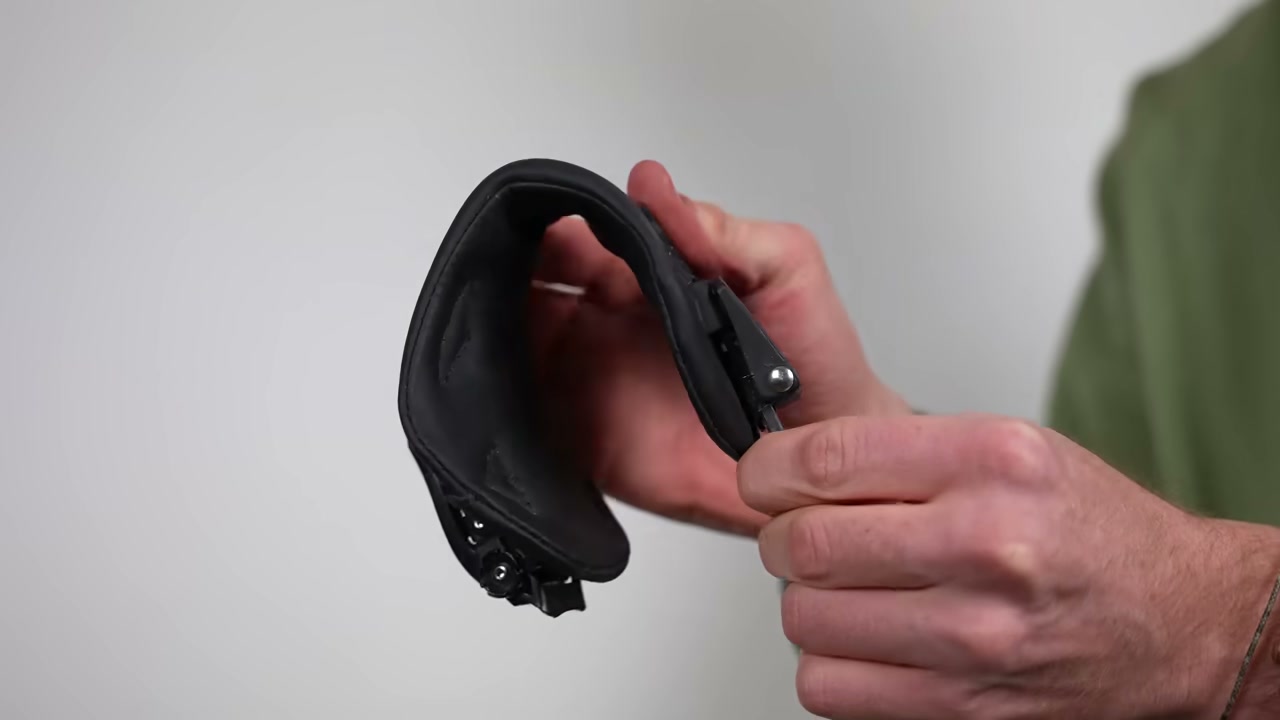
The signs are in the soft parts, for the same reason as boots (4:41).
- Straps made of foam and fabric, on older bindings, with deep folds and creases that make them look ready to flop over (4:30).
- Footbeds made of foam, with deep imprints worn into them (4:59).
Either one means it is time for a new pair. The video explains why at 4:47. Your bindings are the link between the force of your body and the board, and beaten-down straps lose you the efficiency and response you want from that link.
Upgrading bindings for new technology
Apart from wear, upgrading bindings is mostly a question of how much you want the latest kit (5:06). The video’s view is that boots have not changed much, but bindings improve every couple of seasons (5:15), with better ankle straps, strapless bindings, better bushings underfoot and asymmetrical highbacks.
His rule of thumb is that he would not go more than five seasons without upgrading (5:32). Or, he suggests, buy new bindings every time you buy a new board (5:41).
Bear in mind that this is upgrade advice from a shop’s point of view. Worn straps and crushed footbeds are reasons you have to replace. New technology is a reason you might want to.
If you do get new bindings, our guide to setting up snowboard bindings covers stance width and angles.
When should you replace your snowboard?
The board is the most exciting purchase and the most expensive one, and the video admits it is also the hardest to judge (5:56). There is no set number of days, partly because boards are built with different woods and additives in the core (6:01).
A crack across the top sheet means it is broken
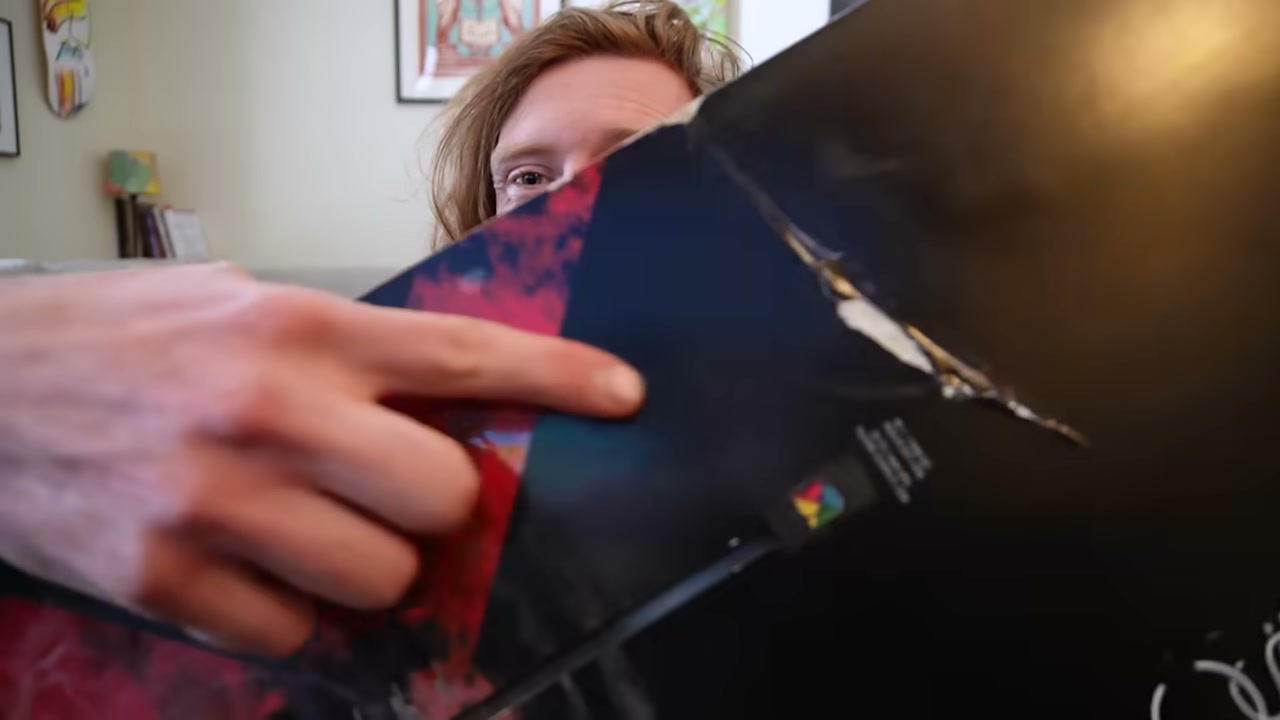
This is the one clear-cut sign. If you can see a crack across the top sheet, your board is broken and needs replacing (6:13). It might look like a minor scar, but the damage underneath, in the core, may not show (6:18).
It sounds like something you would spot straight away. The presenter says you would not believe how many people he has seen in the shop who did not know their board was broken (6:24). It can happen to a board of any age or brand (6:30). Come off a landing and put the board down with exactly the wrong amount of weight and force, and there is a sweet spot where it will crack (6:36).
The video’s own story makes the point (6:55). They rescued a board from a skip without noticing the crack, and when they rode it, it kept folding over and dropping them.
Do not ride a board with a crack across the top sheet. It can fold under you, as theirs did. Before the season, lay your board out in good light and look along the whole top sheet, nose to tail.
Core shots and repaired edges
Damage to the base and edges is a different story. Core shots and edges that have been glued back can be repaired, and that keeps a board going longer than it otherwise would (7:09). The catch is that the more core shots you have had filled, the slower your base gets (7:16), and that is another sign a new board might be due.
A core shot is a gouge in the base deep enough to reach the layers underneath. There is more on when they are worth fixing below.
When the snap has gone
Most riders want to know when to replace a board that is not broken and not out of date. The video admits this is where it gets tough (7:52).
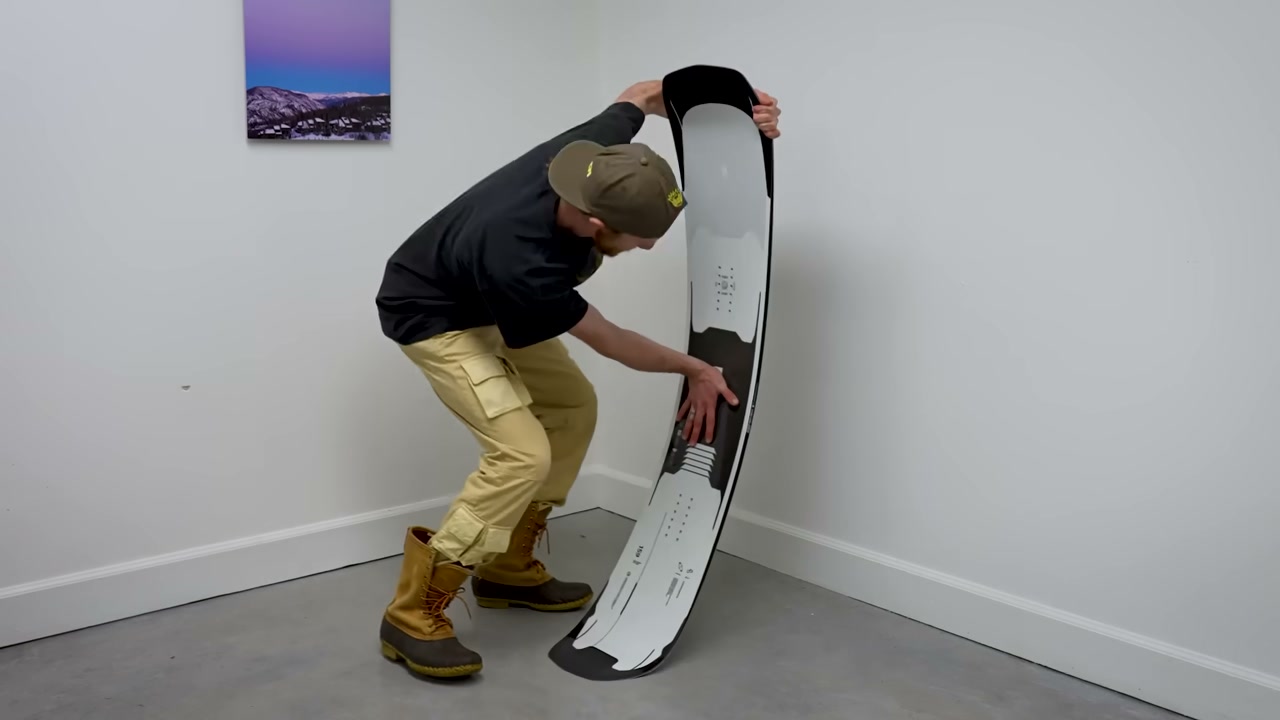
The wood in a board starts poppy and lively and slowly loses that with time and use (7:59). How hard you ride speeds that up (8:08), and park riding, especially on rails, beats a board up more than anything else (8:12). You feel the loss in the board’s snap and response, and it takes years of riding one board to notice it (8:23).
The video gives two rough checks (8:33).
- Do a bunch of ollies and feel whether the tail still has the snap you want.
- Give the board a good flex and let it go, to see how much spring it has left.
He is honest that neither is a sure thing, but they help a bit (8:44). If your ollie needs work before it can tell you anything, our guide to the ollie is the place to start.
New shapes and technology
Like bindings, new shapes and technology can be a reason on their own (7:23). From what the presenter has seen, new technology in boards is worth the money about 75% of the time (7:36), and he suggests a new board purely for new technology every three to five years (7:46). His bottom line is that if you love snowboarding, you get a new board as often as you can (8:49).
That is an honest view, and it is also a shop’s view. The next video argues the other way.
Repair or replace? A second opinion
For the other side of the argument, Johnathan Buckhouse’s video on when you need a new snowboard is worth a look. It is board only, and the useful part is the first five and a half minutes, before the channel news. His point is that plenty of riders think they need new kit when they do not (0:34).
- A base going white needs wax, not a new board (2:01). He says waxing prolongs a board’s life, and our guide to waxing a snowboard at home shows you how.
- Little dings are not a reason to upgrade (3:16). He thinks people worry about them far too much.
- Nose damage from hitting a rail can lead to the nose separating, but if you catch it early, a shop can usually fix it cheaply (2:41 to 3:12).
- Some damage does mean a new board. A big blown-out hole at a contact point can be enough (2:16), and he says that if about two inches of edge were missing, he would replace the board (2:34).
- A cheap first board is worth upgrading once you have ridden it for two or three seasons and got good (3:24), especially if you are starting to ollie rollers, hit rails or jump (3:57).
He puts a board’s life at about 200 days, from riding his own for almost two seasons at over 100 days a season (4:12). And his rule for any piece of kit is that if it has not got more than 40 days on it, you probably do not need to replace it (5:28).
So the two videos meet in the middle. Replace what is broken or worn out, fix what can be fixed, and treat new technology as a want rather than a need.
Common mistakes
Keeping boots because they are comfortable. A worn boot often feels more comfortable, not less (1:06). Do the squeeze test instead.
Missing a cracked top sheet. Plenty of people ride a broken board without knowing it (6:24). Look before every season.
Binning bindings for one broken part. A ladder or a strap is a spare part, not a new pair (3:57).
Buying a new board when the old one needs wax. A base going white needs waxing, as Johnathan Buckhouse says at 2:01.
Beyond the video
A few things neither video covers, each from sources we checked.
Heel lift is another sign of packed-out boots. If you find yourself doing your boots up tighter than you used to, or your heel lifts where it used to sit snug, retailers’ guides say that usually means the liners have packed out. On new boots in a shop, no heel lift is one of the three things our boots guide has you check.
Check your binding screws, and look for cracks. Binding makers say to check that the screws holding your bindings to the board are tight before you ride, because they can work loose. If you find a crack in a baseplate, highback or strap, Flux’s binding manual says not to use the binding until the part is replaced.
Get core shots filled sooner rather than later. Repair guides say to fix a deep gouge quickly, because water getting into a wood core can damage it. Jones Snowboards says small core shots are easily repaired, but a large, deep one on an older board may be a reason to retire it, and so is a broken edge on an older board. That matches Johnathan Buckhouse’s line on big holes and missing edges.
When to replace snowboard gear, in one pre-season check
Here is the whole thing as one check before your first trip of the winter.
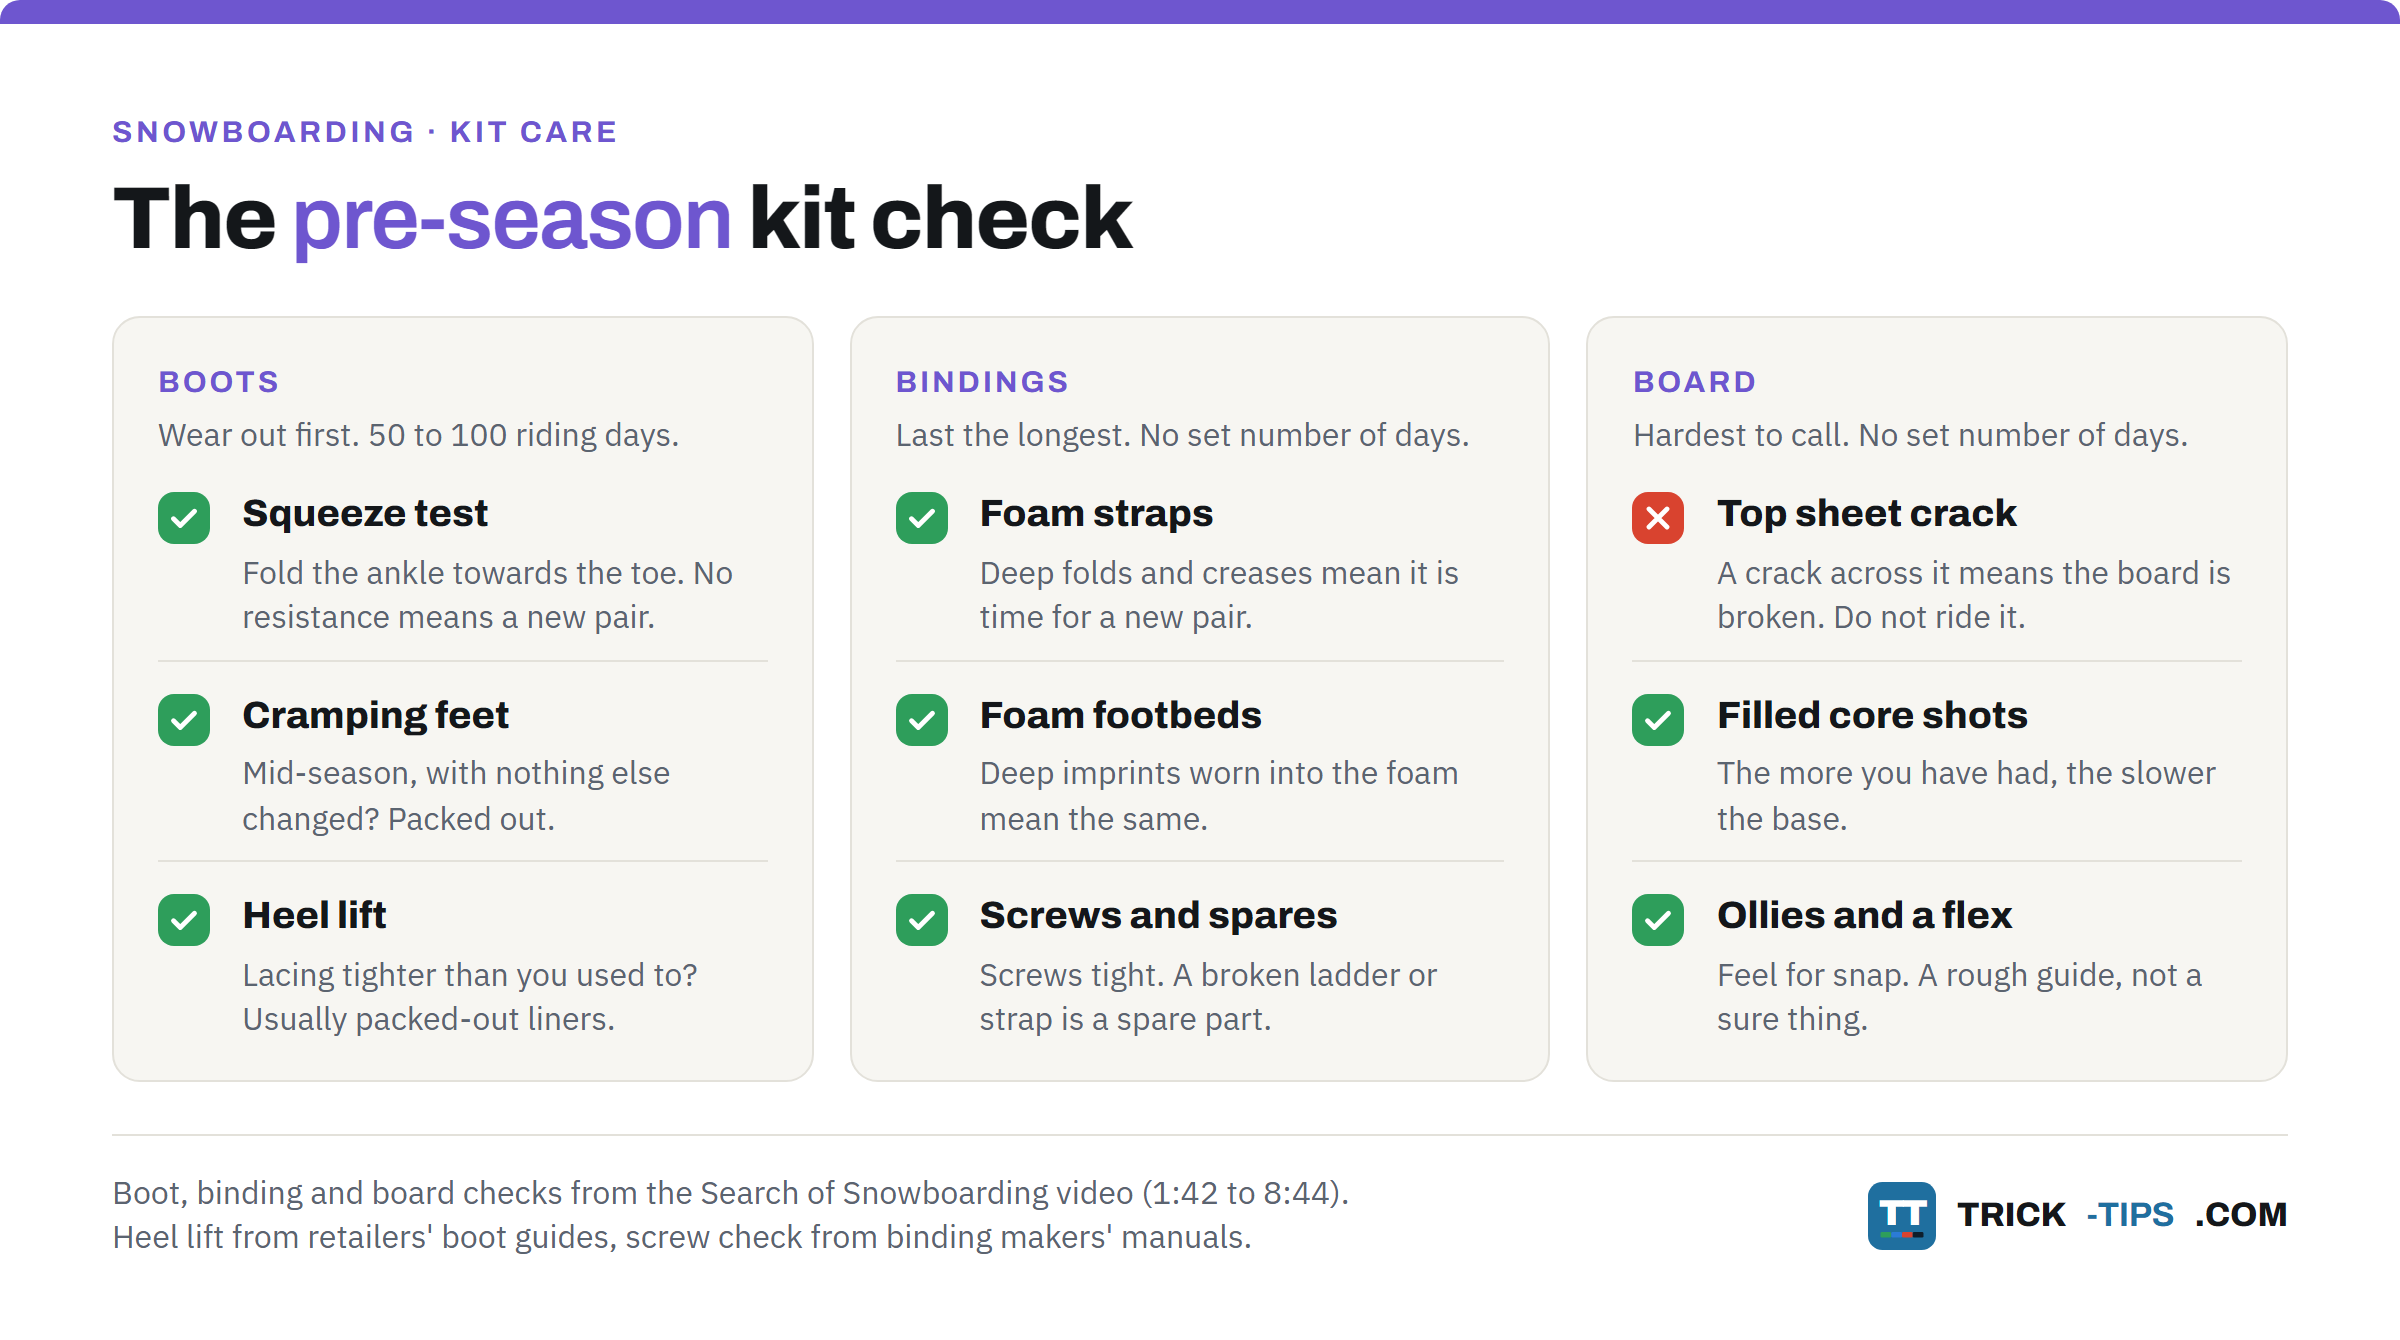
- Boots. Do the squeeze test. Think back to last season, too. Did your feet cramp mid-trip with nothing else changed, or were you lacing tighter than you used to?
- Bindings. Look at the foam straps and footbeds for deep creases and imprints. Swap a broken ladder or strap for a spare part, and check the screws are tight.
- Board. Look along the whole top sheet for a crack, and count the filled core shots. Then, on your first day, do a few ollies and feel for snap.
When something does need replacing, our guides to choosing a snowboard, choosing boots that fit and setting up your bindings cover the buying and the setup. And if the park is where you spend your days, detuning your edges is the other setup job worth knowing.
Frequently Asked Questions
How long do snowboard boots last?
About 50 to 100 days of riding, according to the Search of Snowboarding video. Riding hard, with big jumps and rails, puts you nearer 50, and cruising green and blue runs nearer 100. Count riding days rather than years.
How long does a snowboard last?
There is no set number of days, because boards are built differently and how hard you ride changes it, with rails the hardest on a board. Johnathan Buckhouse puts it at about 200 days. A board with a crack across the top sheet is finished whatever its age.
How do I know if my snowboard boots are packed out?
Fold the upper part of the boot’s ankle forwards towards the toe, and if it folds over with no resistance, the support has gone. Feet that start cramping mid-season, when nothing else has changed, are the other sign. Heel lift, or lacing tighter than you used to, often points the same way.
When should I replace my snowboard bindings?
When the foam straps have deep folds and creases, or the foam footbeds have deep imprints, because the binding has lost its response. A broken ladder or strap is usually a spare part rather than a new pair. The Search of Snowboarding presenter would also upgrade at least every five seasons for newer technology, which is a choice rather than a need.
Can you ride a snowboard with a cracked top sheet?
No. A crack across the top sheet means the board is broken, even if it only looks like a scar, because the damage to the core underneath may not show. In the video, a board with an unnoticed crack kept folding over and making the riders fall. Replace it.
Is it worth repairing a snowboard or should I buy a new one?
Repair what can be repaired. Small core shots can be filled, a base going white just needs wax, and a shop can often fix early nose damage cheaply. A crack across the top sheet, a big hole at a contact point or a long piece of missing edge usually means a new board, and so does a cheap first board you have outgrown.
In short
Boots go first, bindings last the longest, and a board is done when the top sheet cracks or the snap has gone.
Before your first trip this winter, do the squeeze test on your boots, look over your straps and footbeds, and check the whole top sheet of your board. Fix what can be fixed, and replace what is broken or worn out.
Ask any questions in the comments below.